


Hello Readers!! We are again back with an exciting Azure service i.e. Azure Blob Storage. Here in this blog, we are going to explore all about this Azure service, and we will also see how to setup Azure blob storage and upload data files. We will see step by step process how to create your blob storage account, how to setup the necessary configurations for the blob and finally how you can upload your files in there so that can be used in multiple service within azure.
Azure Storage Account:
An Azure Storage Account is a Microsoft Azure resource that provides scalable, durable cloud storage for a variety of data objects. It’s a foundational service used in many cloud solutions and supports different types of storage.
Storage Account Types
- General-purpose v2
- It supports all storage types (Blob, File, Queue, Table, Disk).
- It contains most features, including tiering, lifecycle management.
- General-purpose v1
- It is a legacy having fewer features, lower cost in some cases.
- Blob Storage
- It is optimized for storing large amounts of unstructured data.
- It’s access tiers are: Hot, Cool, Archive.
Azure Blob Storage:
Azure Blob Storage is a service within the Azure Storage platform optimized for storing massive amounts of unstructured data, such as text or binary data. So, It’s commonly used for serving documents, images, videos, backups, logs, and big data. Azure blob storage is accessible via the azure storage rest api, powershell, cli or azure client library.
Steps to setup Azure Blob Storage and upload data Files:
Now, let’s see step by step process:
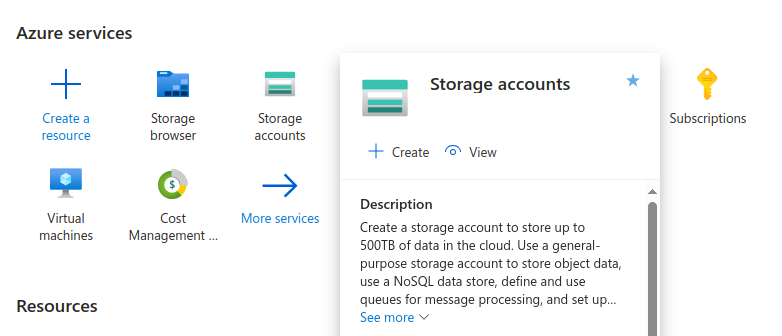
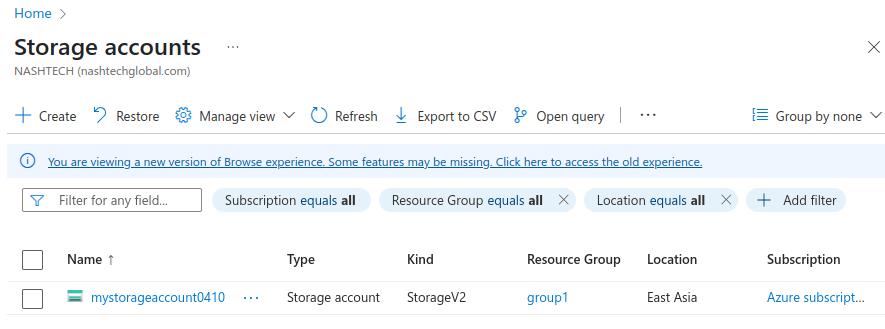
- Login to Azure account. Move to Azure service > Storage Accounts.
2. Click on create. Select subscription > Resource group > give storage account name > region > select primary service as “Azure Blob Storage”.
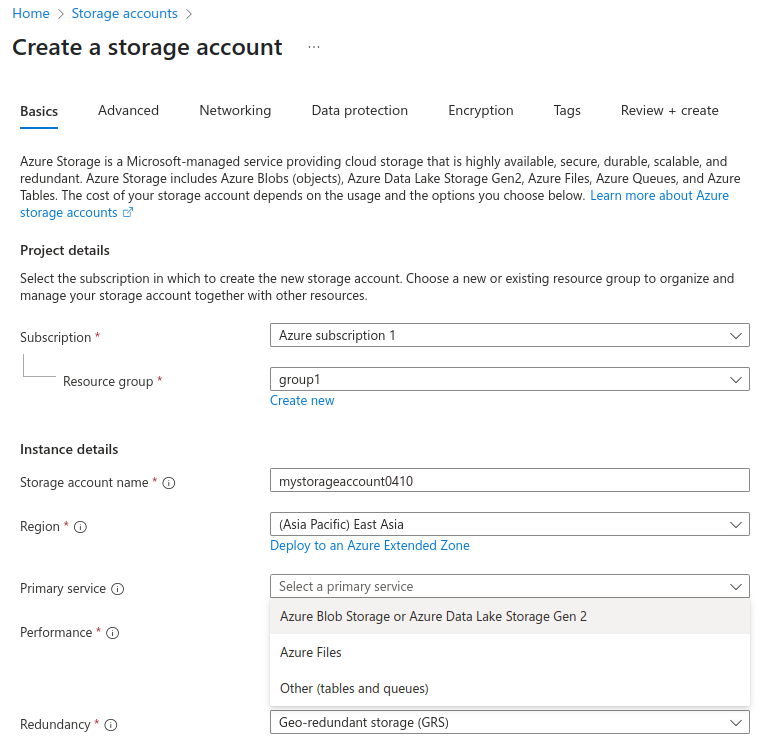
Choose performance i.e. standard or premium according to our requirement.

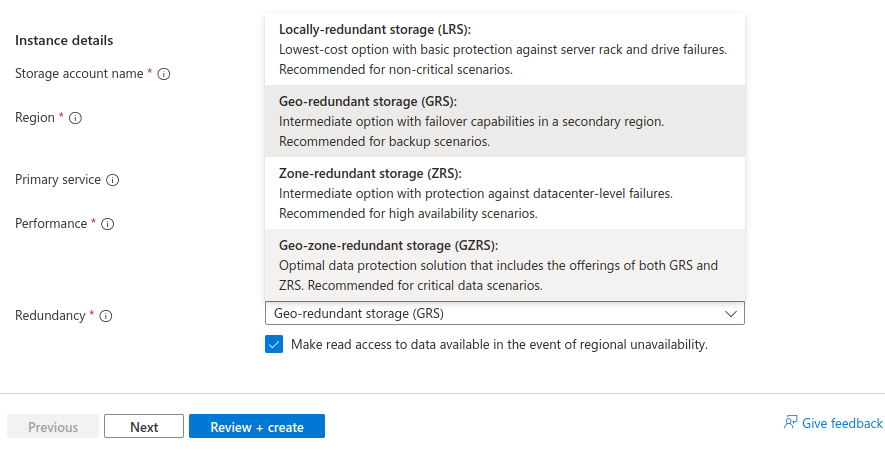
So, Choose the type of Redundancy. The different types of redundancies are:
- Locally-redundant storage (LRS)
- Geo-redundant storage (GRS)
- Zone-redundant storage (ZRS)
- Geo-zone-redundant storage (GZRS)
Networking is enabled for all network access.
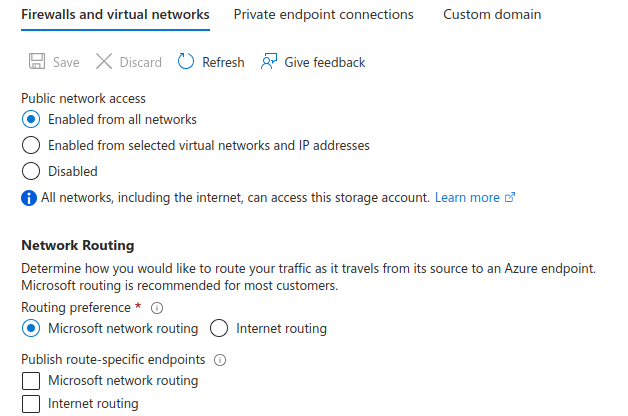
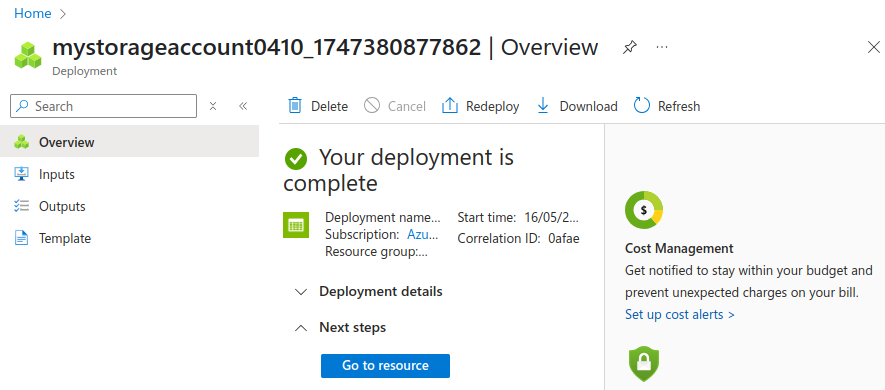
Click on Review + create.
So, deployment is completed and storage account got created.
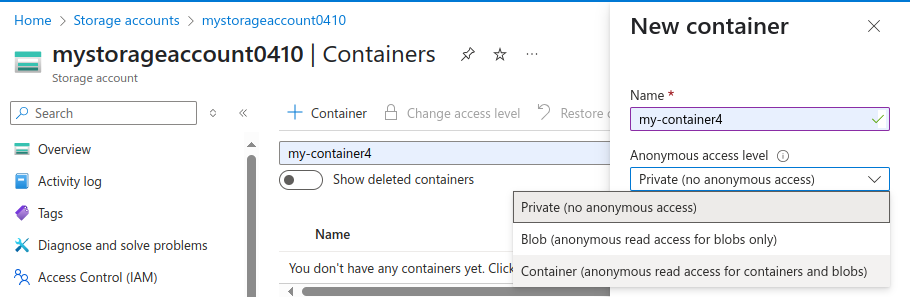
3. For data storage, create container. A container organizes a set of blobs similar to a directory in a file system. A storage account includes an unlimited number of containers and a container can store an unlimited number of blobs.

Provide the details here.
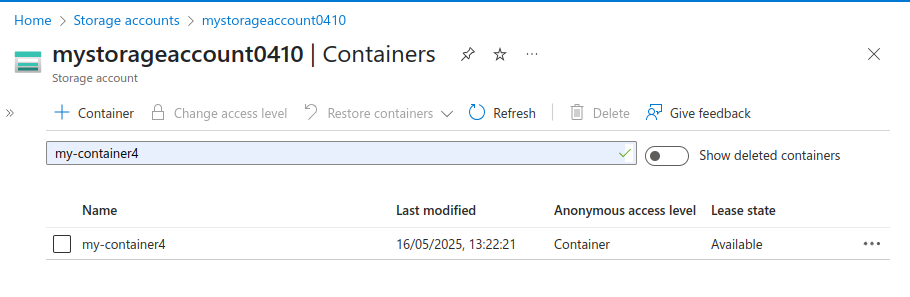
So, container got created here.
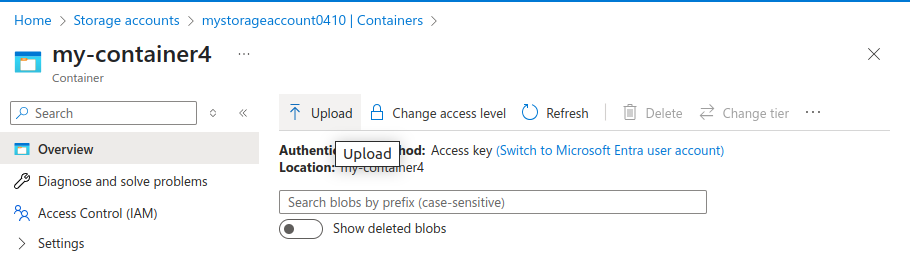
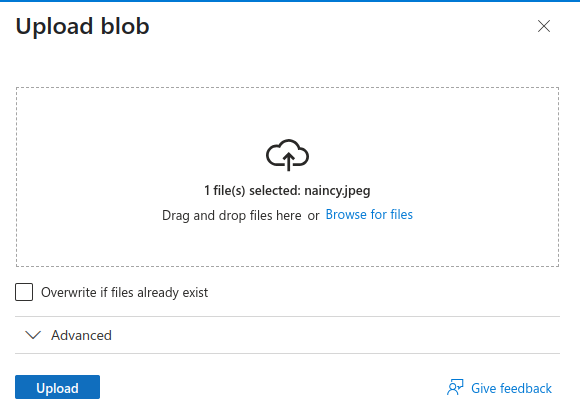
4. So, for uploading data files, click on upload, browse your file and upload it.
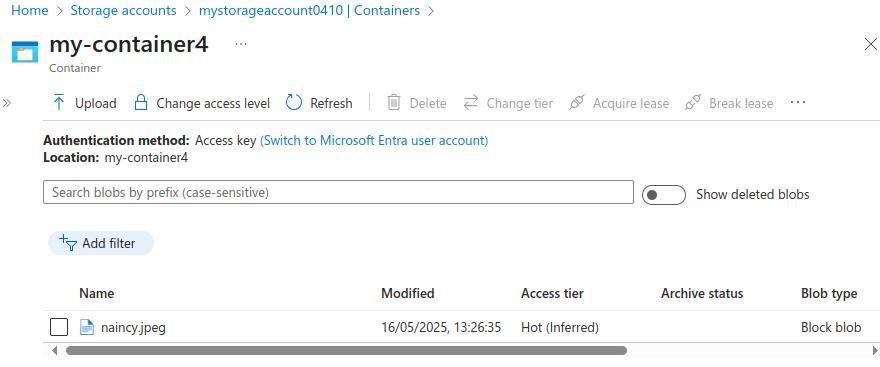
This is how we create a storage account, then create containers and uploads data files inside it giving it the network access with the help of public endpoints so that it can be used by any Azure service.
Conclusion:
Thanks for being with me till end. In this blog we have learnt all about Microsoft Azure Blob Storage. So, we have seen how we can setup it and upload data Files. However, It’s quite really interesting and easy to explore. If this blog helped you somewhere do like and share this blog with the needful.
HAPPY READING!!!