


Hello Readers!! We are again back with an exciting topic i.e. Azure Virtual network. In this blog we will deep dive into what is Azure virtual network, why is azure virtual network important, its components and how to create azure virtual network, subnets and network security group.
What is Azure Virtual Network?
An Azure Virtual Network (VNet) represent our network or environment to run VMs and applications in the cloud. When it is created, the services and virtual machines within the network interact securely with each other over the internet. So, virtual network we can consider it as a virtual cloud which is basically kind of a cloud space virtually assigned to the users or to the organisation which they can dedicatedly use for their purpose.
For example, if we want to create some instances or virtual machines onto the azure cloud and we want to connect it with on-prem servers then here in this case we might require virtual network. Those virtual machines require range of IP addresses that we want to allocate to them and that is something we can customize using virtual network. How we want the traffic should be routed to our instances in the virtual network, how the firewall securities should be applied everything end user can control by configuring it. It seems like working in our own data centre ideally, we would be working in azure cloud.
Advantages of using Azure Virtual Network:
- It provides isolated environment for our applications. It will seem like we are working in our on-prem environment that means within our data centre, but ideally it is a virtual place that is allocated to me.
- A subnet in a VNet can access the public internet by default. We create a subnet inside a virtual network which can access the public internet. So, there is a public network connectivity that is enabled in virtual network.
- Traffic can be easily filtered from resources. So we can have some control list defined, security groups created and how do we want to allow the traffic onto the servers or the application that is something which we can control.
- It is a highly secure network. Security groups and policies can be easily implemented by the end user so that we can design how the security should be implemented.
- High network connectivity. Here by using this we have higher bandwidth as compared to normal internet connection.
- It builds sophisticated network toplogies in a simple manner which is easily manageable.
Components of Azure Virtual Network:
Following are the components of Azure VNet:
Subnets – Divide the VNet address space into smaller segments for resource isolation and security. Each subnet has its own IP range.
Network Interface – Attaches to virtual machines to enable communication with the VNet, internet, or on-premises network.
Network Security Groups – Acts as a firewall at subnet or NIC level, controlling inbound and outbound traffic via rules.
Route Tables – Custom routing rules that override Azure’s default routing to control traffic flow.

How to launch an instance using Azure VNet?
Following are the steps that we can follow to launch an instance using Azure Vnet:
- Create a Virtual Network (VNet) in the Azure cloud environment.
- Divide the VNet into multiple subnets based on your network design.
- Associate each subnet with its corresponding virtual machine (VM) or instance.
- Attach the appropriate Network Security Group (NSG) to each instance or subnet.
- Configure security rules and policies within the NSG to control traffic flow.
- Once setup is complete, you can successfully launch the instance within the Azure Virtual Network.
Let’s see how we can do this.
Create Azure Virtual Network, Subnets and Network Security Group:
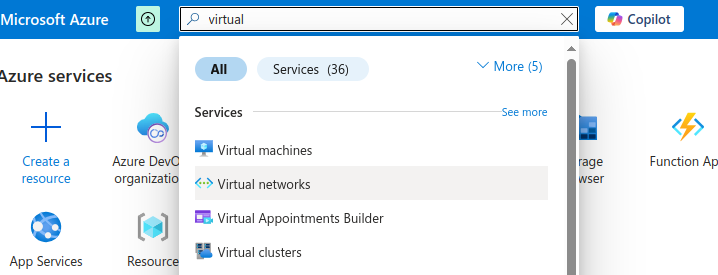
- Login to Azure Subscription. Search for Virtual Network in services.
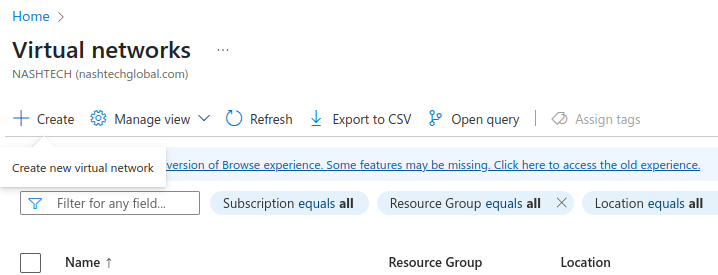
2. Click on create to create it.
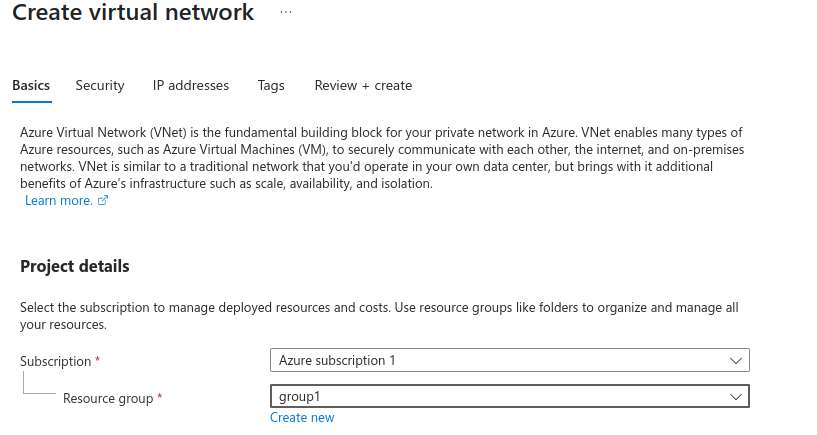
Select subscription and resource group here.
Give a virtual network name and choose region in which we want to create.
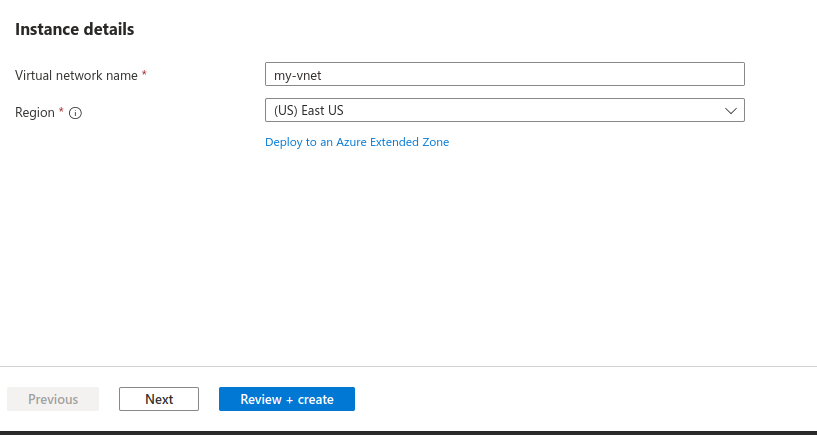
Click on Next.
4. Now, we need to configure IP addresses. We need to configure our virtual network address space with the IPv4 and IPv6 addresses and subnets we need.
Let’s create subnet here, as we know that the subnets are the sub-components of vnet.
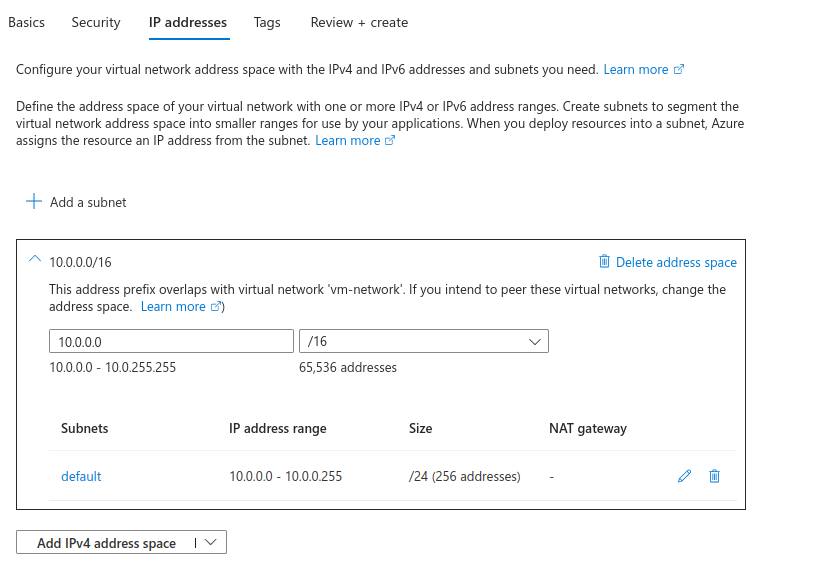
We can do this from here.
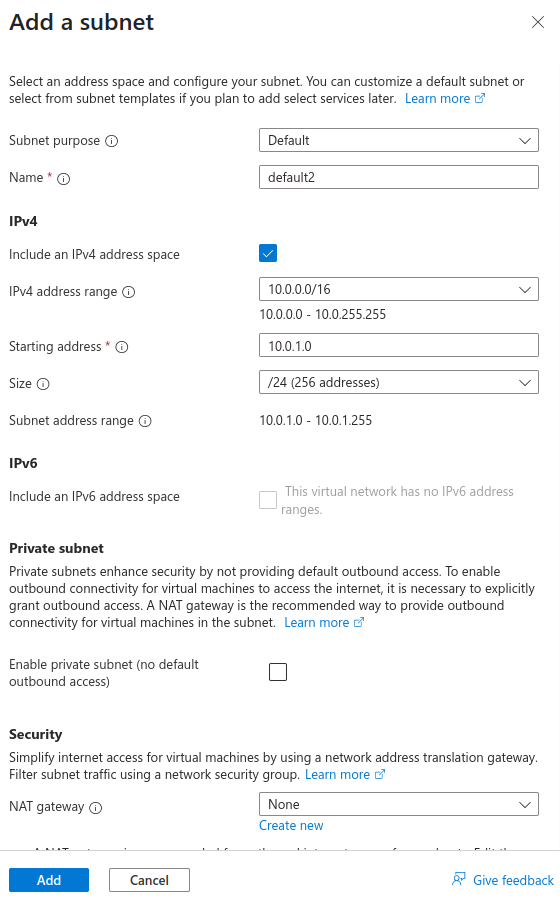
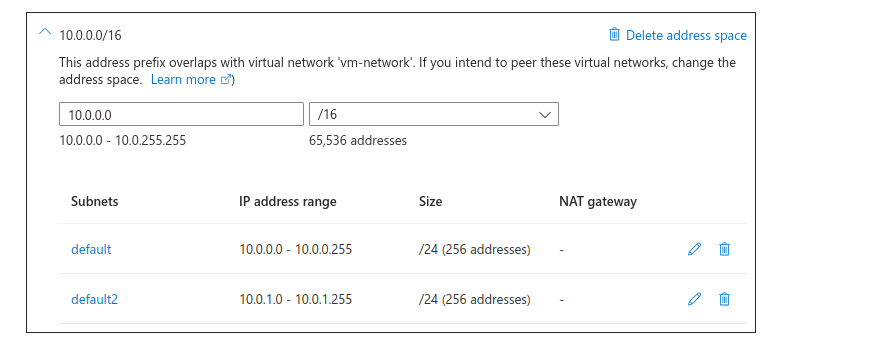
The subnet got added here.
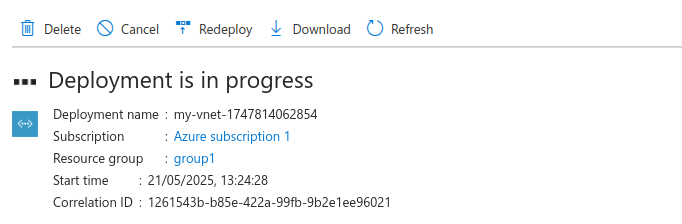
Click on Review+Create.
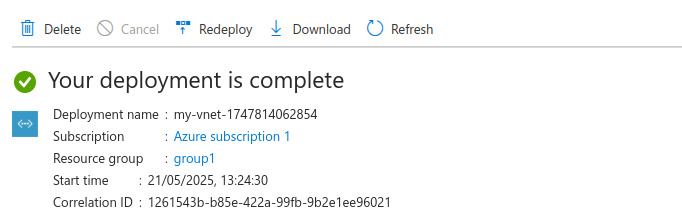
Deployment is in progress.
Got completed now.
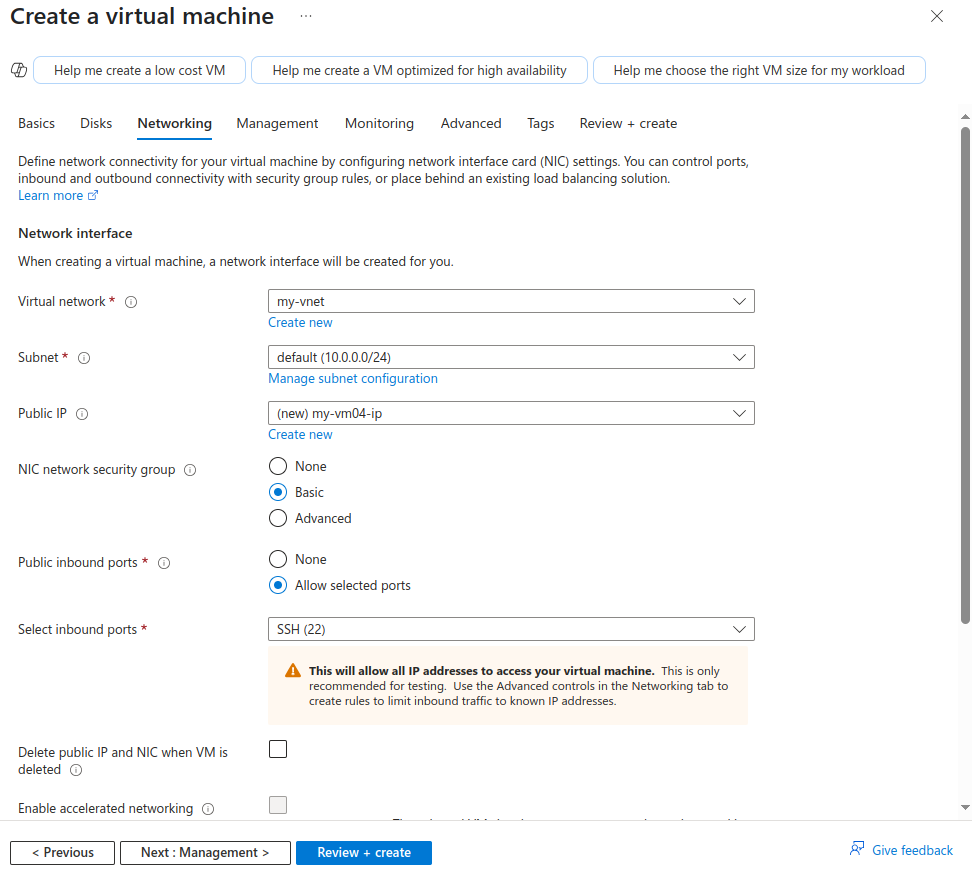
Now, let’s create a VM inside this VNet.
While creating a VM, choose our own virtual network and subnets created here.
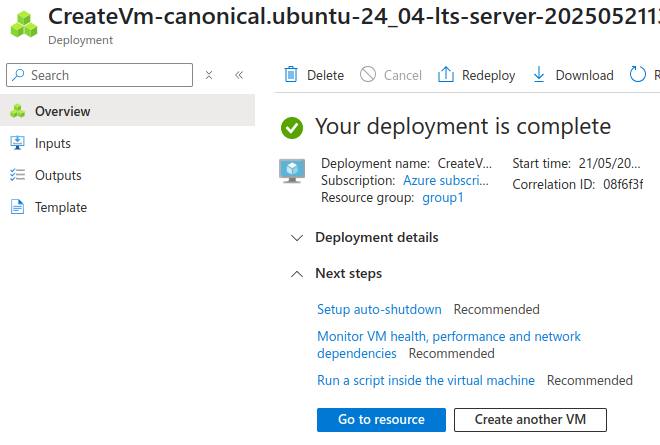
Then, review and create virtual machine.
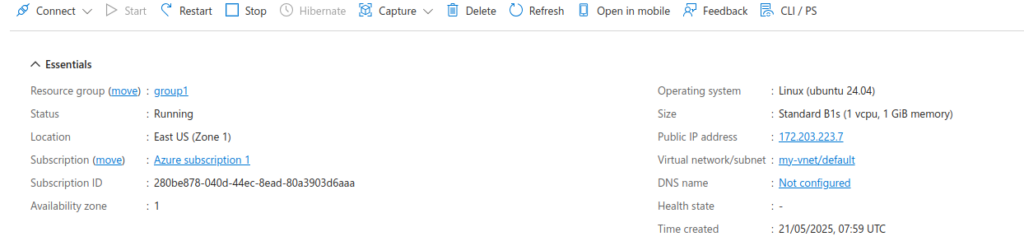
Finally, our VM got created in virtual network that we have created.
We are all done now!!!!
Conclusion
Thanks for being with me till end. So, In this blog we have learnt all about Microsoft Azure Virtual Network Service. How we can utilize it and setup azure virtual network. Therefore, it’s quite really interesting and easy to explore. If this blog helped you somewhere do like and share this blog with the needful.
HAPPY READING!!!