


By connecting Figma MCP (Model Context Protocol) to GitHub Copilot in VSCode, you can use AI agents to directly read your Figma designs and generate code based on specific design frames, simply by pasting a link.
– No more manual CSS guesswork
– No more UI inconsistencies
– You can literally say: “Copilot, implement the login screen from this Figma link” – and it will start generating code based on the real design
What You Will Learn?
- What Figma MCP is and how it works with Copilot
- How to configure it in your local
.mcp - How the link based extraction works (node-id parsing)
- How to use Agent Mode to implement UI directly from designs
- Real prompts you can use today
What Is Figma MCP and Why Is It Powerful?
Figma MCP (Model Context Protocol) is a server that allows GitHub Copilot to pull real time design data from Figma—including components, properties, layout and tokens.
Instead of manually inspecting a design, you simply provide a link to a frame or layer, and Copilot can access the underlying node (via node-id) to extract what you need.
Even though Copilot can’t visually browse the link, the MCP server decodes the node from the URL and returns structured design info to the agent.
Requirements Before Setup
| Tool | Description |
|---|
| VSCode | Latest version with GitHub Copilot Chat |
| Node.js | Required to run MCP server commands |
| Figma Access Token | Needed to authenticate your design requests |
| Copilot with MCP enabled | Experimental feature must be turned on |
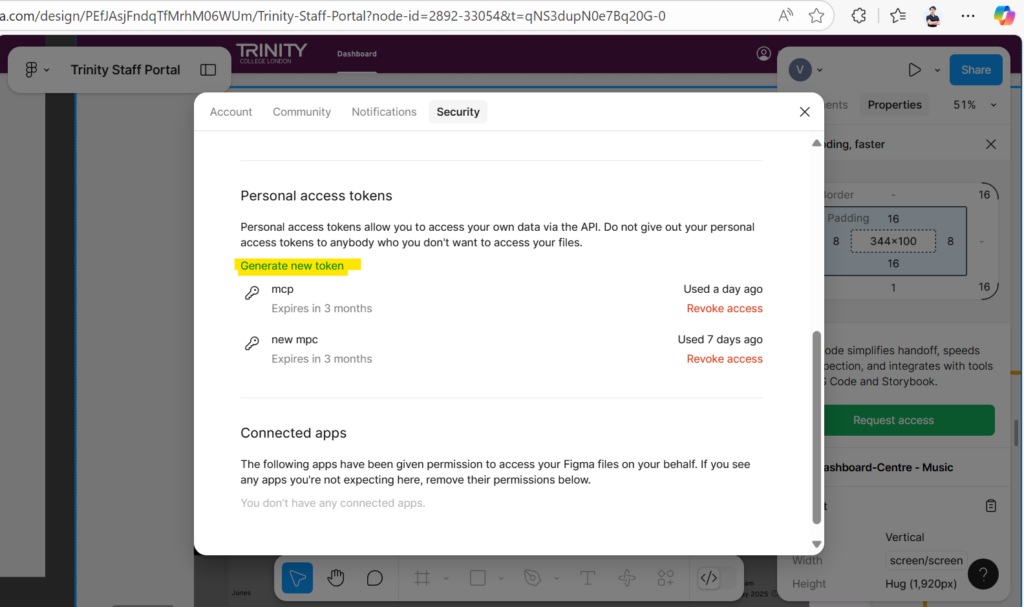
Step 1: Generate Your Figma Access Token
- Open Figma
- Go to Settings → Account
- Click Generate Personal Access Token
- Copy and save this token securely

Step 2: Configure the MCP Server in VSCode
Create a file inside your project directory:
.vscode/mcp.json
Example Configuration (best practice):
{
"inputs": [
{
"type": "promptString",
"id": "figma-key",
"description": "Figma API Key",
"password": true
}
],
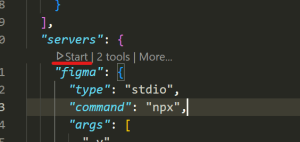
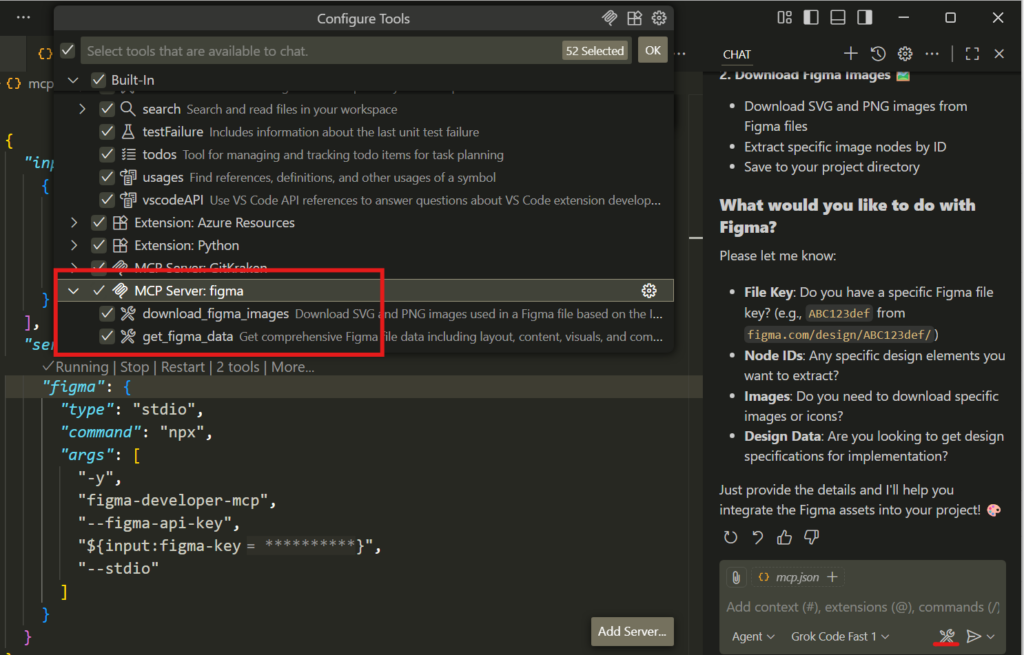
"servers": {
"figma": {
"type": "stdio",
"command": "npx",
"args": [
"-y",
"figma-developer-mcp",
"--figma-api-key",
"${input:figma-key}",
"--stdio"
]
}
}
}
Click Start to add the figma key (first time)
Or simple way (–node-options=–experimental-fetch this for old nodejs version)
{
"servers": {
"Framelink Figma MCP": {
"command": "cmd",
"args": [
"/c",
"npx",
"-y",
"--node-options=--experimental-fetch",
"figma-developer-mcp",
"--figma-api-key=FIGMA_KEY",
"--stdio"
]
}
}
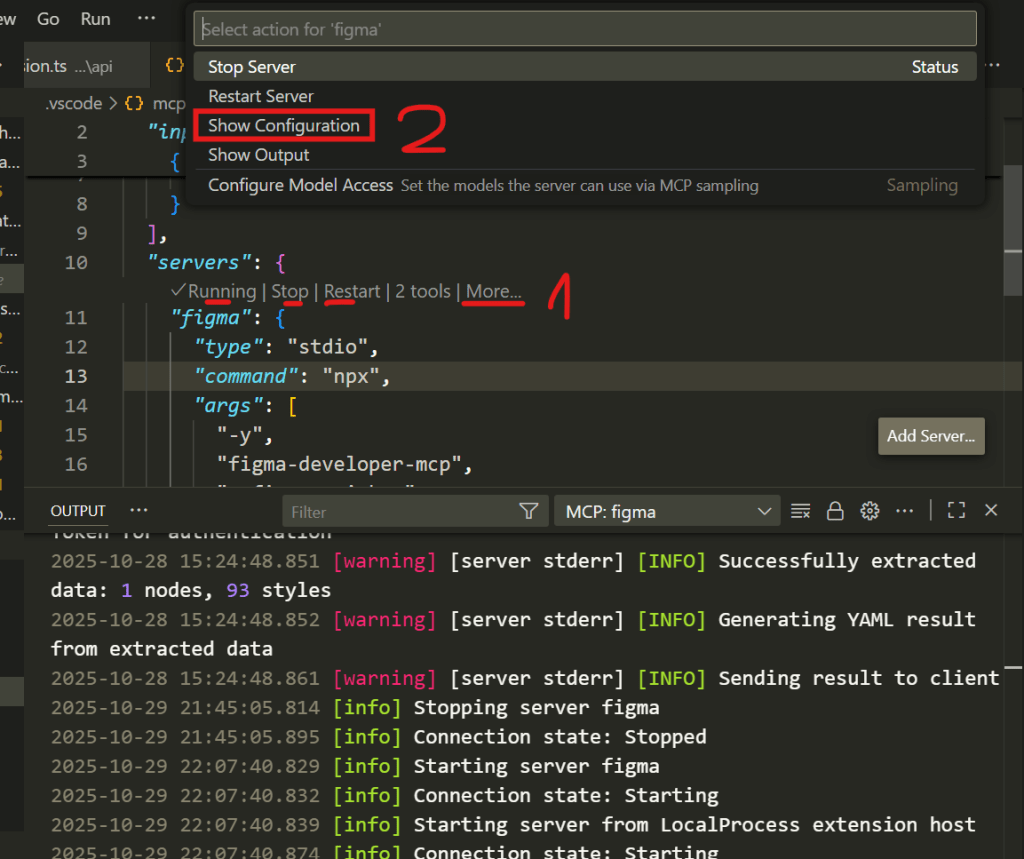
}Step 3: Verify Your Figma MCP Configuration
- Save your configuration file (.mcp)
- Restart or reload VSCode if mcp figma not enable
Step 4: Using Agent Mode with Figma MCP
Once MCP is properly configured, you can start using Agent Mode. I recommend using Sonnet 3.7 or Sonnet 4, as they provide better reasoning, design interpretation, and code generation performance.
How Link Based MCP Works:
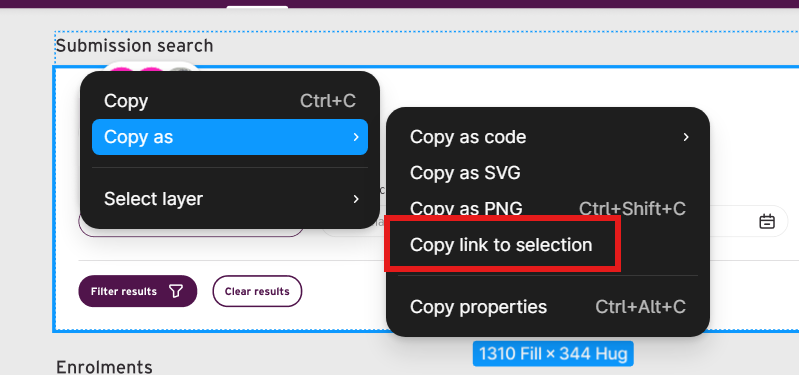
- You copy a layer link from Figma
- You paste it into Copilot Chat with your prompt
- Copilot extracts the
node-idfrom the URL - The Figma MCP server returns structured design info
- Copilot uses this data to generate your UI code

Example Copilot Agent Prompts
Generate UI from Design:
Here is a Figma frame: https://www.figma.com/file/ABCD123/login?node-id=45-110
Please generate a React component that matches this screen, including layout, padding, and font sizes.
Extract Design Tokens:
Use the Figma MCP server to extract the color and spacing tokens used in this node and convert them to CSS variables.Generate UI from Design with your Jira requirement:
Implement a React component based on the Figma design from this link: <PASTE_FIGMA_LINK>

Requirements and business logic (copied from Jira):
<PASTE_JIRA_REQUIREMENTS>

Please follow these best practices (we can put this list below to instruction - next section):
- Use functional React with TypeScript
- Follow our design system (components, spacing, typography)
- Ensure responsiveness using Flex or CSS Grid
- Use semantic HTML and proper accessibility (ARIA roles, labels)
- Extract repeated elements into reusable components
- Add mock JSON data structure if API data is not available
- Include loading and error states
- Write clean, maintainable code with clear naming conventions
- Do not include placeholder lorem ipsum — use meaningful labels
- If interaction logic is unclear, generate TODO comments for developer follow up

Output format:
1. Component folder structure
2. React + TypeScript code
3. Explanation of design decisions
Final Outcome
- With this setup, you can:
- Access Figma design details without leaving VSCode
- Let Copilot act as your design to code assistant
- Generate UI faster, with precise alignment to design systems
- Cut down handoff time and reduce miscommunication