


After completing Part 1, you have two options to deploy your microservices application: directly to EKS using Jenkins CI/CD (covered in Part 2) or use a GitOps workflow with ArgoCD. In this final part, we will focus on deploying and managing applications on your EKS cluster using ArgoCD, enabling automated, declarative, and version-controlled Kubernetes deployments.
Note: Before starting, make sure you have completed Part 1, which focuses on setting up AWS infrastructure and installing Jenkins.
1. Install and Configure ArgoCD
Connect to your EKS cluster and create a namespace for ArgoCD:
kubectl create namespace argocd
Install ArgoCD on your EKS cluster:
kubectl apply -n argocd -f https://raw.githubusercontent.com/argoproj/argo-cd/stable/manifests/install.yaml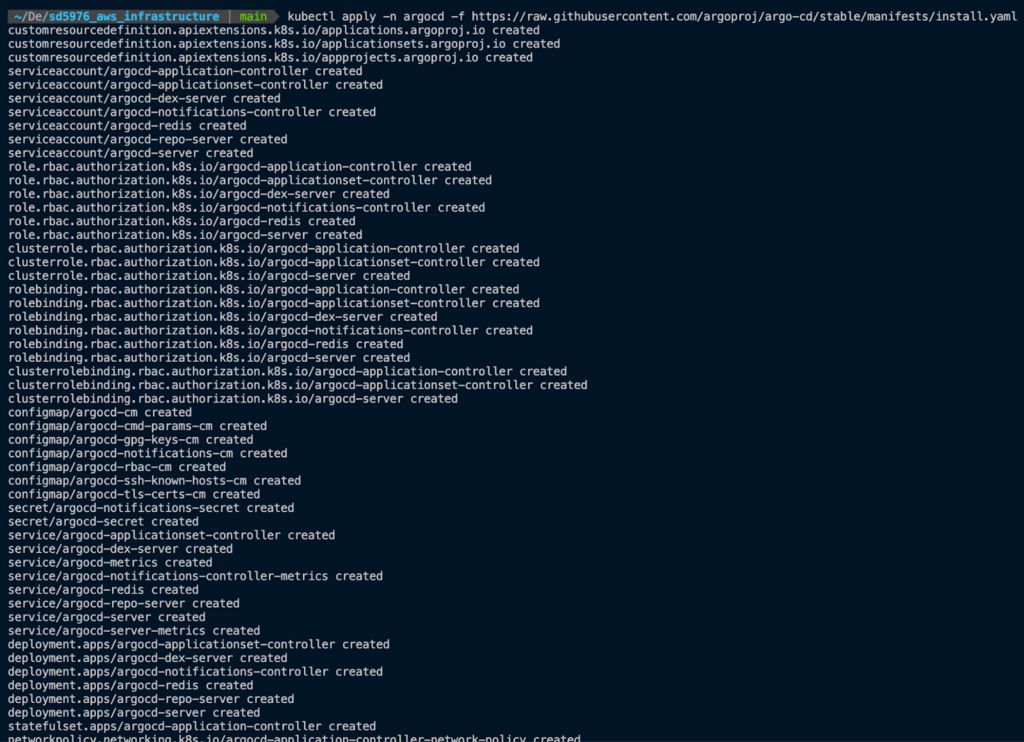
Wait for a few minutes while Kubernetes creates the pods, then check that all ArgoCD pods are running:
kubectl get pods -n argocd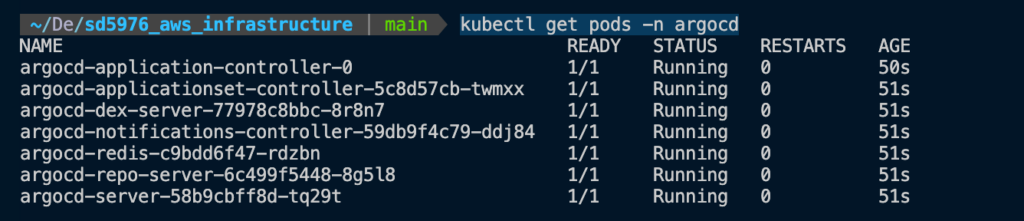
We need to retrieve the initial admin password and decode it from the base64-encoded secret:
kubectl -n argocd get secret argocd-initial-admin-secret -o jsonpath="{.data.password}" | base64 --decode; echo
Forward ArgoCD server port from EKS to your local machine:
kubectl port-forward svc/argocd-server -n argocd 8080:443
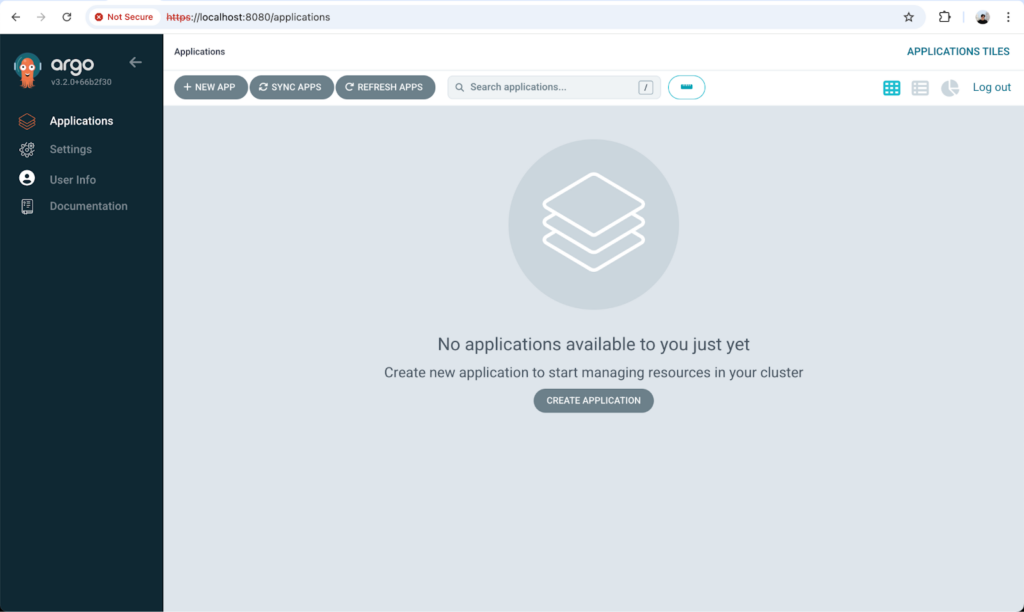
Open your browser and go to https://localhost:8080.
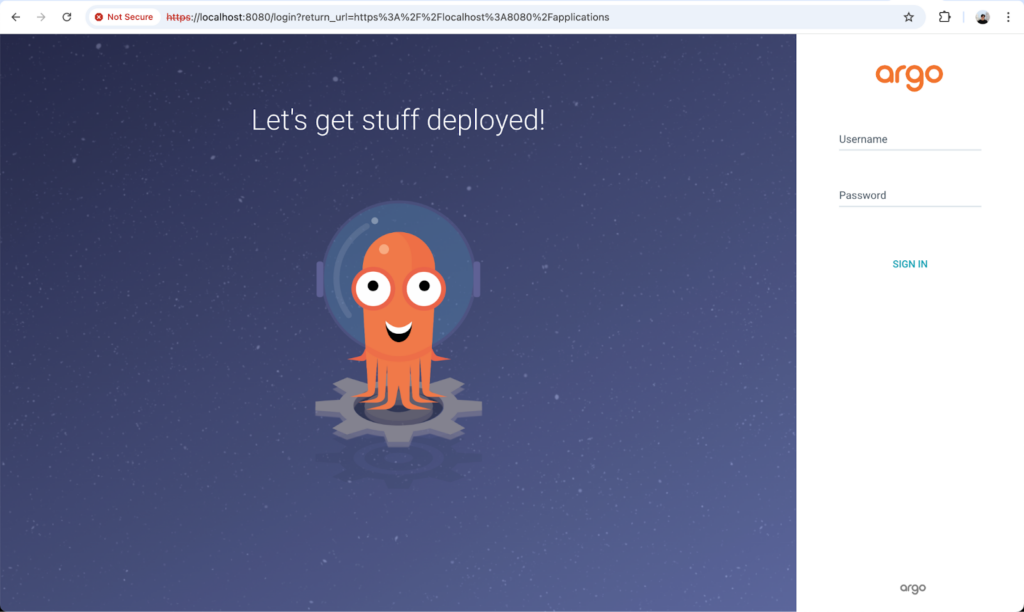
Login to ArgoCD with:
- Username: admin
- Password: the decoded password from the previous step.
Once you can access the ArgoCD web interface, login via the CLI:
argocd login localhost:8080 --insecure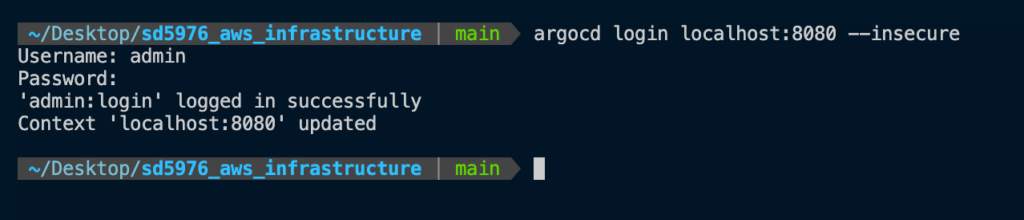
2. Connect ArgoCD to Your Deployment Repository
Refer to source code: sd5976_devops_cicd_deployment
Go to sd5976_devops_cicd_deployment/argocd-deployment, run ecr-secret script to create ECR in EKS. This help ArgoCD can pull images from ECR inside EKS.
bash ecr-secret.sh -l app.kubernetes.io/name=argocd-image-updater -f
Add your Git repository to ArgoCD:
argocd repo add https://github.com/tri-dominh/sd5976_devops_cicd_deployment --username <your_username> --password <your_password>3. Deploy the MSA Application
Use application.yaml file to create sd5976_msa app in argocd:
kubectl apply -f application.yamlCheck application status in ArgoCD:
argocd app get sd5976-msa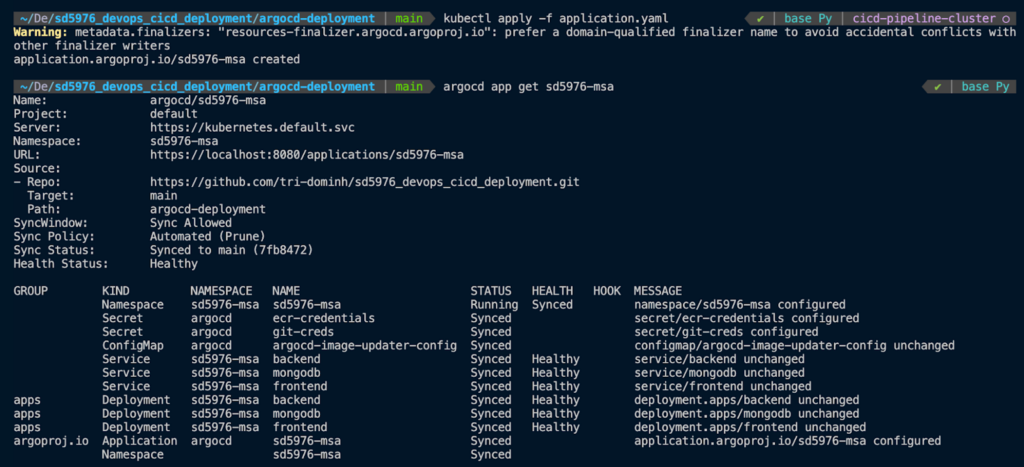
Apply the image-updater-config.yaml file so that ArgoCD can automatically update images from ECR:
kubectl apply -f image-updater-config.yaml
Once the deployment starts, you can monitor the pods running in the sd5976-msa namespace:
kubectl get pods -n sd5976-msa -w
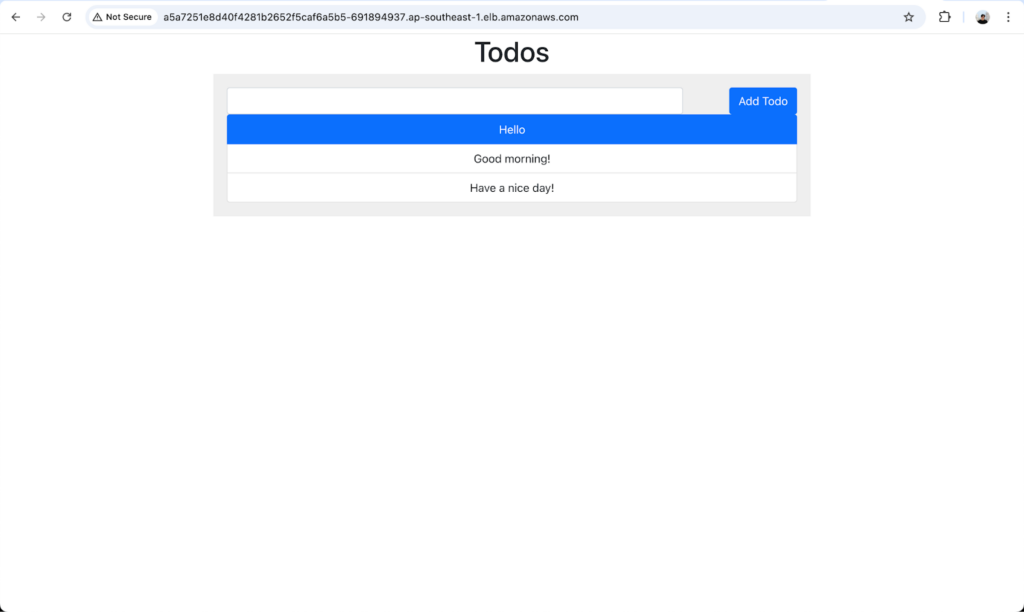
4. Monitor and Access Your Application
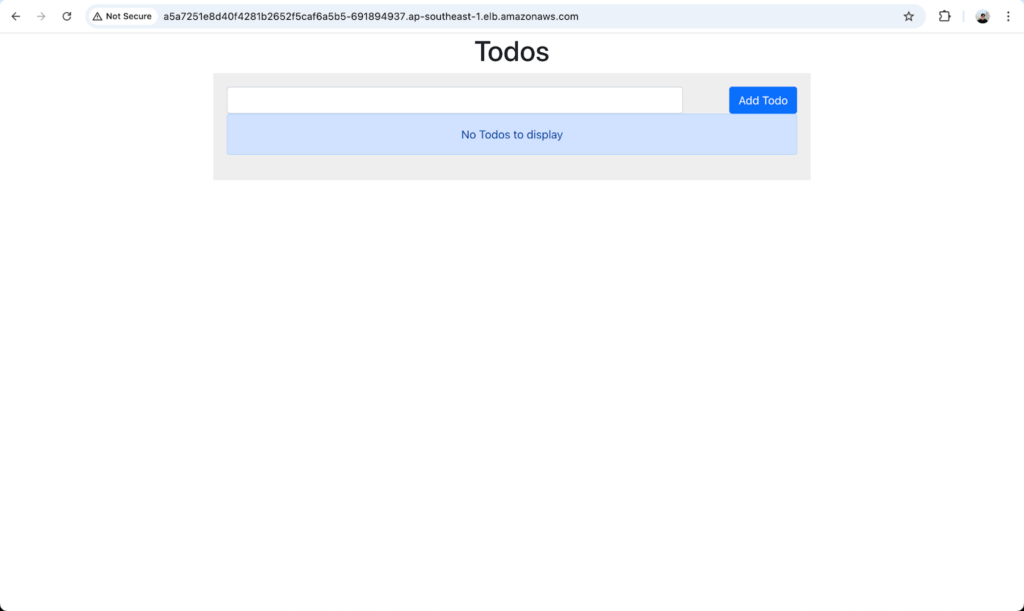
Once all pods are running, get the frontend service URL:
kubectl get svc frontend -n sd5976-msa
Access your application in a browser using the external URL provided.
Optional: You can also integrate Prometheus and Grafana monitoring as described in Part 2 to track your microservices metrics.
5. Wrap Up
In this final part of our series, you have successfully:
- Deployed your AWS infrastructure using Terraform.
- Set up Jenkins and created CI pipelines for your microservices.
- Learned how to deploy and manage applications on EKS using ArgoCD with automated image updates.
- Verified that your frontend and backend services are running and accessible.
With this, your CI/CD pipeline is fully operational, combining Infrastructure as Code, continuous integration, and GitOps deployment for a robust and scalable microservices architecture.