


While browsing the internet to gather materials, I realized a common pattern in most Virtual DOM articles today:
they focus heavily on pros & cons (sometimes even spreading incorrect information), or they stay at a very high-level conceptual explanation without really helping frontend developers—or developers in general—understand what’s actually going on under the hood.
You’ve probably heard statements like these before:
- Virtual DOM is the best because React uses it, and React is the best.
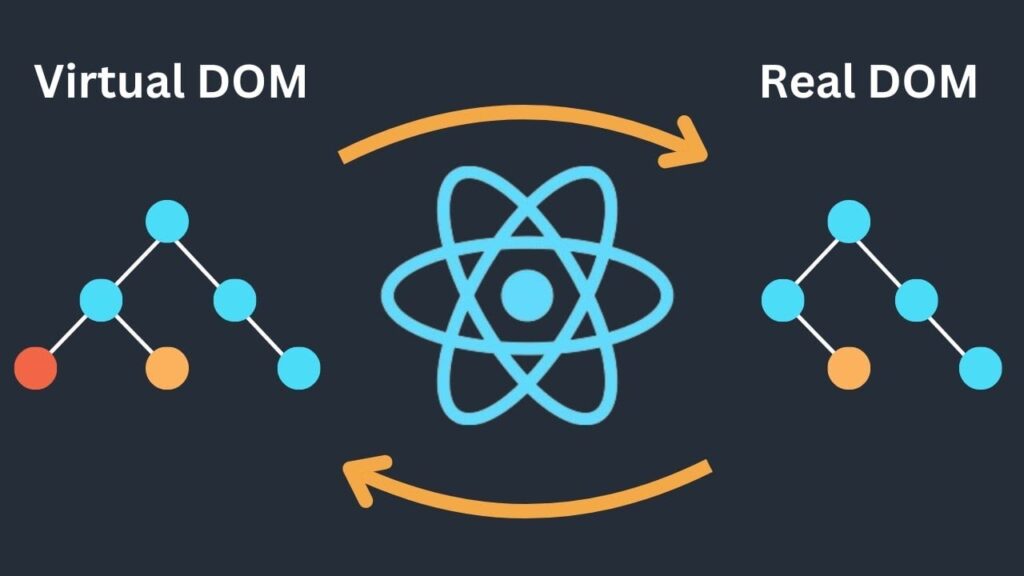
- Virtual DOM is simply a way to represent the DOM as JavaScript objects, and whenever the object changes, it maps the changes back to the real DOM.
- Virtual DOM is fast and has great performance.
- Bla bla… mostly praise.
On top of that, many low-quality (but expensive) courses—especially those targeting career switchers or even CS students—tend to teach just enough to “get a job”, while skipping or hand-waving important core concepts.
Recently, I’ve even seen courses with the mindset:
Facebook → React → React is the best
Which leads to misconceptions among learners.
In reality, there are plenty of foreign blog posts that criticize the Virtual DOM approach:
- https://svelte.dev/blog/virtual-dom-is-pure-overhead
- https://engineering.monstar-lab.com/en/post/2022/05/26/Is-Virtual-DOM-Outdated/
Despite all that, since Virtual DOM is still hot (even though it’s not as fast as many people claim), I decided to write this article anyway… just to grab a bit of fame 😆
⚠️ Warning ⚠️
This article focuses on basic concepts, not a 100% accurate or complete implementation compared to real-world systems like react-reconciler.
If you want to understand how React actually works with Virtual DOM in detail, please refer directly to the official repo:
👉 https://github.com/facebook/react/tree/main/packages/react-reconciler
This implementation demonstrates tree construction and scheduling concepts of Virtual DOM. It does not include reconciliation, diffing, or update logic like React does.
Enough talking. Let’s get into the real thing.
In this article, I won’t repeat surface-level explanations of Virtual DOM—you can find those everywhere.
What we’re going to do today is:
“Create your own simple Virtual DOM”
Talk is cheap. Show me the code.
Step 1: Create createVNode
Open VSCode (why VSCode? Because I like it 😁—use whatever you want).
Create a file named vnode.js.
We’ll start with a function createVNode that takes:
tag: HTML tag name (div,span,p, …)props: attributes likeid,class,style, etc.dom: the actual DOM node corresponding to this VNodeparent: parent VNodechild: first child VNodesibling: next sibling VNode
function createVNode(tag, props) {
  return {
    tag,
    props,
    dom: null,
    parent: null,
    child: null,
    sibling: null
  };
}
Step 2: Create createDom
This function receives a VNode and renders it into the real DOM.
Logic:
- If it’s a text element → create a text node
- Otherwise → create an element node
- Map
propsto DOM attributes - Handle special props like
styleand events
const EVENTS = ["onClick", "onChange"];

function createDom(vnode) {
  const dom =
    vnode.tag === "TEXT_ELEMENT"
      ? document.createTextNode(vnode.props.textContent)
      : document.createElement(vnode.tag);

  if (vnode.tag !== "TEXT_ELEMENT") {
    const isProperty = (key) => key !== "children";

    Object.keys(vnode.props)
      .filter(isProperty)
      .forEach((name) => {
        if (name === "style") {
          const style = vnode.props.style;
          Object.keys(style).forEach((styleKey) => {
            dom.style[styleKey] = style[styleKey];
          });
        } else {
          dom[EVENTS.includes(name) ? name.toLowerCase() : name] =
            vnode.props[name];
        }
      });
  }

  return dom;
}
Step 3: Render Function (Render Phase)
We now create a render function, similar to ReactDOM.createRoot.
Global variables
nextUnitOfWork: tells us which VNode should be processed nextwipRoot: Work-In-Progress Root, where the new UI tree is built
These concepts are inspired by React Fiber, enabling incremental rendering and avoiding main-thread blocking (unlike old stack-based rendering).
let nextUnitOfWork = null;
let wipRoot = null;

function render(element, container) {
  const rootVNode = createVNode("ROOT", { children: [element] });

  nextUnitOfWork = rootVNode;
  wipRoot = rootVNode;
  wipRoot.dom = container;

  while (nextUnitOfWork) {
    nextUnitOfWork = performUnitOfWork(nextUnitOfWork);
  }

  if (wipRoot) {
    commitRoot(wipRoot);
  }
}
Step 4: Unit of Work & Rendering Children
performUnitOfWork
- Create DOM if it doesn’t exist
- Render children
- Decide which VNode to process next (child → sibling → parent)
function performUnitOfWork(vnode) {
  if (!vnode.dom) {
    vnode.dom = createDom(vnode);
  }

  if (vnode.props.children) {
    renderChildren(vnode, vnode.props.children);
  }

  if (vnode.child) {
    return vnode.child;
  }

  let nextVNode = vnode;
  while (nextVNode) {
    if (nextVNode.sibling) {
      return nextVNode.sibling;
    }
    nextVNode = nextVNode.parent;
  }

  return null;
}
renderChildren
This function mutates the VNode tree by linking child and sibling.
function renderChildren(wipVNode, elements) {
  let index = 0;
  let prevSibling = null;

  while (index < elements.length) {
    const element = elements[index];
    let newVNode = null;

    if (typeof element !== "string") {
      newVNode = createVNode(element.tag, element.props);
    } else {
      newVNode = createVNode("TEXT_ELEMENT", { textContent: element });
    }

    newVNode.parent = wipVNode;

    if (index === 0) {
      wipVNode.child = newVNode;
    } else {
      prevSibling.sibling = newVNode;
    }

    prevSibling = newVNode;
    index++;
  }
}
Step 5: Commit Phase
Now we apply everything to the real DOM.
function commitRoot(rootVNode) {
  commitWork(rootVNode.child);
  wipRoot = null;
}

function commitWork(vnode) {
  if (!vnode) return;

  const domParent = vnode.parent.dom;
  domParent.appendChild(vnode.dom);

  commitWork(vnode.child);
  commitWork(vnode.sibling);
}
Final Thoughts
As you can see, keeping a copy of the DOM as objects and checking differences does consume memory 😂.
And React’s performance in 2023 is not as magical as many people claim.
Hopefully, React will evolve into something even more interesting in the future—so we can learn new things again 😃.
Demo with Vite
vite.config.js
import { defineConfig } from "vite";

export default defineConfig({
  plugins: [],
});
package.json
{
  "name": "my-vdom",
  "private": true,
  "version": "0.0.0",
  "type": "module",
  "scripts": {
    "dev": "vite",
    "build": "vite build",
    "preview": "vite preview"
  },
  "devDependencies": {
    "vite": "^5.0.0"
  },
  "author": "quangnv"
}
index.html
<!doctype html>
<html lang="en">
  <head>
    <meta charset="UTF-8" />
    <meta name="viewport" content="width=device-width, initial-scale=1.0" />
    <title>Vite</title>
  </head>
  <body>
    <div id="root"></div>
    /src/main.js
  </body>
</html>
src/App.js
(JS object instead of JSX)
function App() {
  return {
    tag: "div",
    props: {
      children: [
        {
          tag: "h1",
          props: {
            children: ["Hello, world!"],
            style: { fontFamily: "sans-serif" }
          }
        },
        {
          tag: "p",
          props: {
            children: ["This is a paragraph."],
            style: { backgroundColor: "red", fontSize: "30px" }
          }
        },
        {
          tag: "button",
          props: {
            children: ["Click me"],
            style: {
              backgroundColor: "green",
              fontSize: "30px",
              cursor: "pointer"
            },
            onClick: () => console.log("click")
          }
        }
      ]
    }
  };
}

export default App;
src/main.js
import { render } from "./vnode/vnode";
import App from "./App";

const rootElement = document.getElementById("root");
render(App(), rootElement);
That’s it 🎉
The Virtual DOM we built here is obviously very primitive—no updates, no state, no effects—but that’s the point.
If everything were implemented here, Facebook wouldn’t need a massive react repository 😄