


Today enterprises’ organizational information is scattered across multiple sources like, email threads, drives, and proprietary repositories. As the volume of organizational content grows, traditional keyword‑based search tools fail to scale. This leads to lost productivity, inconsistent answers, increased support costs, and duplicated work across departments. How can we resolve this issue? And, what are our options?
Amazon Kendra addresses these challenges by providing a ML‑powered enterprise search service designed to provide accurate, context‑aware information from across an organization’s all data sources.
In this blog, we’ll walk through how to create an Amazon Kendra index, configure IAM roles, connect an S3 data source, sync documents, and run queries. In the end, we’ll also learn how to clean up every resource afterward, in case required.
Amazon Kendra vs Elasticsearch
| Category | Amazon Kendra | Elasticsearch |
|---|---|---|
| Search Type | NLP + ML | Keyword + Vector search |
| Data Source(s) | S3, SharePoint, DBs, etc. | Any data source via ingestion pipelines |
| Deployment | Fully managed AWS Service | Elastic Cloud (or self-managed) |
| Pricing | Hourly per index tier | Elastic Cloud pricing (in case using Elastic Cloud) or as self-managed infrastructure cost (if self-managed) |
| Best-suited for | Enterprise Semantic Search | Full-text search, observability, analytics, logs, etc. |
Guide to Create Amazon Kendra Index
This guide is based on a real hands‑on workflow. It captures not only the successful path but also important points to take care of, like creating correct IAM trust policies, looking for region mismatches, and many more. If you want to automate Amazon Kendra workflow or understand what’s actually happening behind the scenes, then this guide is the best place to look for.

Step 1: Create Index
To begin, we need to create an Index in Amazon Kendra. Now, one key point we need to note is, select Developer Edition in place of Enterprise Edition. Since Enterprise Edition costs over $1/hour, hence this can cost a lot over time. Also, in case we accidentally create an Enterprise Edition Index, then AWS won’t let us delete it until it is fully created.
- Specify Index details, especially
Index nameandIAM Role name
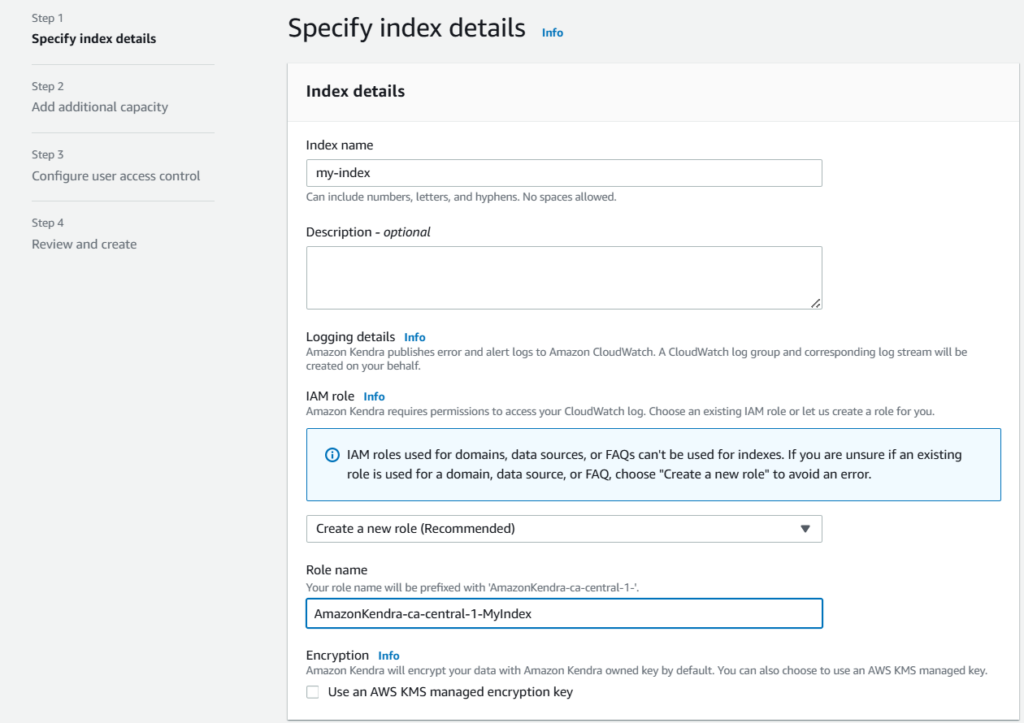
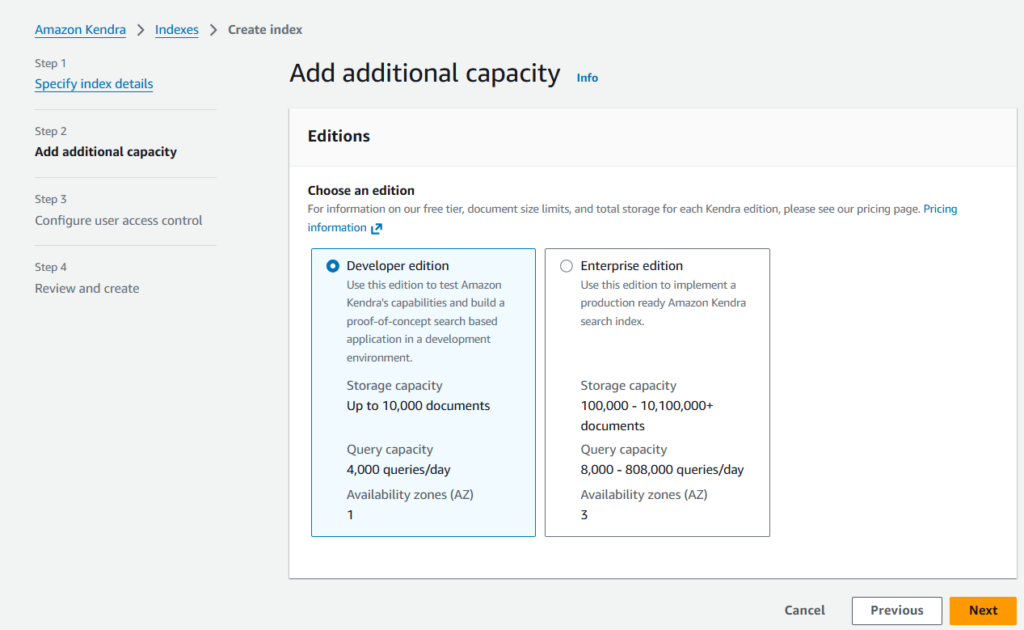
- Select the edition –
DeveloperorEnterprise. For demo purpose, we are usingDeveloperedition to keep the cost low.
- Configure user access control. For now, we’ll select the default options, but if required, we can configure token(s) for the access control.

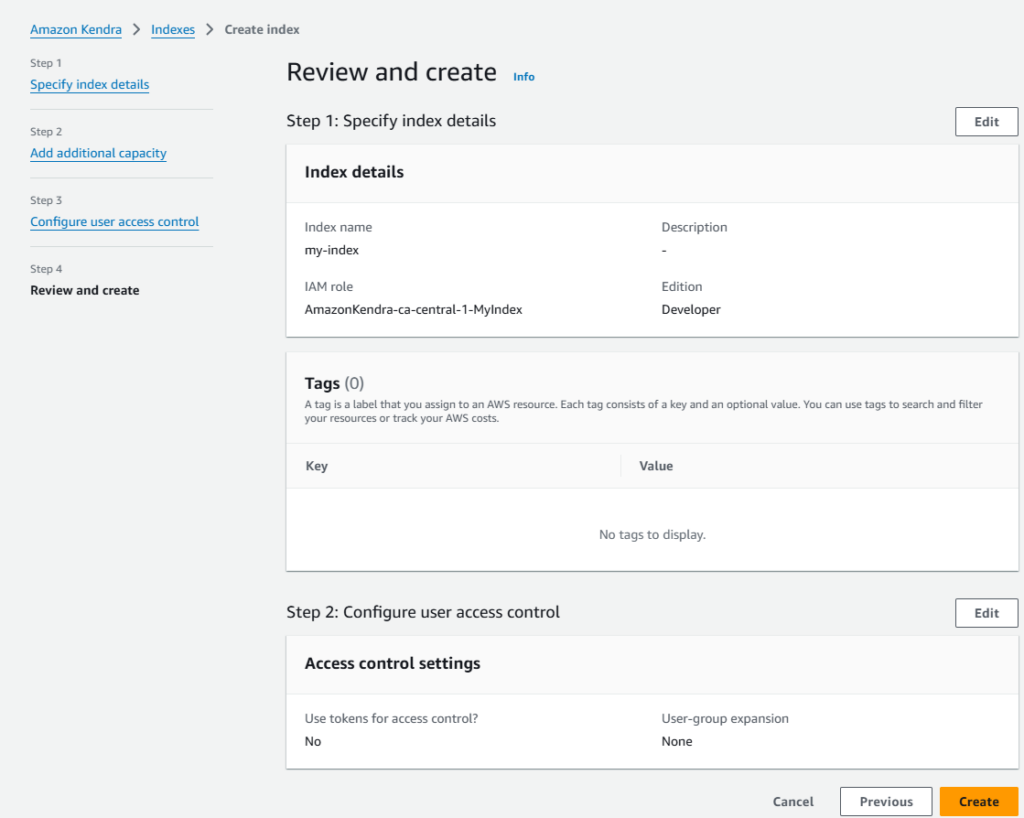
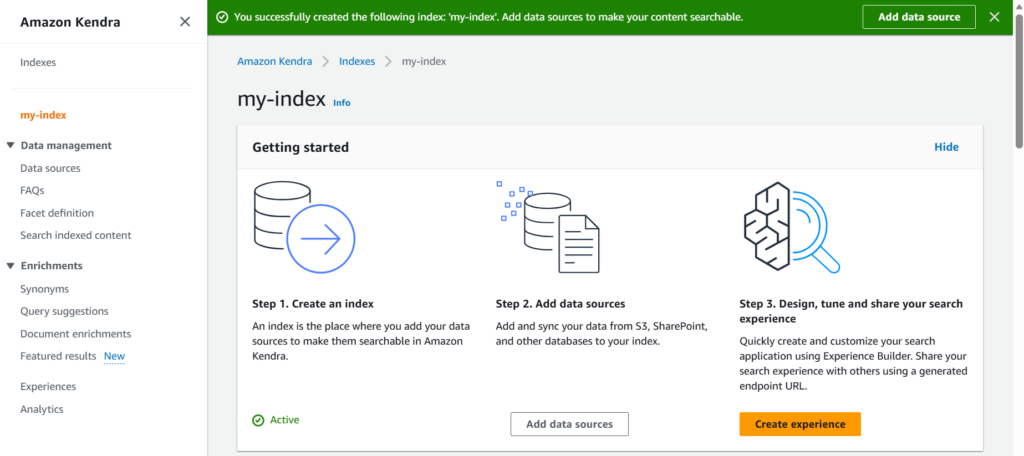
- Review the index details and create it
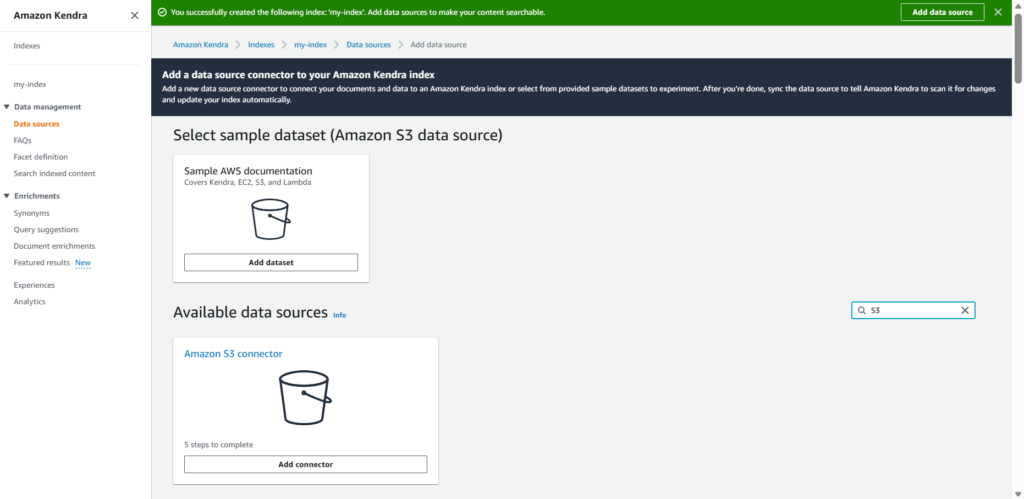
Step 2: Add Data Source
Next step is to add a data source for ingesting data in Kendra. For demo purpose we’ll use S3, a simple and cost-effective data source to understand how Amazon Kendra works.
- Add data source
- Select the data source. Here we are using S3.
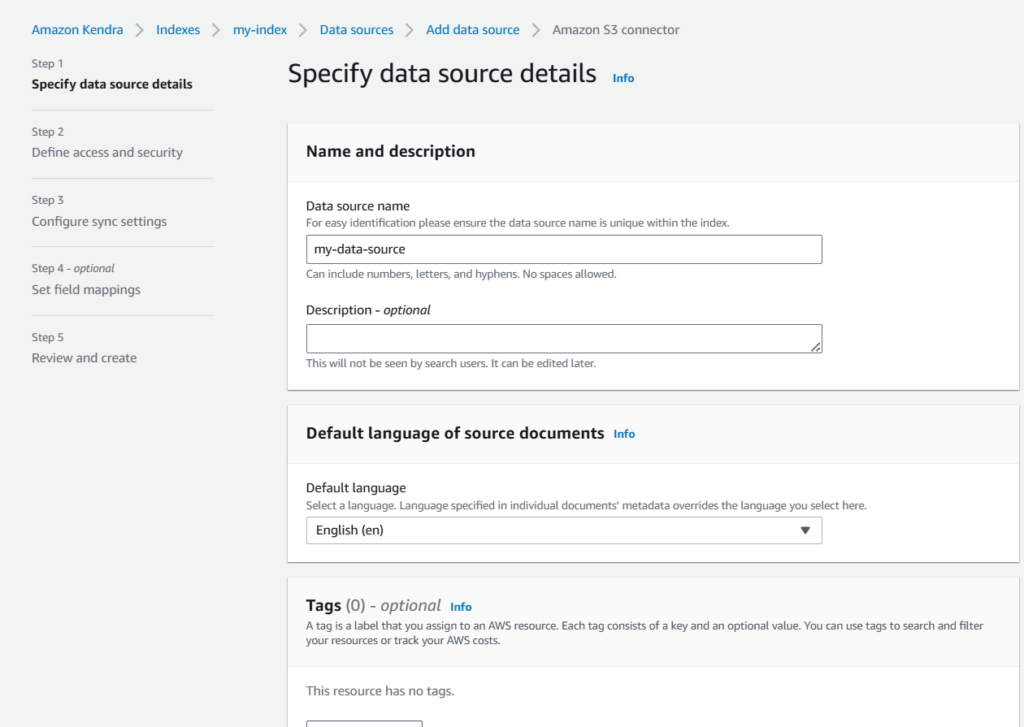
- Specify data source details
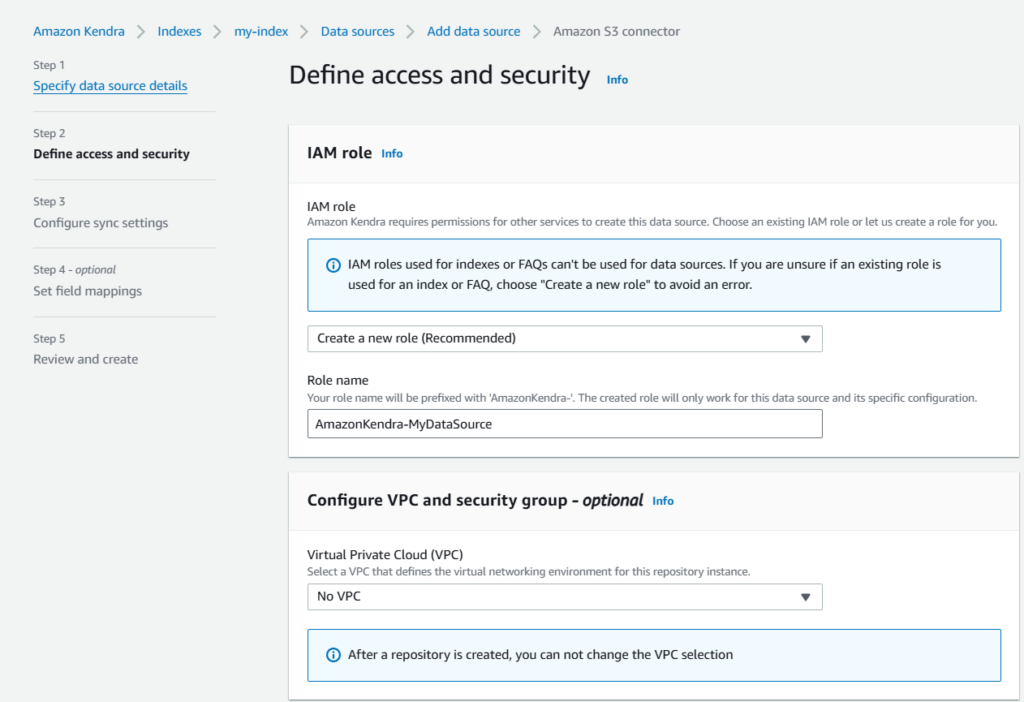
- Create a new IAM Role for access.
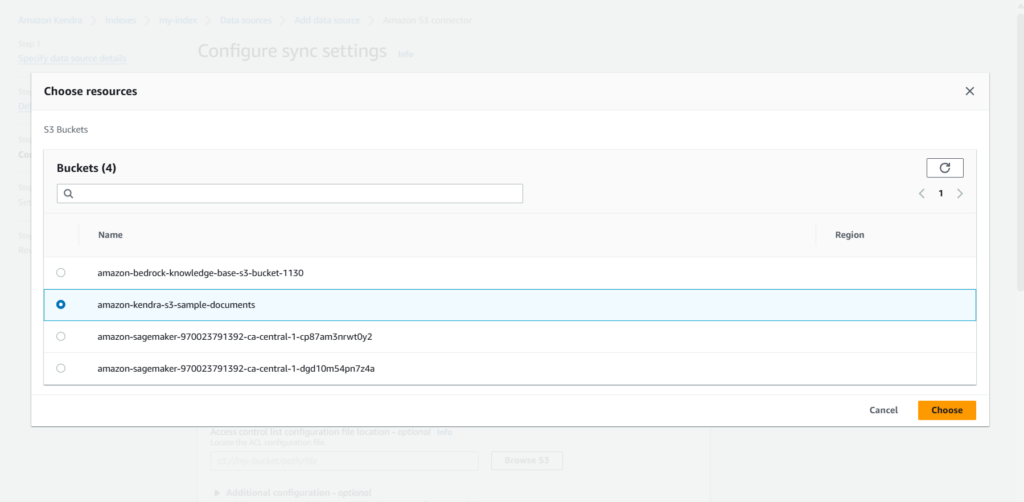
- Configure the S3 bucket from where the documents will be synced in the index
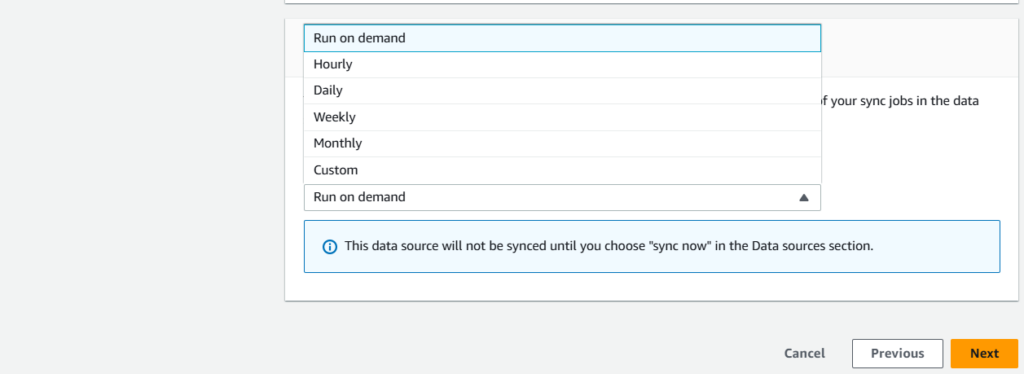
- Along with the sync source, we also need to select the sync run schedule. For now we’ll select
Run on demand, but we can select any schedule, as per the requirement.
- Optionally, we can configure the field mappings as well. However, for this demo we’ll not set any field mapping.

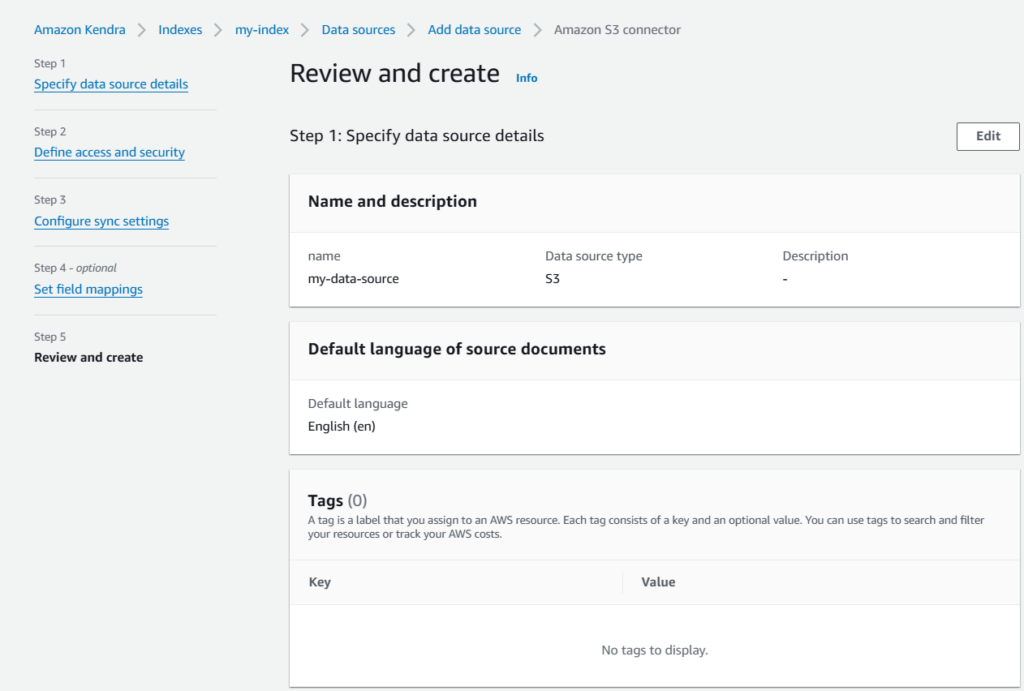
- At last, review the data source details and add it.
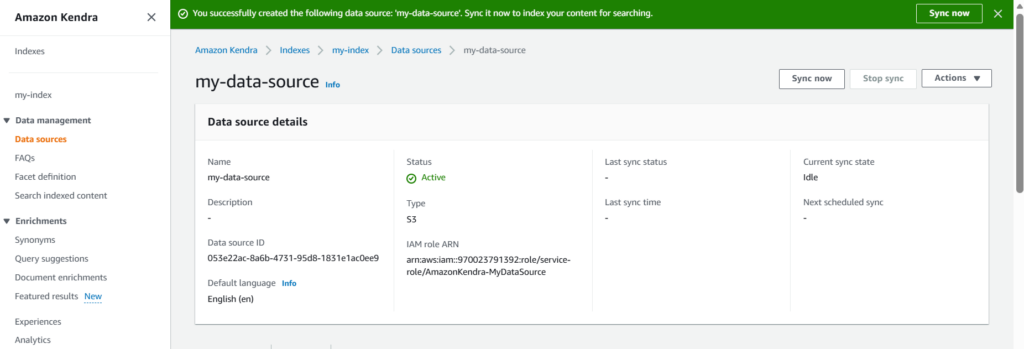
Step 3: Initiate Sync
After adding the data source, we need to initiate the sync job.
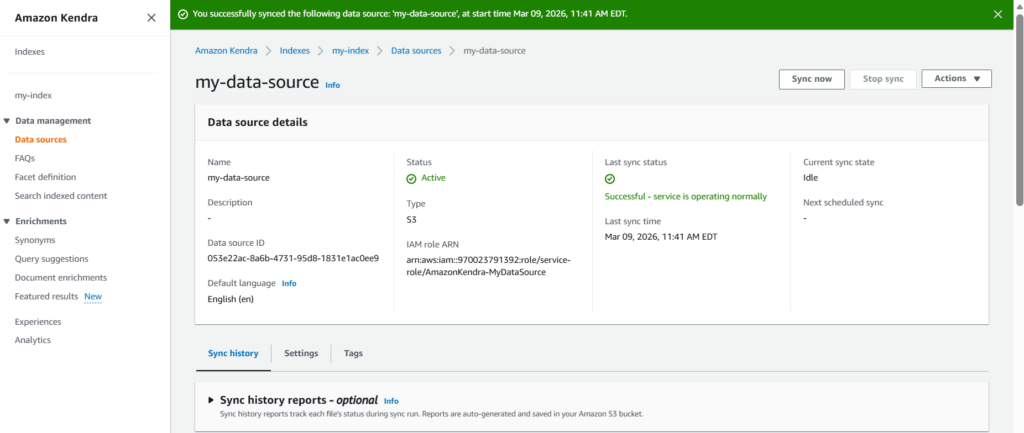
While syncing we need to make sure that the IAM roles/permissions are setup right. If not, the sync job might fail.
Step 4: Test the Index
Once sync is complete, we can run search queries over it. For this we can use Search console.
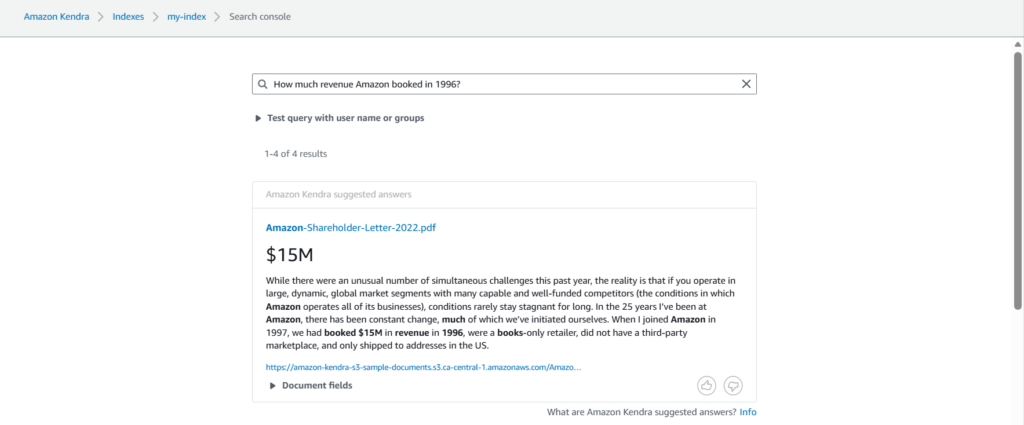
Here we can see that the Amazon Kendra applies semantic and contextual understanding, enabling users to ask natural‑language questions and receive the most relevant document/answer excerpts in return.
Step 5: Clean Up all Resources
In case, an index is not required anymore, it should be deleted along with its resources, to avoid any charges. To do so, we need to clean-up the following resources:
- Delete the Amazon Kendra Index

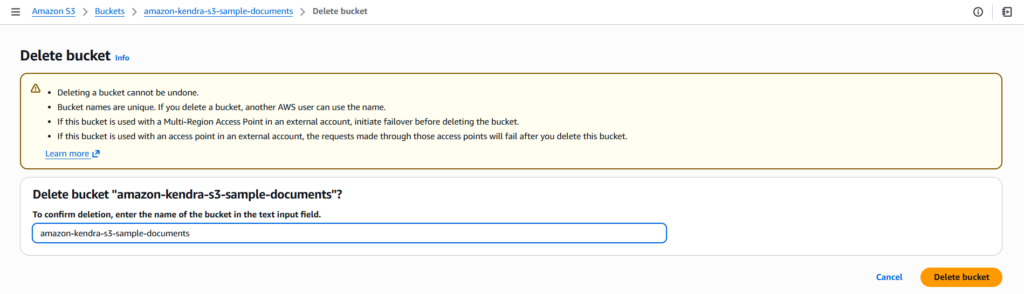
- Empty and delete all S3 buckets
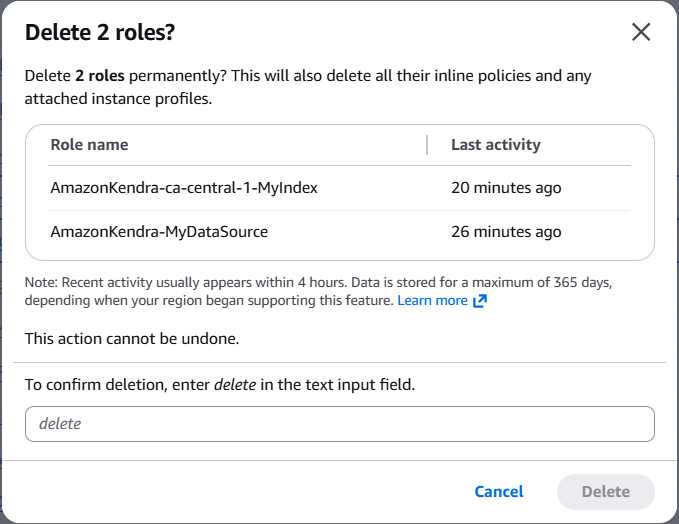
- Remove associated IAM Roles & Policies
In-Summary
Now, we know how we can leverage Amazon Kendra to design and develop a ML-powered search solution. Whether it is for development purpose or for end-users of an enterprise, it can deliver both. Over and above, it is scalable and flexible enough to integrate with a bunch of data sources without hassle.
Hopefully you found this blog insightful. In case you want to share your thoughts, please do so via comments 🙂