


Introduction
Apigee, a full-featured API platform from Google Cloud, offers a comprehensive set of tools to help you achieve this. In this guide, we’ll explore Apigee proxies, one of its fundamental components. An Apigee proxy is a configuration that acts as an intermediary for your API. It sits between your clients (applications, websites, or services) and your backend API endpoints. It allows you to manage, secure, and analyse your APIs effectively. we’ll walk you through the process of creating an API proxy in Apigee.
Prerequisites:
- An Apigee account (Sign up at https://cloud.google.com/apigee).
- A basic understanding of APIs.
Step 1: Sign in to Apigee
- Go to the Apigee website (https://cloud.google.com/apigee).
- Sign in to your Apigee account or log in using your existing Google Cloud credentials.
Step 2: Access the Apigee Edge UI
After signing in, you’ll be directed to the Apigee Edge UI. This is your command center for API proxy management.
Step 3: Create a New API Proxy
- In the Apigee Edge UI, click on the Develop tab located in the left sidebar.
- In the Develop tab, click on the API Proxies submenu.
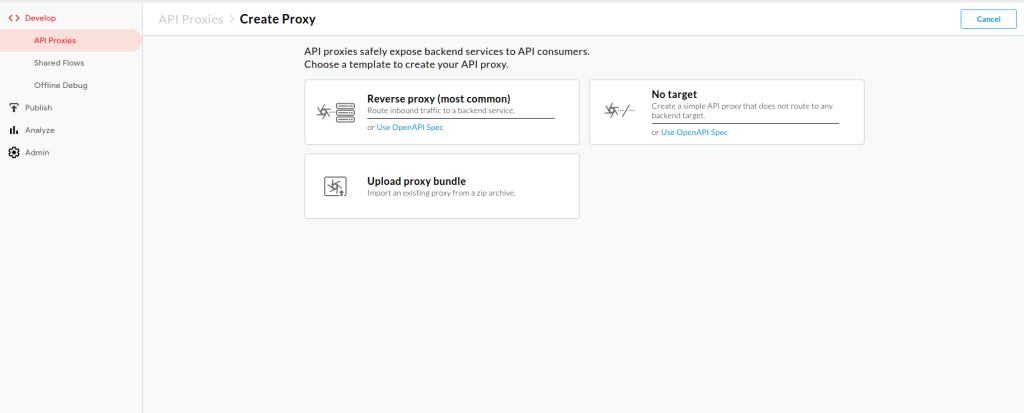
- Here, you’ll find a list of your existing API proxies. To create a new one, click the + Proxy button at the top.
- You’ll be prompted to select a proxy type. Choose the Reverse proxy (most common) option for this guide. The reverse proxy is used when you want to expose an existing backend service as an API.
- Click Next to proceed.
Step 4: Configure the API Proxy
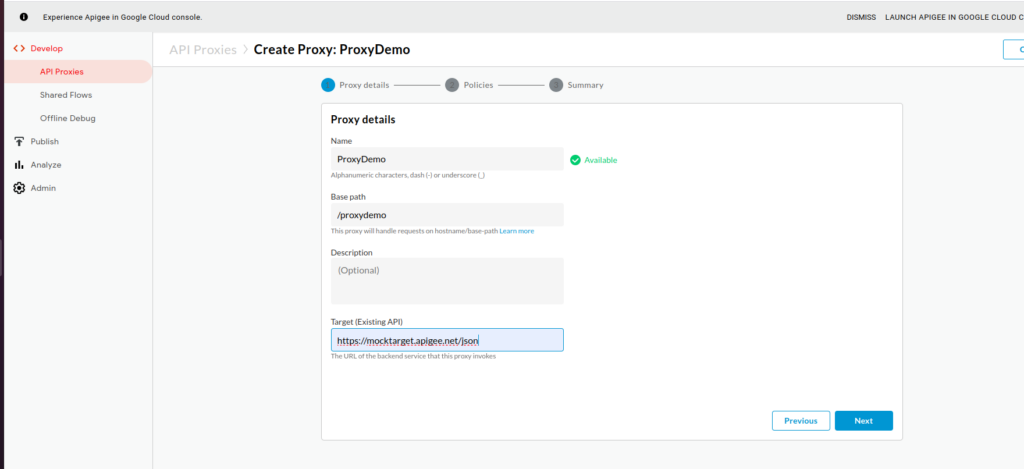
Now, you need to configure the basic settings for your API proxy:
- Proxy Name: Give your API proxy a name. This should be unique within your Apigee organization.
- Display Name: This is an optional field for providing a more user-friendly name for your proxy.
- Base Path: The base path is the URL path at which your API will be accessible. For this guide, we’ll use “/proxydemo” as the base path.
Once you’ve filled in these details, click Next.
Step 5: Define a Proxy Endpoint
Now, you’ll specify the backend service that your API proxy will connect to:
- In the Proxy Endpoint section, you have a few options. For this guide, we’ll use the HTTP/HTTPS Target option. This is suitable when you want your API to forward requests to a backend service via HTTP or HTTPS.
- Fill in the backend service’s URL in the URL field. This is the location where your API proxy will forward incoming requests. You can use a public URL for testing purposes. we will be using backend url as https://mocktarget.apigee.net/json.
- Click Next to continue.
Step 6: Create API Proxy Flow
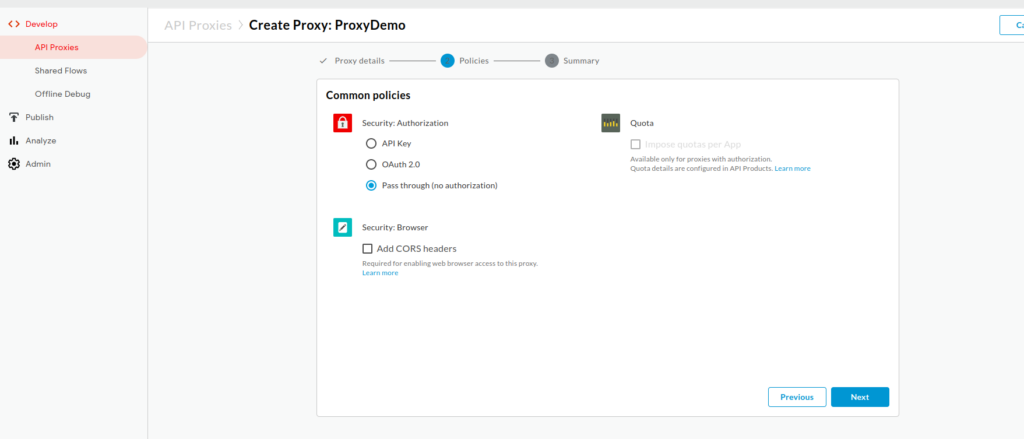
In this step, you can define the flow of your API proxy. This involves setting up policies that control the behavior of your API:
- In the Create API Proxy Flow section, you can add preconfigured policies to your API proxy. Policies are rule sets that can perform various functions such as traffic management, security, and transformation.
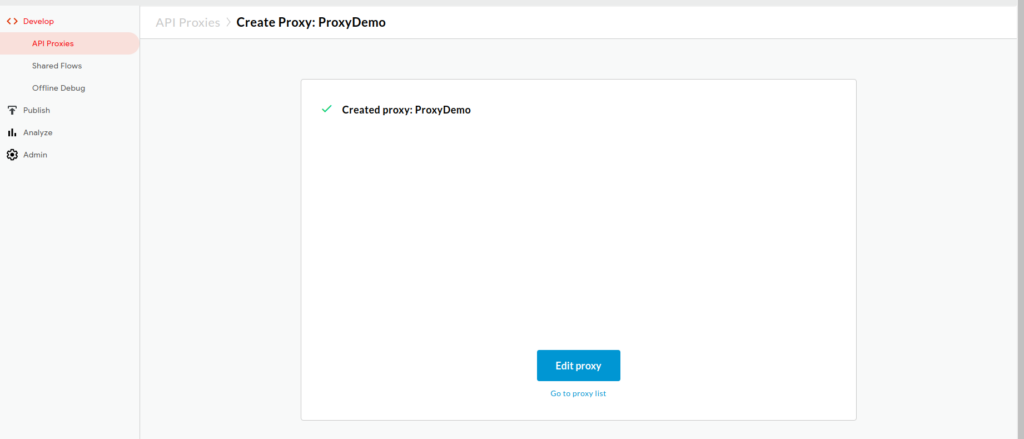
- Click Add a Revision to save your changes.
- In the Create API Proxy Flow section, you’ll see the new revision. Click Edit API Proxy to add policies to your API proxy.
- You can select from a variety of prebuilt policies or create custom policies based on your specific requirements.
- For example, you can add an OAuth v2.0 policy to secure your API by requiring OAuth authentication.
- After configuring your policies, click Save.
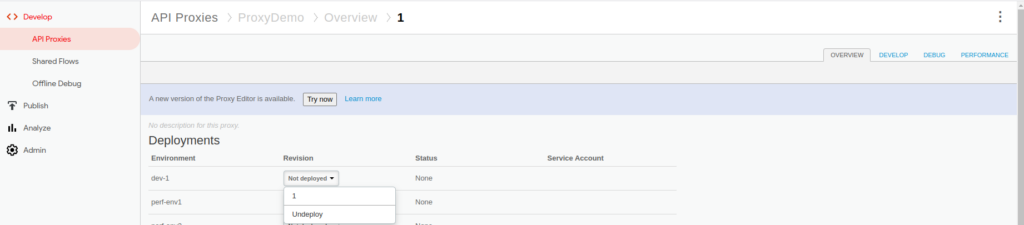
Step 7: Deploy the API Proxy
- With your API proxy configured and policies in place, it’s time to deploy it.
- Click the Deployment tab to access the deployment settings.
- Click + Deploy Revision to deploy your API proxy.
- Select the revision you created earlier, and choose the environment where you want to deploy your proxy (e.g., test or production).
- Click Deploy to finalize the deployment.

Step 8: Test Your API Proxy
After deploying your API proxy, it’s essential to test it to ensure everything works as expected. Apigee provides a test console for this purpose:
- In the Apigee Edge UI, go to the Develop tab and click on API Proxies.
- Find your newly created API proxy in the list and click on it.
- In the API proxy details, click on the debug tab. Select the env.
- Click on Start debug session.
- Here, you can test your API proxy by sending requests to it and observing the responses.
- Testing url for dev env is https://api-dv-preview.amwayglobal.com/proxydemo.

Conclusion
Apigee proxies are the backbone of API management in the Apigee platform. They enable you to control, secure, and optimize your APIs effectively. With a range of policies and features, you can tailor your proxies to meet the specific needs of your APIs and applications. Whether you’re building APIs for internal use or external consumption, Apigee proxies offer the tools you need to succeed in the API economy. Stay connected to more such blogs https://blog.nashtechglobal.com/.