


What is Komiser?
Imagine having different accounts across various cloud platforms. Usually, you’d have to visit each provider separately to find expensive resources that could be managed better. It’s a lot of work, right?
But with Komiser, all your cloud services can be analyzed and handled in one place! Instead of going back and forth between platforms, Komiser offers a single platform to manage everything. It makes managing cloud expenses much easier and less time-consuming.
Komiser is an open-source project created to analyze and manage cloud cost, usage, security, and governance all in one place. It supports multiple cloud providers, some of which are AWS, AZURE, GCP, and CIVO.
Installation
Based on different operating systems, you can install Komiser CLI by downloading the binary provided in the documentation: Installation – Komiser.
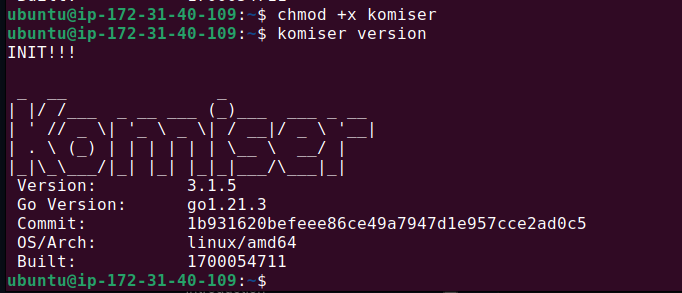
Once installed, you’ll get the Komiser command. Add the execution permission to Komiser.
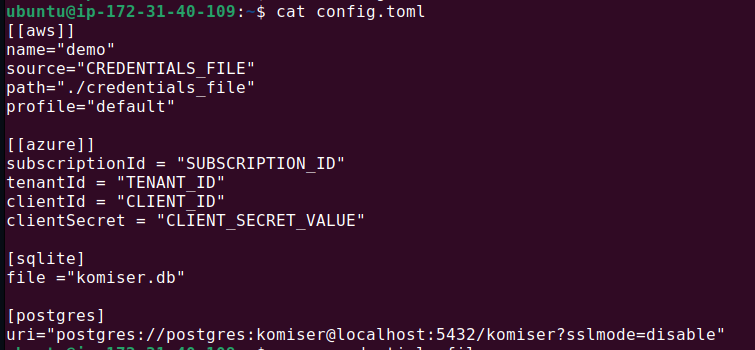
Now, you need to write a config.toml file, which serves as the main configuration file for Komiser. In this file, you need to specify your cloud provider and the database for persisting your cloud data. You can choose between two databases provided by Komiesr – Postgres or SQLite.
I’ve configured two cloud providers, AWS and AZURE, in the image below.
You can write your cloud credentials directly as I have done for AZURE where you just have to write your IDs in strings. Or you can pass a credentials_file separately as I’ve done for AWS. The credentials file contains authentication details required to access your cloud provider’s resources.
For example here for cloud AWS, firstly you need to provide the name of your cloud account. Then in source, I’ve mentioned “credentials_file” which means that my AWS credentials are stored in the credentials_file and will be fetched from here. Define the path of your credentials_file in the path.
Following image is of the credentials_file where you need to define the access key, secret access key, and region of your AWS account.

Once you have correctly build your config.toml and credentials file, run the command:
$ komiser start
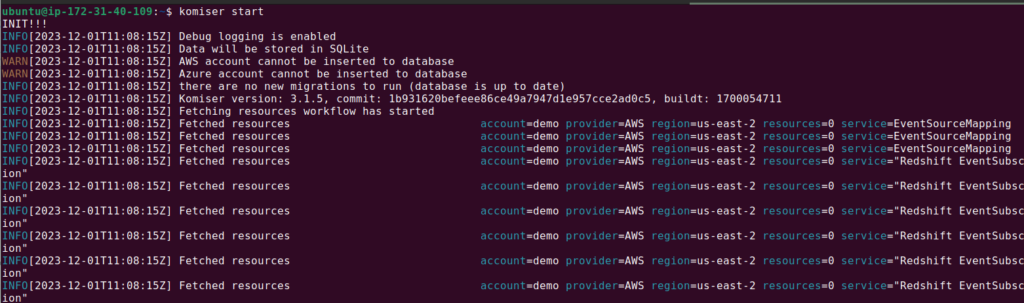
Komiser runs on port 3000, open your browser, and navigate to http://localhost:3000 to access the dashboard.
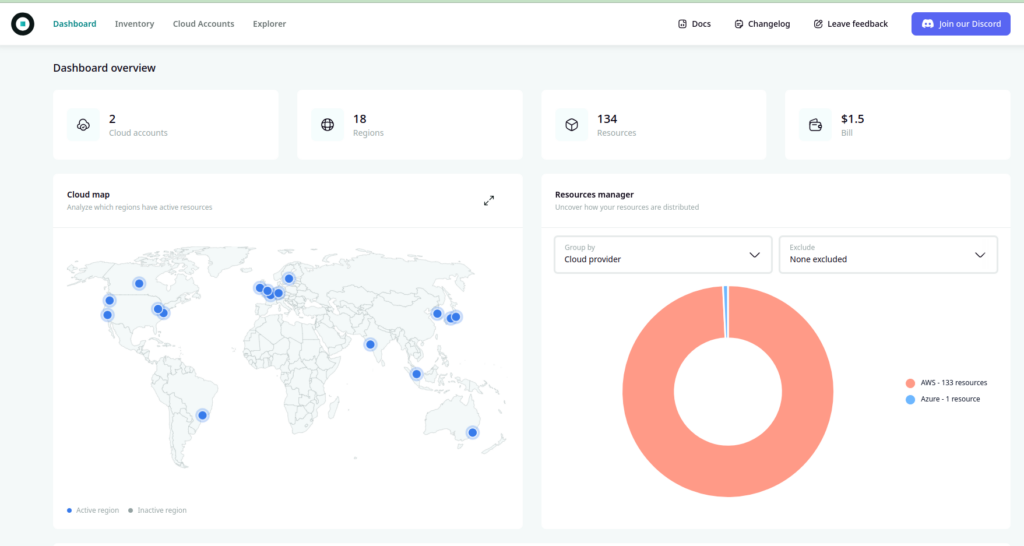
In the Dashboard, you can see your cloud providers and the regions where your cloud services are running.
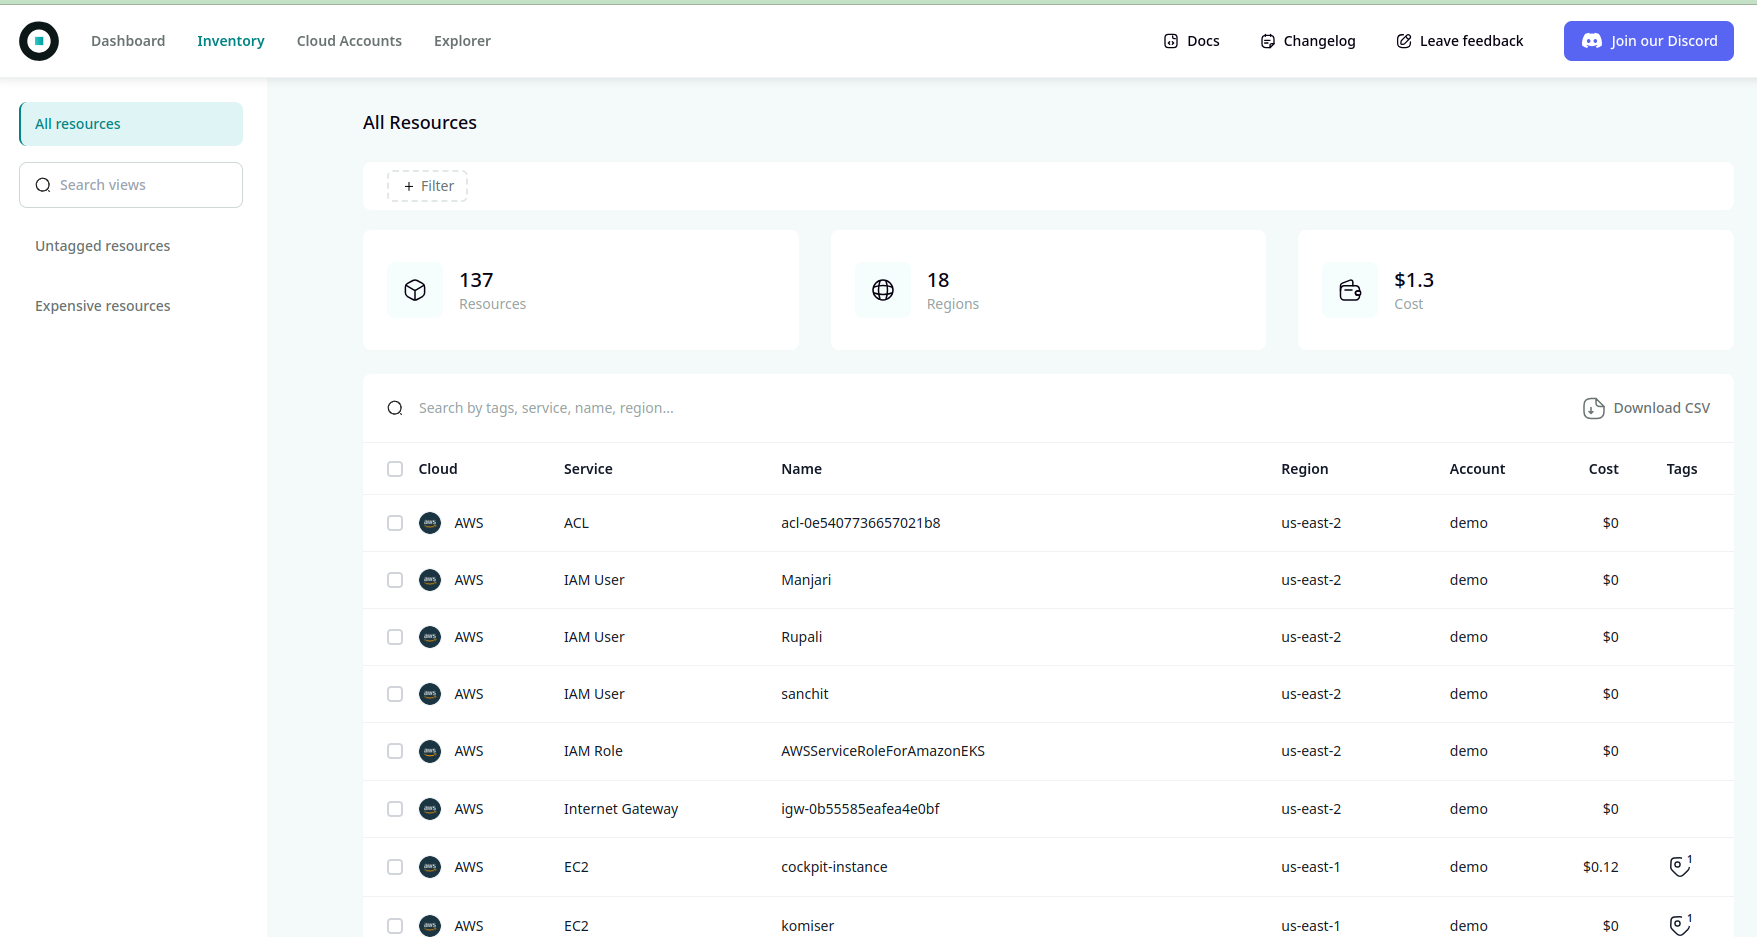
In the Inventory section, you can see the list of all the cloud services running on your cloud providers with the cost estimations.
Conclusion
Summing up, Komiser is a helpful tool for managing how much money you spend on cloud services. It gives you useful information and tools to make sure you’re using your cloud resources wisely. With its easy-to-use features and ability to look at different cloud platforms, Komiser becomes important for companies trying to use their resources better and save money.