


Hello Readers!! So we are again back with an exciting topic I.e how we can create developer portal in Apigee. Before this in this blog post I want to make familiar with developer portal in Apigee. In the rapidly evolving landscape of digital transformation, APIs play a vital role in connecting systems, enabling innovation, and encouraging collaboration. Apigee, API management platform offered by Google Cloud, empowers organizations to design, deploy, and manage APIs seamlessly. One most important key component of the Apigee platform is the Developer Portal, which acts as a gateway for developers to explore, understand, and consume APIs.
Developer Portal in Apigee:
It’s a component of Apigee which is a web-based interface that serves as the front door to your APIs. It plays an important role in engaging developers, providing them with the necessary resources, documentation, related to your APIs in Apigee. So Apigee’s Developer Portal offers a customizable and extensible solution for organizations to showcase APIs, manage developer relationships, and enhancing participation.
Steps to Create a Developer Portal in Apigee:
Step1: Create developer portal
Apigee should be already setup in your GCP account. Move to GCP console > Apigee > Distribution > Portals > Go to Classic Apigee UI.
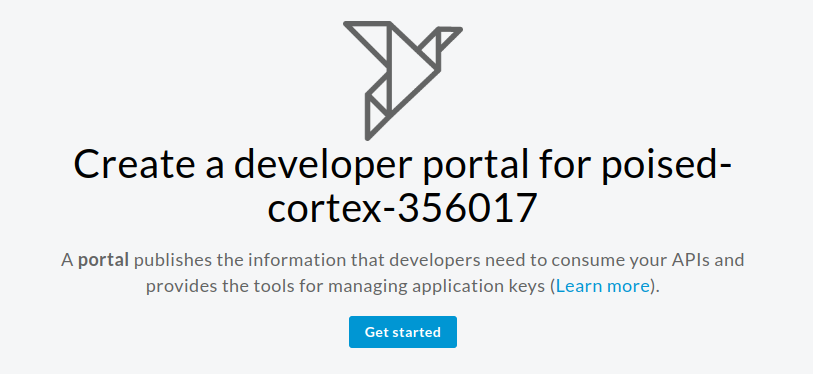
Click on Get started. Therefore mention here the name and description for developer portal.
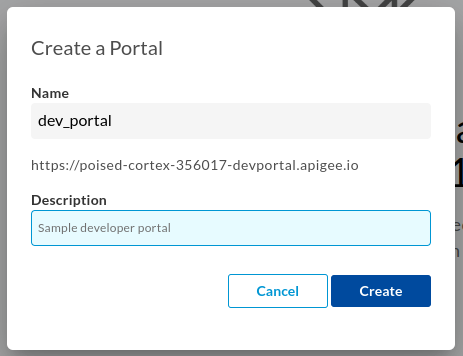
Click on Create. We have created developer portal. Now we have to work on its configuration and enhancements.
Step 2: Enhance your developer portal
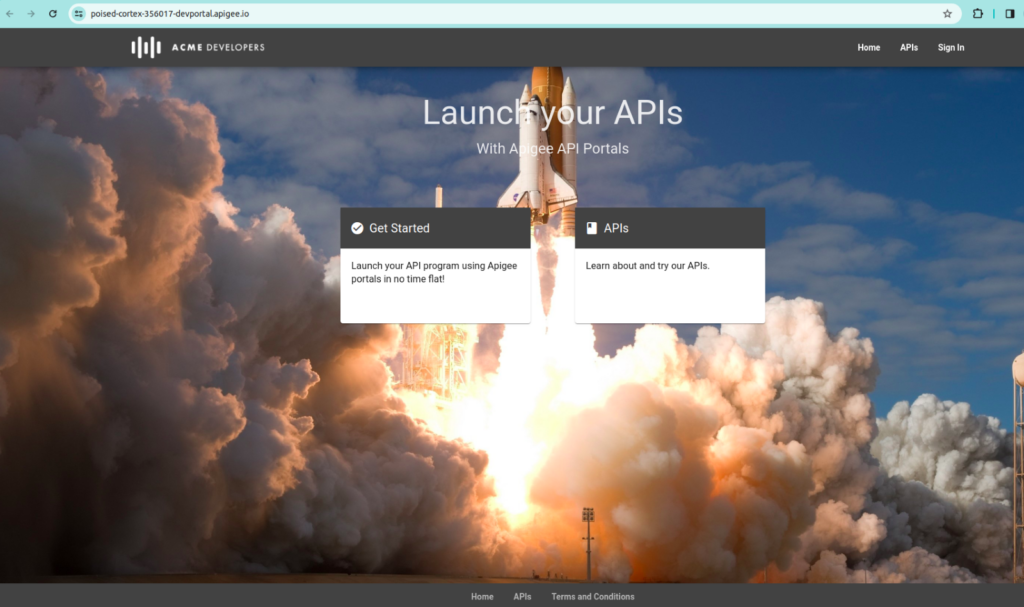
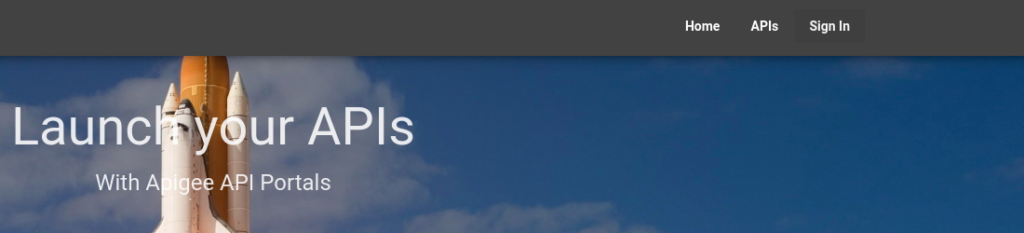
Click on here to open your live developer portal that you have created.

Initially its landing page looks like this.
Now to edit the configurations of your developer portal, click on the portal that you have created. These are the options that we can look for and make our developer portal more interactive:
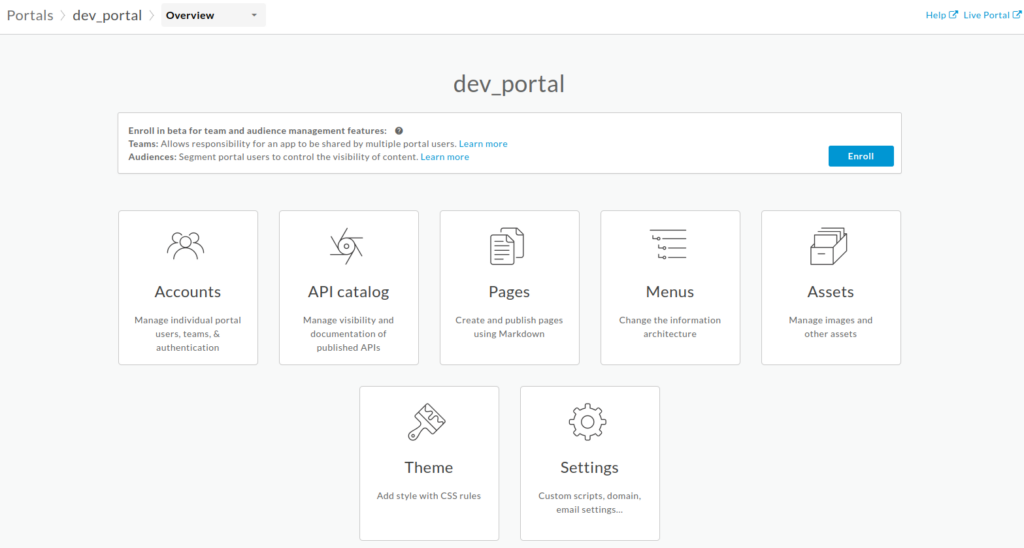
- Accounts: Here we can manage developers accounts of this dev portal. Click on sign in > Create an account > Provide your details here.
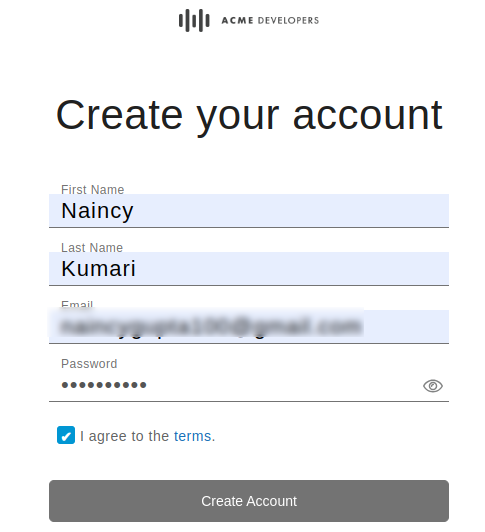
Now after creating account, you will see yourself as an active user here.

- API Catalog: This is the place where you publish APIs to your portal and make them available for consumption by app developers. For this you have to perform following steps:
- Create an API proxy in Apigee
- Create an API product in Apigee. Attach the required proxy to the product.
- Publish the API to your developer portal.
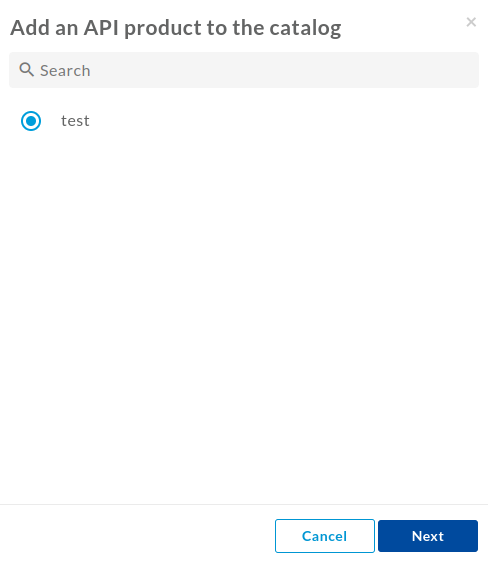
Select here the API Product. Click on Next. Fill the details here.
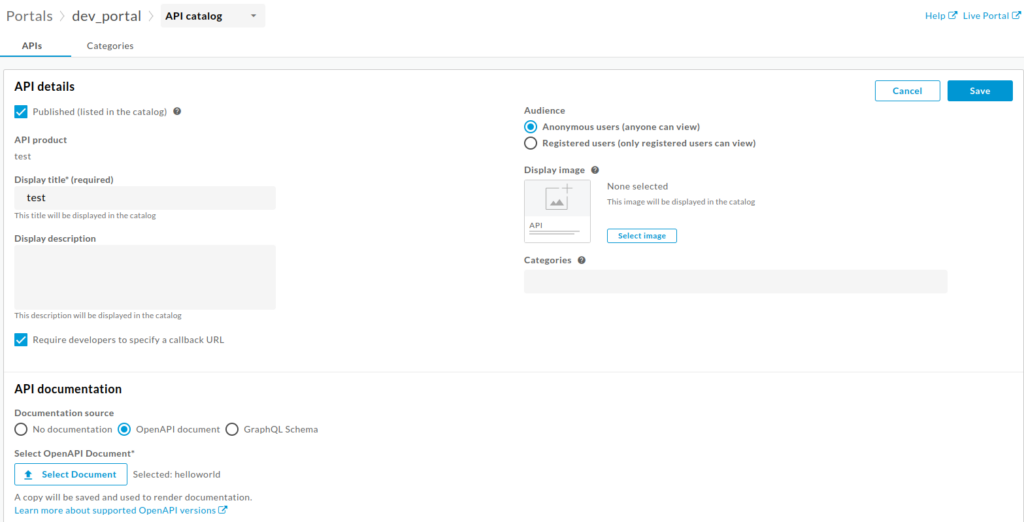
Click on Save. Also below you can see your APIs that you published.

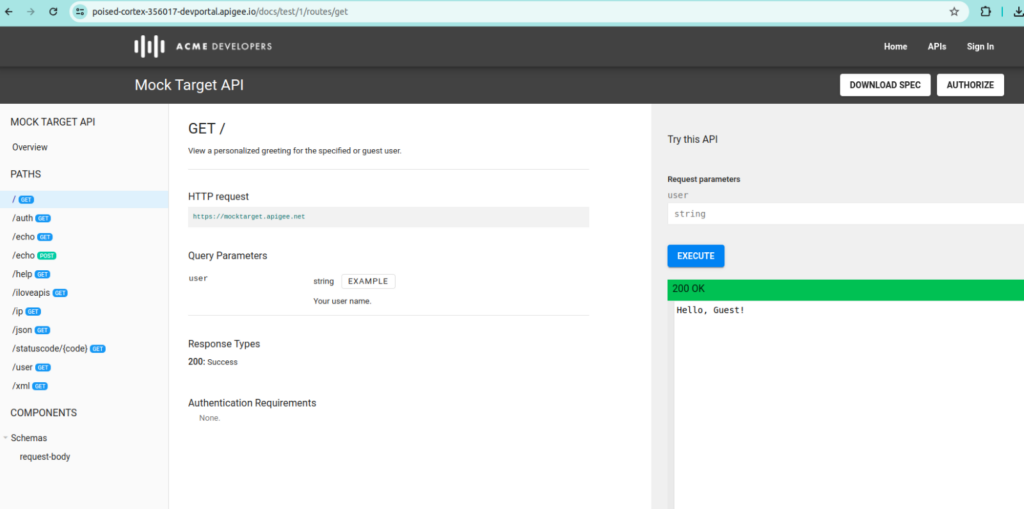
We can see our APIs here. Open live developer portal > APIs.

Click on that. So here you can find your APIs details and test your APIs.
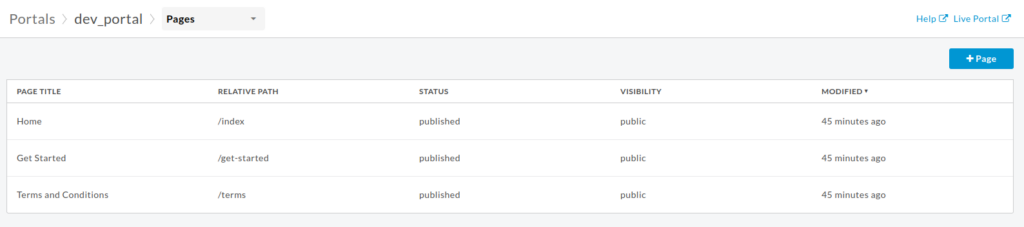
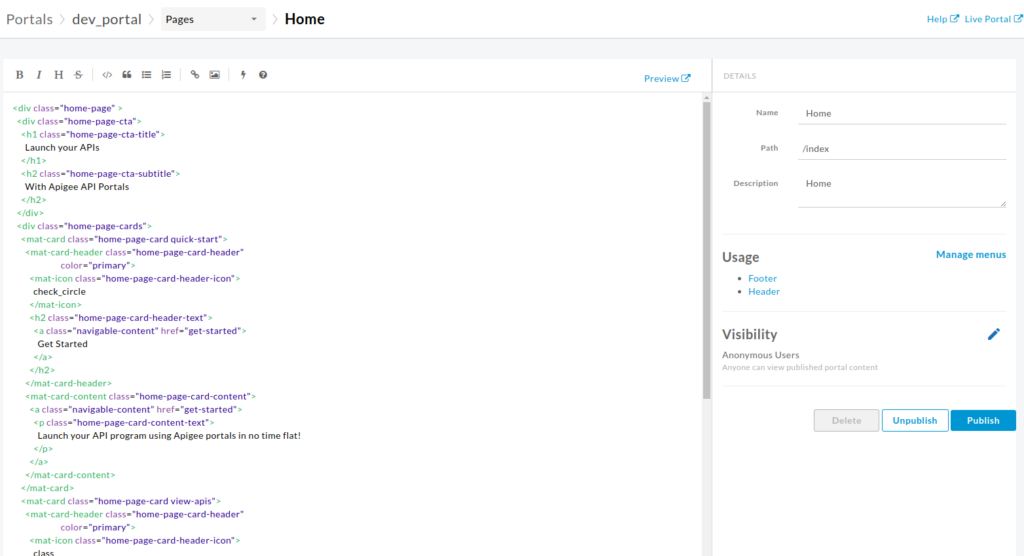
- Pages: These pages are already created here. So you can add your own page and modify, delete your the existing page.
So through the page editor, you have the capability to articulate your portal content by employing Markdown or HTML.
- Menus: Thereafter we can add or modify menus in our developer portal according to our needs.

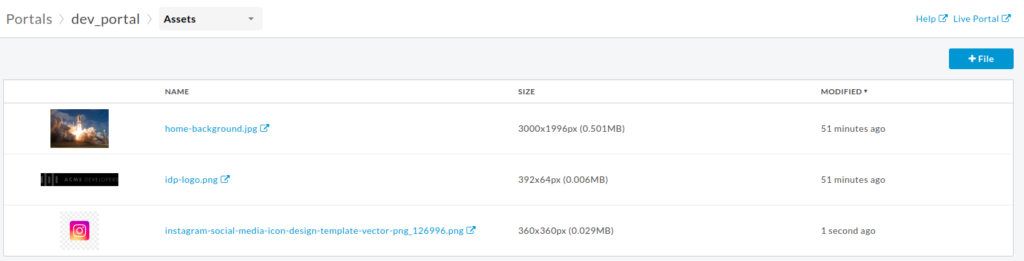
- Assets: We can upload images and files here to use in developer portal.
- Themes: Modify your developer portal from here.
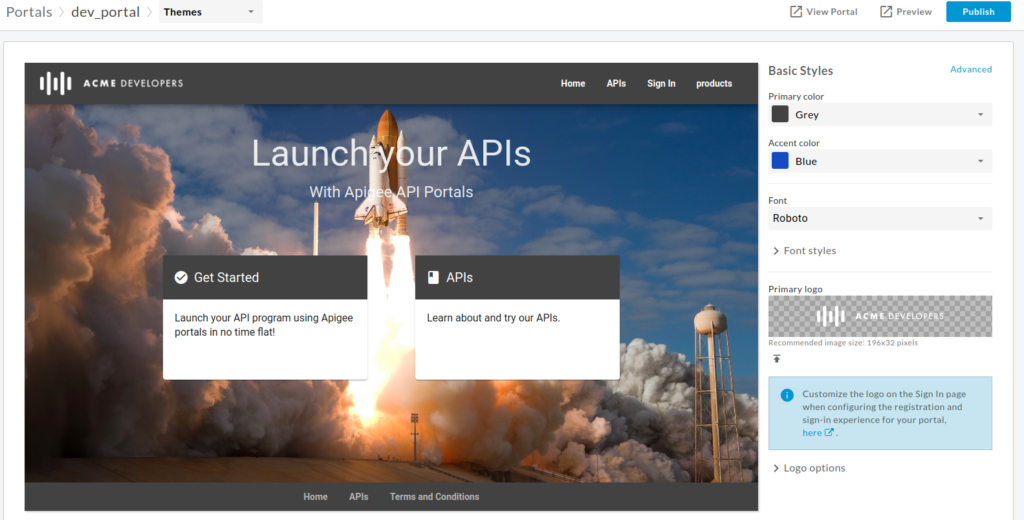
Make the changes according to your need and publish the changes. By following the above steps outlined in this blog post, organizations can ensure that their APIs are not only well-documented but also easily accessible and consumable by developers, paving the way for innovation and collaboration in the digital landscape.
A well-designed developer portal is essential for driving API adoption and fostering a thriving developer ecosystem. Therefore Apigee’s Developer Portal offers a robust platform for organizations to create a compelling developer experience, from customizable themes to extensive content management and engagement features.
Conclusion
Thanks for being with me till end. In this blog post we have seen how easily we can create developer portal in Apigee. Thereafter it’s very customizable according to developer’s requirement. So share this blog with the needful. Therefore if you have any queries, you can contact me on Naincy.kumari@Nashtechglobal.com.