


Hello Readers!! We are again back with an exciting topic I.e getting started with AWS Cloud9 service. In today’s rapidly evolving digital landscape, the ability to seamlessly develop, test, and deploy applications in the cloud is crucial for businesses and developers. AWS Cloud9, it’s a cloud-based integrated development environment (IDE) offered by Amazon Web Services (AWS), provides a powerful and flexible platform for collaborative coding, making it easier for teams to build and maintain applications in the cloud. So In this blog post, we’ll explore the fundamentals of AWS Cloud9 and guide you through the process of getting started.
What is AWS Cloud9?
AWS Cloud9 is a fully featured cloud-based IDE that eliminates the need for developers to set up and configure their local development environments. Developers can manage their codes using browser. It provides a consistent and collaborative coding experience, allowing teams to work on projects together in real-time, regardless of their geographical location. With a wide range of programming language support, built-in tools, and seamless integration with other AWS services, Cloud9 streamlines the development workflow and enhances productivity.
How it works:
It establishes an AWS Cloud9 development environment either by initiating it on a fresh Amazon EC2 instance and then by linking it to your personal Linux server via SSH. Upon the successful creation of your AWS Cloud9 environment, you gain instant entry to a feature-rich code editor, an integrated debugger, and a built-in terminal equipped with a pre-configured AWS CLI – all accessible directly through your web browser.
Getting Started with AWS Cloud9:
Step 1: In the AWS Management Console, search for “Cloud9” in the services search bar. Click on the “Cloud9” service to open the Cloud9 dashboard.
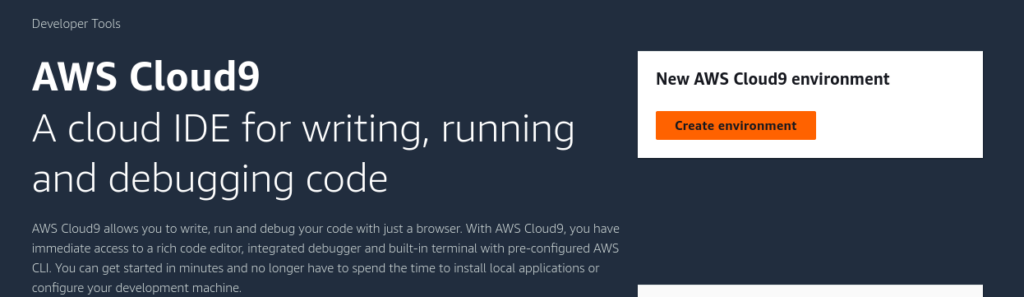
So to create an Environment. Click on the “Create Environment” button.
Step2: Provide a name for your environment and choose the settings that best suit your project requirements.
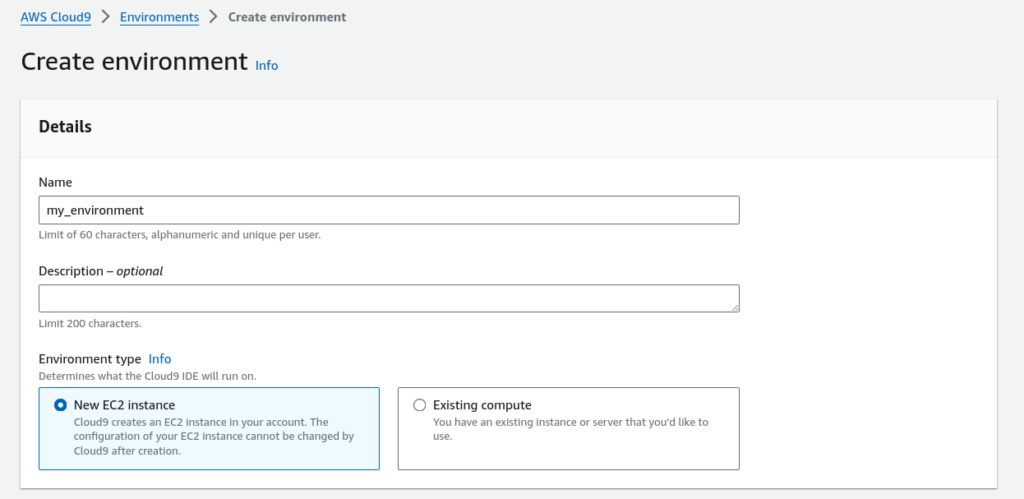
Select the type of environment that you will use for your IDE. You can create a new EC2 instance you want to use for your development environment. You can also use existing EC2 instance.
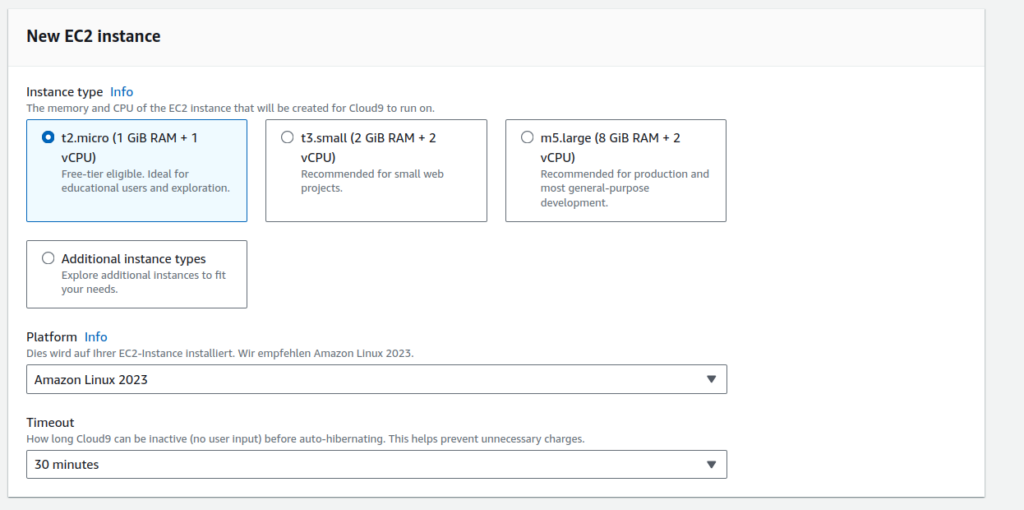
Step 3: Select the memory and CPU of the EC2 instance that will be created for Cloud9 to run on. So Select the platform and timeout settings from here according to your IDE requirement.
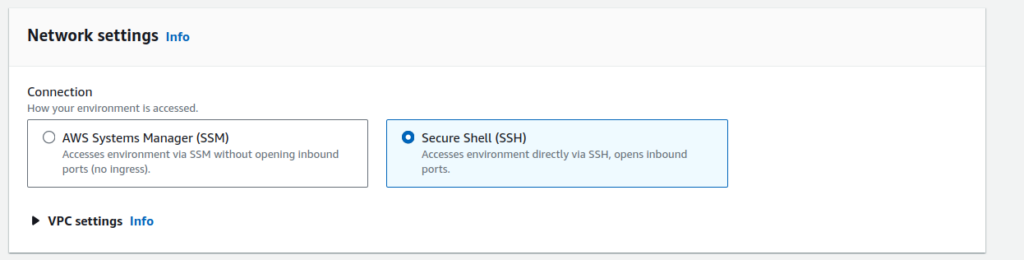
Step 4: Configure network settings. In this you must choose how you want to access your environment. So we can choose AWS SSM or SSH to access the environment.
After reviewing all your configurations, click on Create.
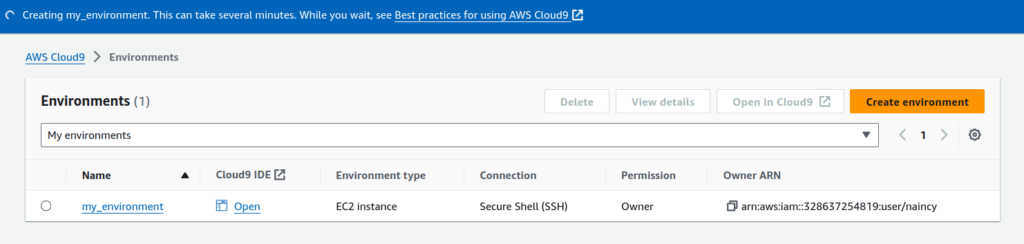
It is creating as you can see. It will take few minutes as it is spinning new ec2 instance.
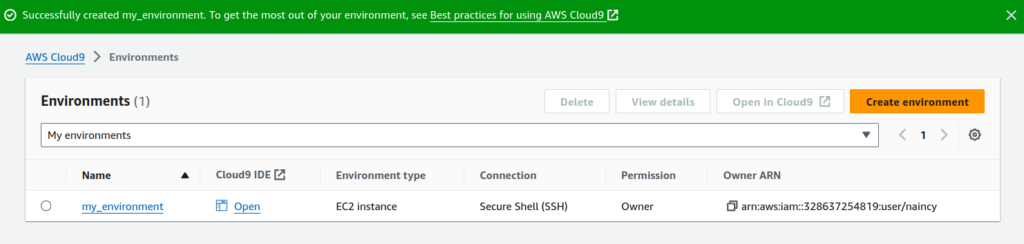
So Now its created.
Step 5: Open Your IDE and Start Coding
Once your environment is created, click on the “Open” button to access the Cloud9 IDE. You will see something like this.

So It’s the landing page of your IDE.
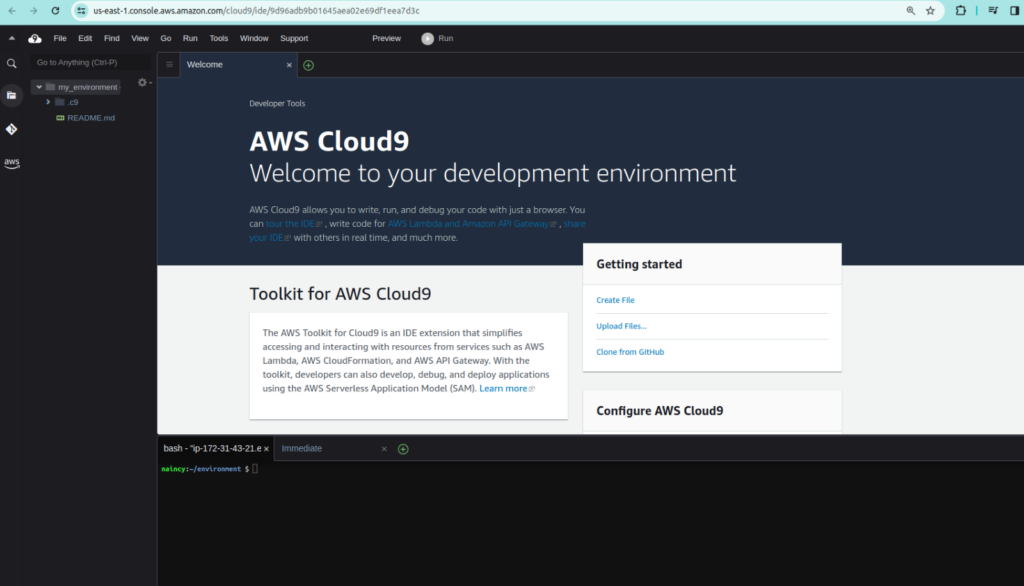
So you’ll be greeted with a fully functional coding environment where you can create, edit, and test your code. It also provides option for cloning from github.

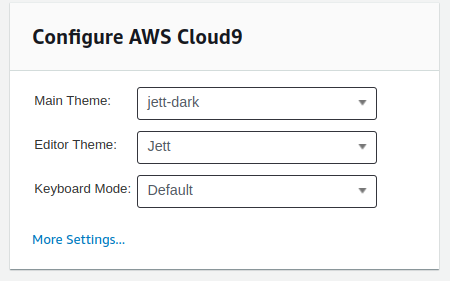
There are many more settings you can use to configure AWS Cloud9. You would really like to use this IDE.
So that’s all!!
Conclusion:
Thanks for being with me till end. In this blog post we have seen how we can get started with AWS Cloud9 service. Its is a powerful tool for modern software development, offering a flexible and collaborative environment for coding in the cloud. So, If this blog helped you somewhere do like this post. If you have any queries, you can contact me at Naincy.kumari@Nashtechglobal.com.
Happy Learning!!