


Microsoft Entra ID Overview
Microsoft Entra ID serves as a cloud-based identity management solution, streamlining access to both internal and external resources. It facilitates seamless entry for employees into various services, including Microsoft 365, the Azure portal, and other Software as a Service (SaaS) applications. Entra ID simplifies user access to corporate intranet applications and custom cloud applications, providing a centralized platform for efficient identity management.
Organizations can use Microsoft Entra ID to provision and manage user access while adhering to security and compliance standards. This platform offers administrators the ability to enforce policies and monitor user activity across different services.
Getting Started: Step-by-Step Guide
Step 1: Getting Started with Project
Open Visual Studio and Create a new project by selecting “ASP.NET Core Web MVC Application“.
Step 2: Register the Application in Azure Portal
- Navigate to the Azure portal by https://portal.azure.com/
- Sign in or sign up to the portal, make sure you have an active subscription or trial version at least.
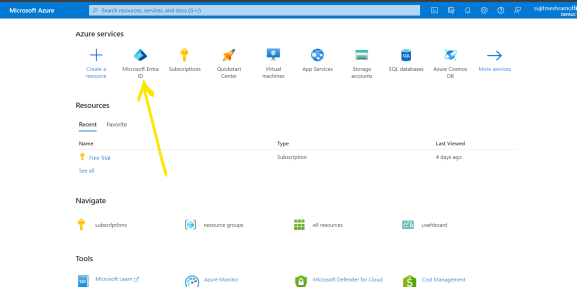
- Search for “Microsoft Entra ID” in the portal.
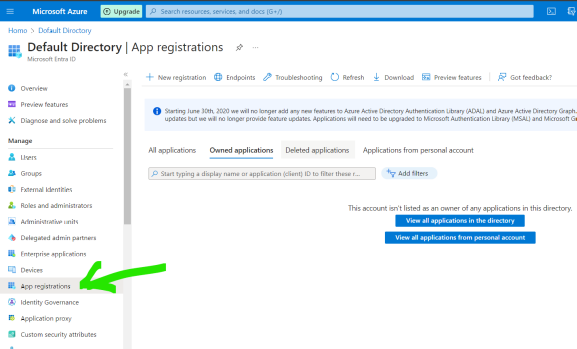
- Click on “Manage” and then select “App Registration“.
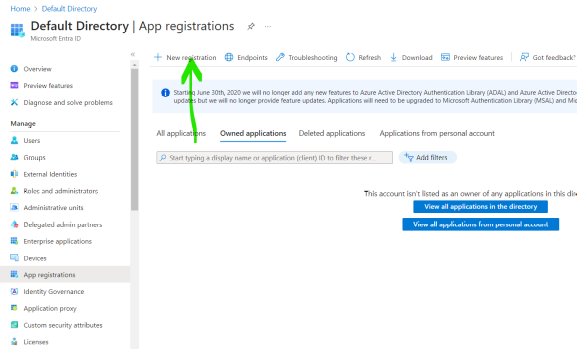
- Click on New Registration to register the new application.
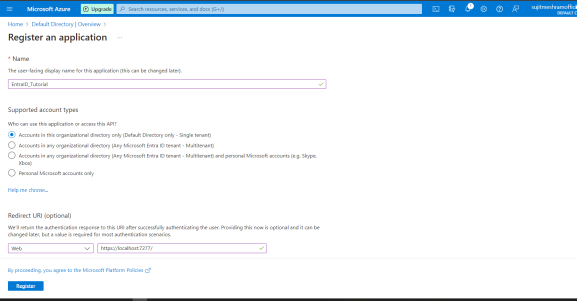
- Provide a name for new application and importantly select the “supported account types” accordingly as per your requirements, add Redirect URI as your localhost address (go to the .net core application to know your localhost port on which the application will be running) and register that localhost address.
- example, for me, its https://localhost:7277/ (your running localhost might be different) and click on Register
- After registering the application, you can see the Essential IDs of the application, like Directory (tenant) ID and Application (client) ID etc which we need to define this credential in appsettings.json file.
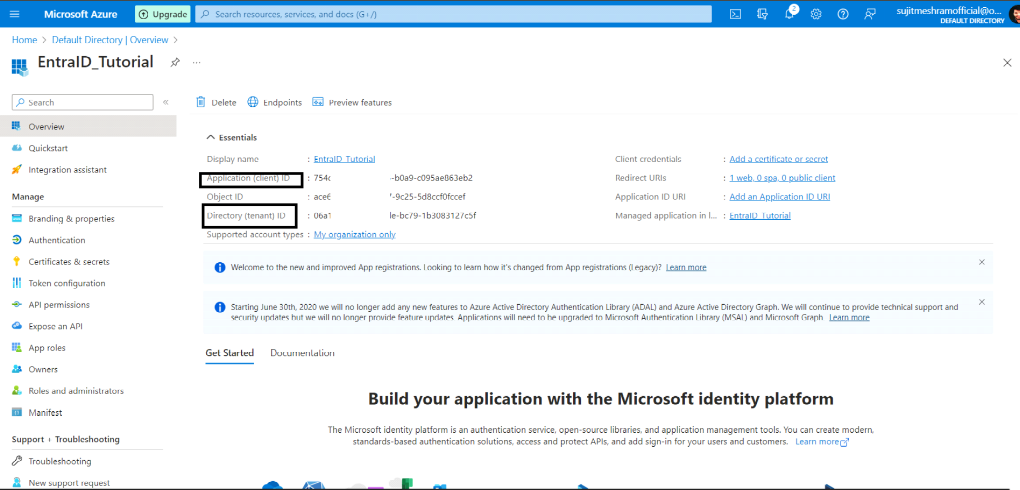
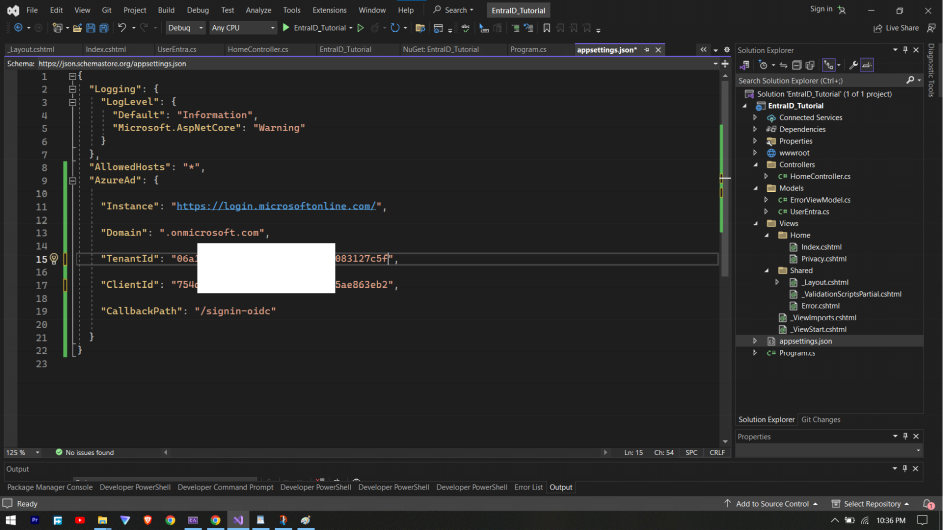
add below code in your .net core application appsettings.json file, make sure to add your own credentials.
"AzureAd": {

"Instance": "https://login.microsoftonline.com/",

"Domain": "",

"TenantId": "06axxxxxxxxxxxxxxx-1b3083127c5f",

"ClientId": "754dxxxxxxxxxxxxx-b0a9-c095ae863eb2",

"CallbackPath": "/signin-oidc"

}
Note: “CallbackPath”: “/signin-oidc”, this callback path is important when you will have to register the Redirect URIs in the entra ID. recommend using the same callback path.
Explaination of the above:
In the “AzureAd” section include:
- “Instance”: Its the URL of the Microsoft Entra ID authority, where users will authenticate.
- “ClientId”: The client ID of the registered application in Microsoft Entra ID which represents the application.
- “TenantId”: The ID of the Microsoft Entra ID tenant that the application belongs.
- “CallbackPath”: Its the URL to which the authentication response will be sent after successful login.
Step 3: Adding redirect URIs in Entra ID
- In the portal, go to the application and click on “Authentication” and In the Platform Configuration section, select “Add a Platform” and then “Web” and add the Redirect URIs.
- for example: I am running this on my localhost, so I am giving two URLs, first is localhost URL ( in my case, its https://localhost:7277/ ) and second is localhost URL with /signin-oidc ( in my case, its https://localhost:7277/signin-oidc )
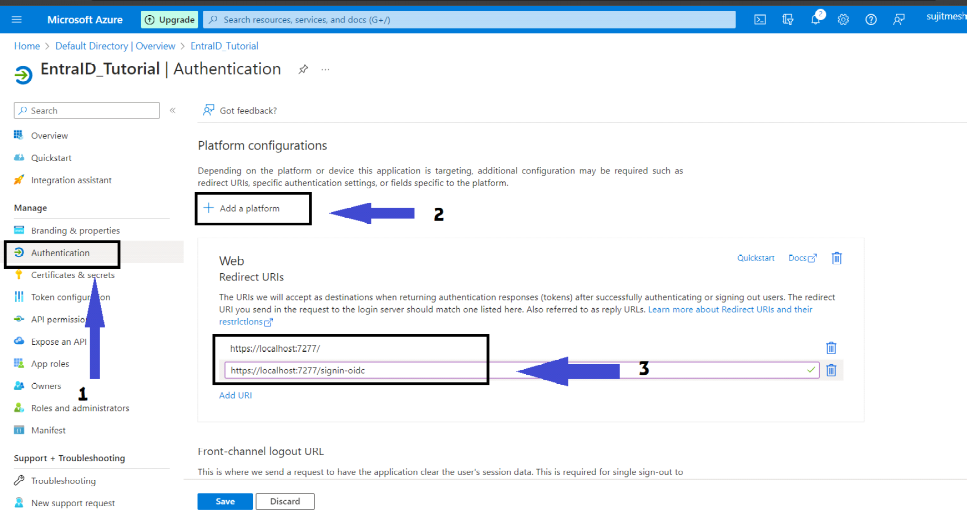
Note: remember this “/signin-oidc“ defined as callbackpath in appsettings.json file in earlirer steps.
Important: Make sure to add the new Redirect URI for each of the different environments (ex. staging, development and production) of the application using same above process, just replace localhost to the actual domain.
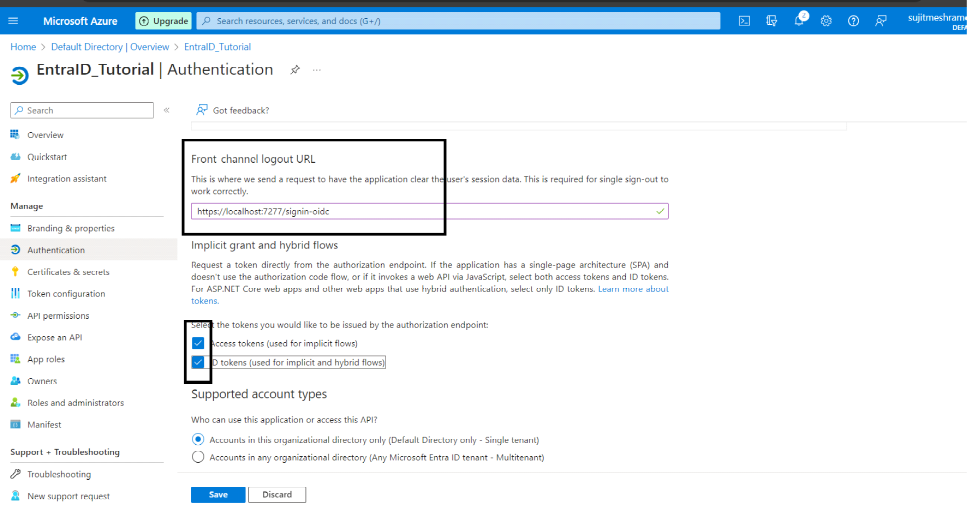
- Check both “Access Tokens” and “ID Tokens” and click on Save.
Step 4: Installing following required NuGet Packages to the application.
- Install the following nuget package in the application: Microsoft.Identity.Web.UI and configure the following code to Startup.cs
using Microsoft.AspNetCore.Authentication.OpenIdConnect;
using Microsoft.AspNetCore.Authorization;
using Microsoft.AspNetCore.Mvc.Authorization;
using Microsoft.Identity.Web;
using Microsoft.Identity.Web.UI;

var builder = WebApplication.CreateBuilder(args);

// Add services to the container.
//setting up authentication for the application using entra ID as the identity provider.
builder.Services.AddAuthentication(OpenIdConnectDefaults.AuthenticationScheme)
                .AddMicrosoftIdentityWebApp(builder.Configuration.GetSection("AzureAd"));


//here enabling authorization for the application's controllers.
//The AddControllersWithViews method configures the application to use controllers with the views for handling HTTP requests.

builder.Services.AddControllersWithViews(options =>
{
    var policy = new AuthorizationPolicyBuilder()
        .RequireAuthenticatedUser()
        .Build();
    options.Filters.Add(new AuthorizeFilter(policy));
});


// enabling Razor Pages for the application with Microsoft Identity UI integration.
//The AddRazorPages method set up the Razor Pages support in application.
builder.Services.AddRazorPages().AddMicrosoftIdentityUI();

var app = builder.Build();

// Configure the HTTP request pipeline.
if (!app.Environment.IsDevelopment())
{
    app.UseExceptionHandler("/Home/Error");
    // The default HSTS value is 30 days. You may want to change this for production scenarios, see https://aka.ms/aspnetcore-hsts.
    app.UseHsts();
}

app.UseHttpsRedirection();
app.UseStaticFiles();

app.UseRouting();
app.UseAuthentication(); //for authentication
app.UseAuthorization();

app.MapControllerRoute(
    name: "default",
    pattern: "{controller=Home}/{action=Index}/{id?}");

app.MapRazorPages();
app.Run();
Step 5: Adding Authorization property to the protect the controllers.

To get some data about the user from the Entra ID after being authenticated, for that lets create the following “UserEntra” model class.

getting data for above object using ClaimsPrincipal class, for this example I have added method to HomeController.cs class
public static UserEntra GetUserOnEntraID(ClaimsPrincipal user)
 {
     // Retrieve the preferred_username claim from the user's claims
     var preferredUsernameClaim = user.Claims.FirstOrDefault(c => c.Type.Equals("preferred_username"));
     if (preferredUsernameClaim != null)
     {
         return new UserEntra
         {
             user_name = user.Claims.FirstOrDefault(p => p.Type.Equals("name")).Value,
             user_email = preferredUsernameClaim.Value,
            };
     }
     return null; // throwing an exception if preferred_username claim is required
 }
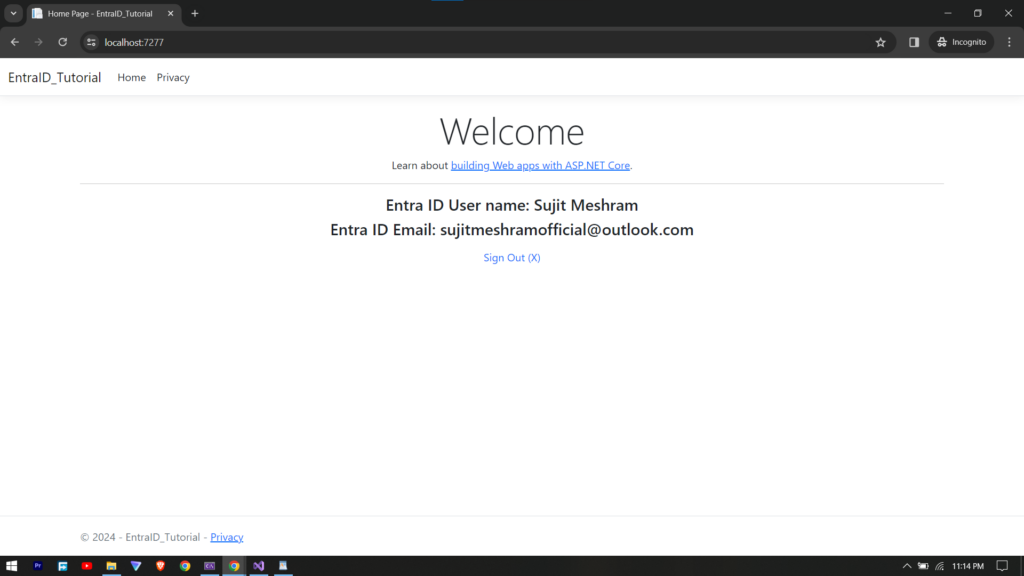
implementing the method created before to get the data from the user authenticated on Microsoft Entra ID, for that add the following code in Index.cshtml
@if (User.Identity.IsAuthenticated)
{
    var getUser = @HomeController.GetUserOnEntraID(User);

    <h4> Entra ID User name: @getUser.user_name </h4>
    <h4> Entra ID Email: @getUser.user_email </h4>

    <a class="nav-link" asp-area="MicrosoftIdentity" asp-controller="Account" asp-action="SignOut">
        Sign Out (X)
    </a>
}

also add the following code block for again Sign In functionality in _Layout.cshtml file (optional)
@if (!User.Identity.IsAuthenticated)
{
    <li class="nav-item">
        <a class="nav-link text-dark" asp-area="MicrosoftIdentity" asp-controller="Account" asp-action="SignIn">Sign In</a>
    </li>
}
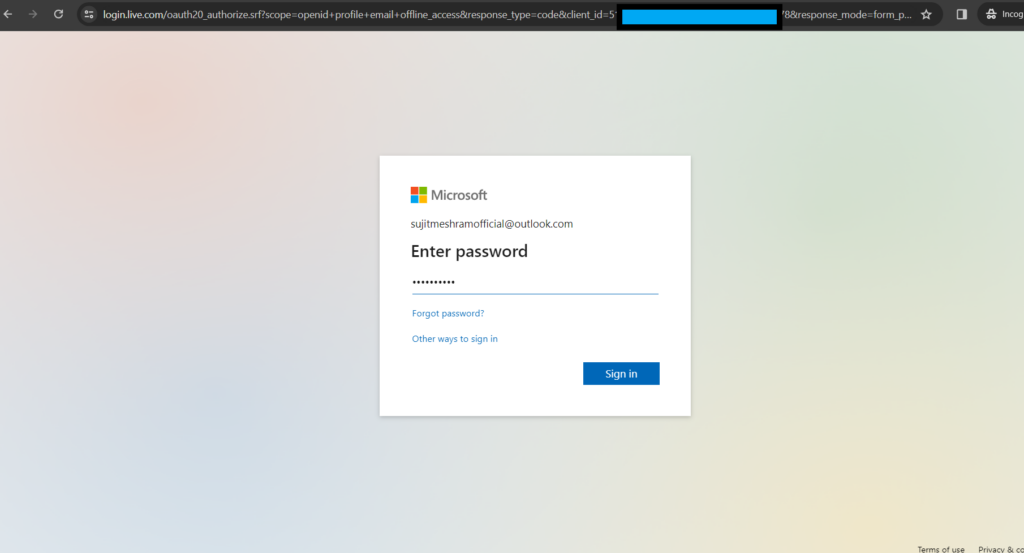
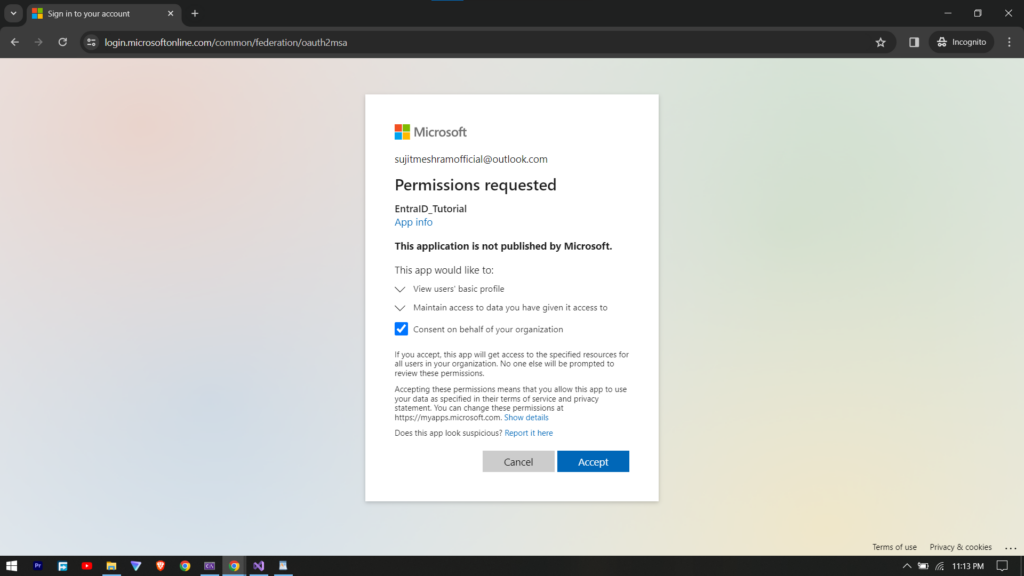
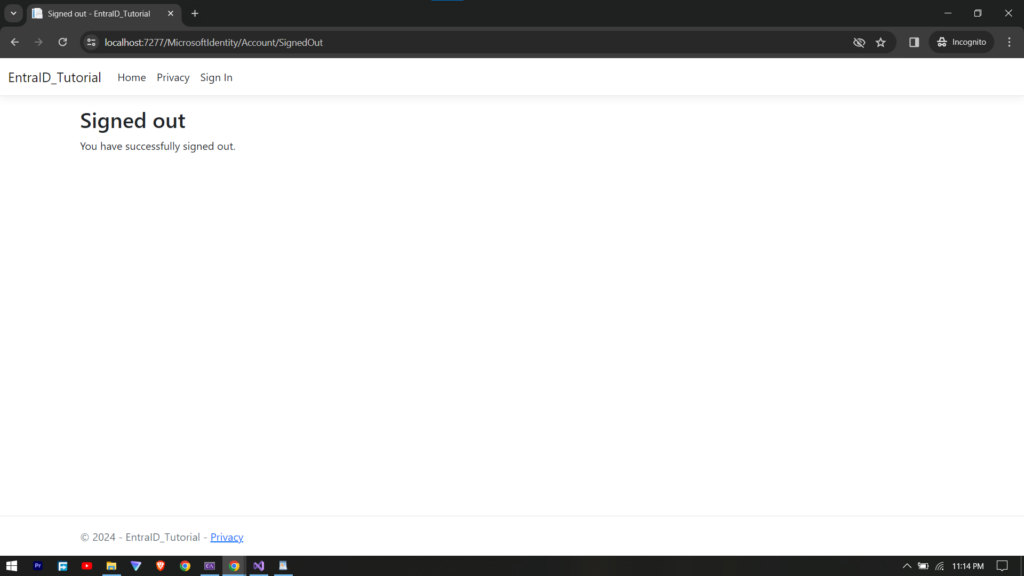
Step 6: Testing the application
now, lets test the local implementation to verify if the integration with Entra ID is working as expected or not.
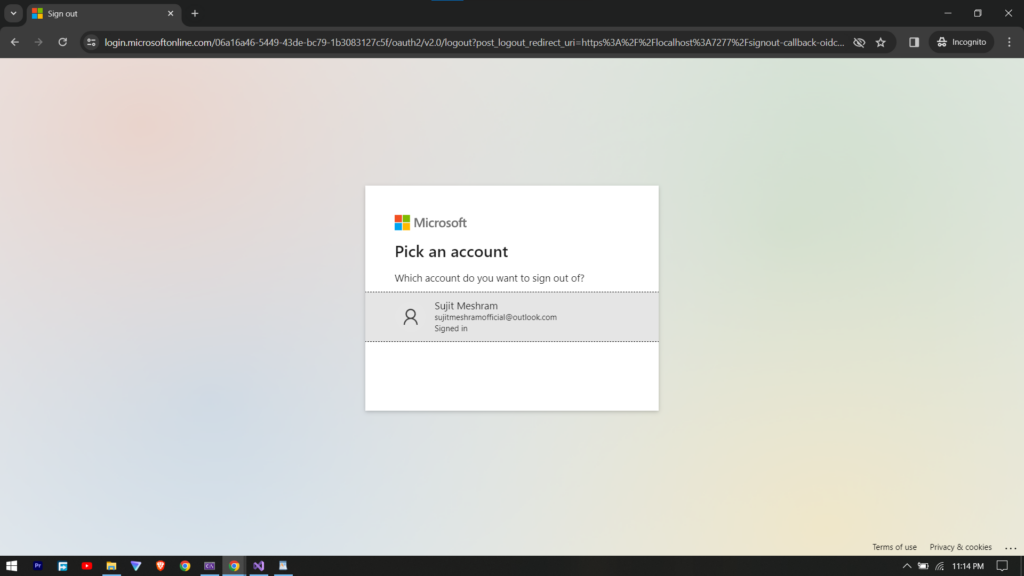
checking the Sign Out functionality after clicking it.
Conclusion
We have successfully Integrated Microsoft Entra ID with .Net Core Application. We have implemented sign in and sign out mechanism, also made sure that the controller access is authorized. This will not only enhance security of the application but also simplifies user access. You can learn more about Microsoft’s Entra ID using Entra IDs official documentation.