In the previous blog, for Installation of otomi using Helm. We created a test-otomi AKS cluster, created the private DNS zone & service principal for it.
Now let’s start the repo addition using the command for the otomi
The above commands will Install otomi using Otomi chart
Once this will run you will get a url as console output and also the admin-password using which you can login to the console.
Now you need to activate Otomi after the initial installation.
Upon completion of the installer job in the default namespace, retrieve the URL and password displayed at the bottom of the logs. Then, utilize the provided URL, username, and password to access the console and sign in accordingly.
Now to monitor the logs of the installer job using the command –
kubectl logs jobs/otomi -n default -f
Step 2 -Create a License Key for using Otomi Console and Otomi API
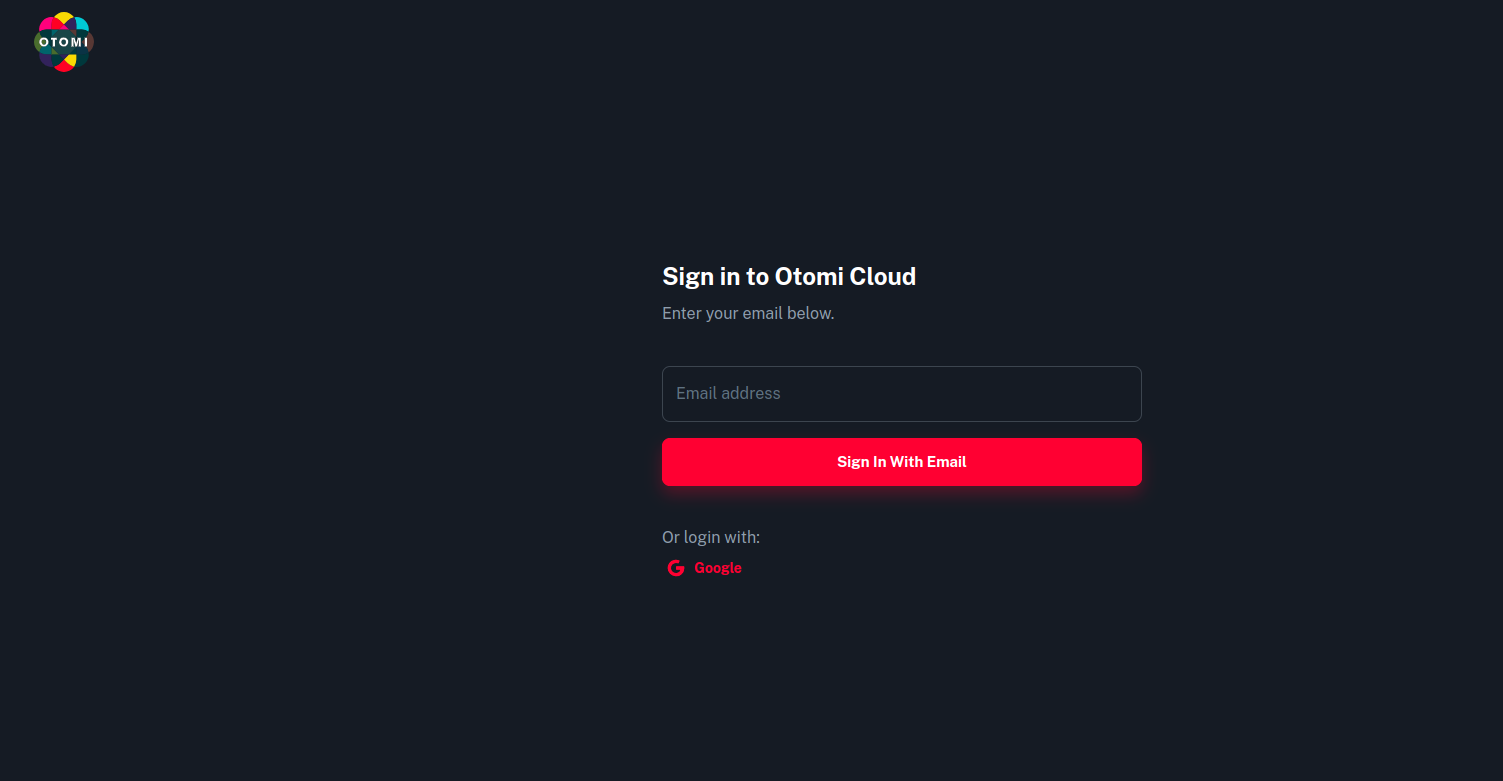
To access the Otomi Console (Web UI) and Otomi API for code validation and creation, you must initially generate a Community Edition License key within Otomi Cloud. Follow the below instructions to create the License Key.
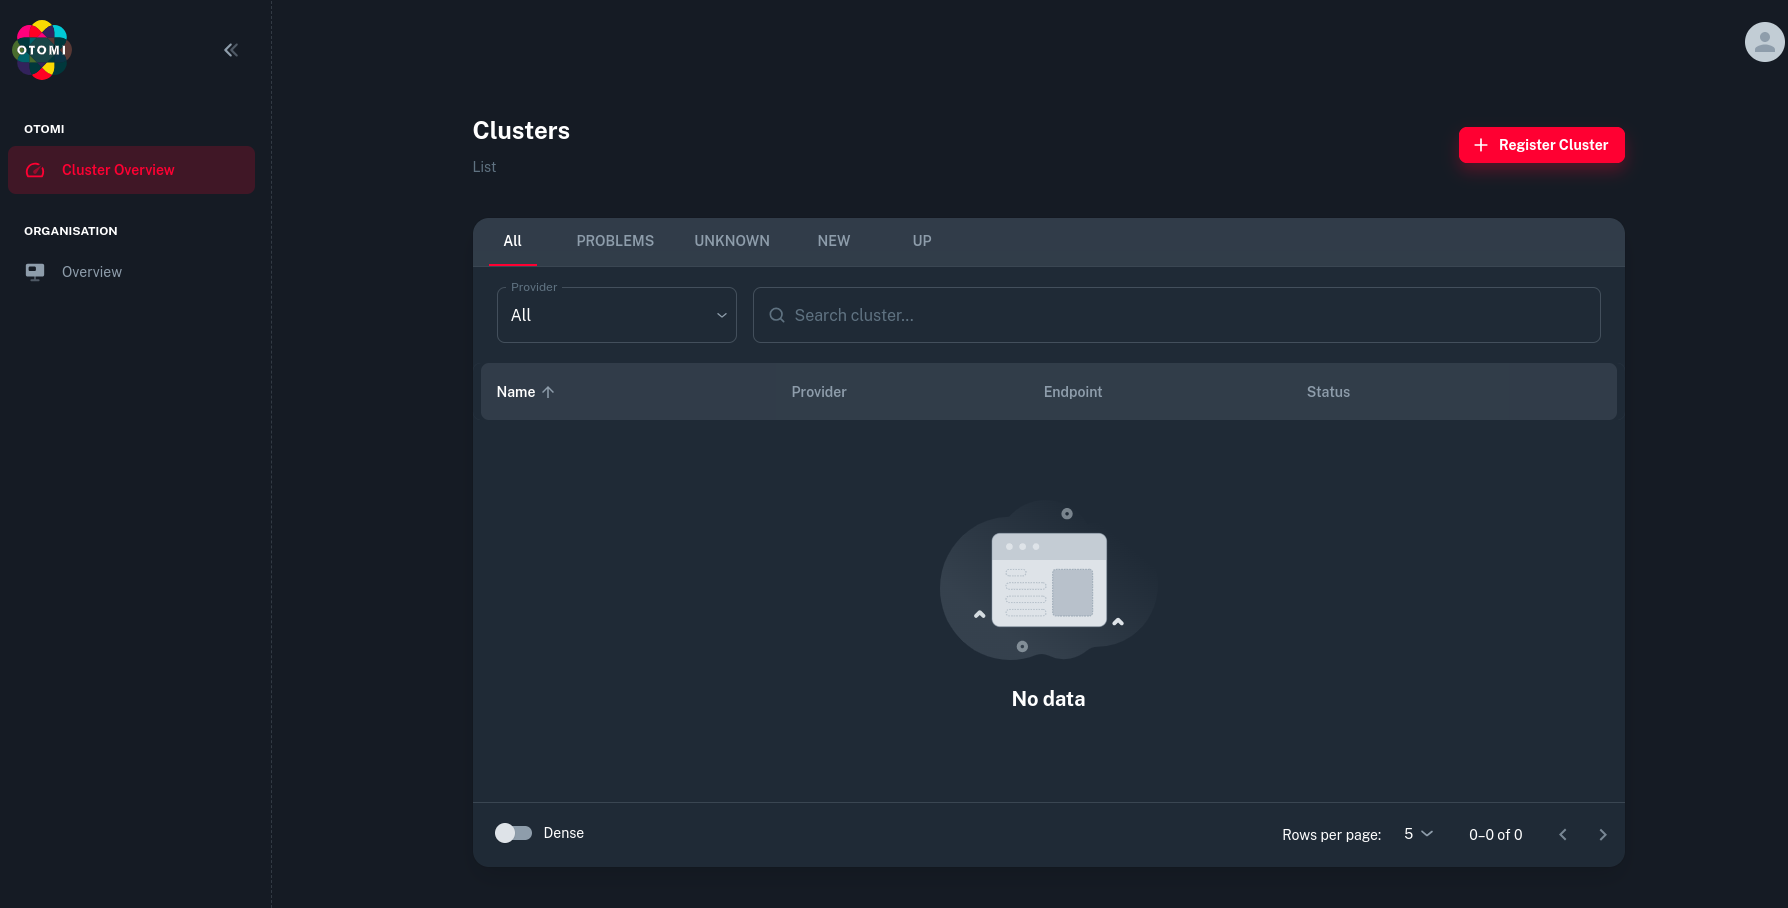
Once you sign in and verify your account, you will see the below UI.
Now click on Register Cluster.
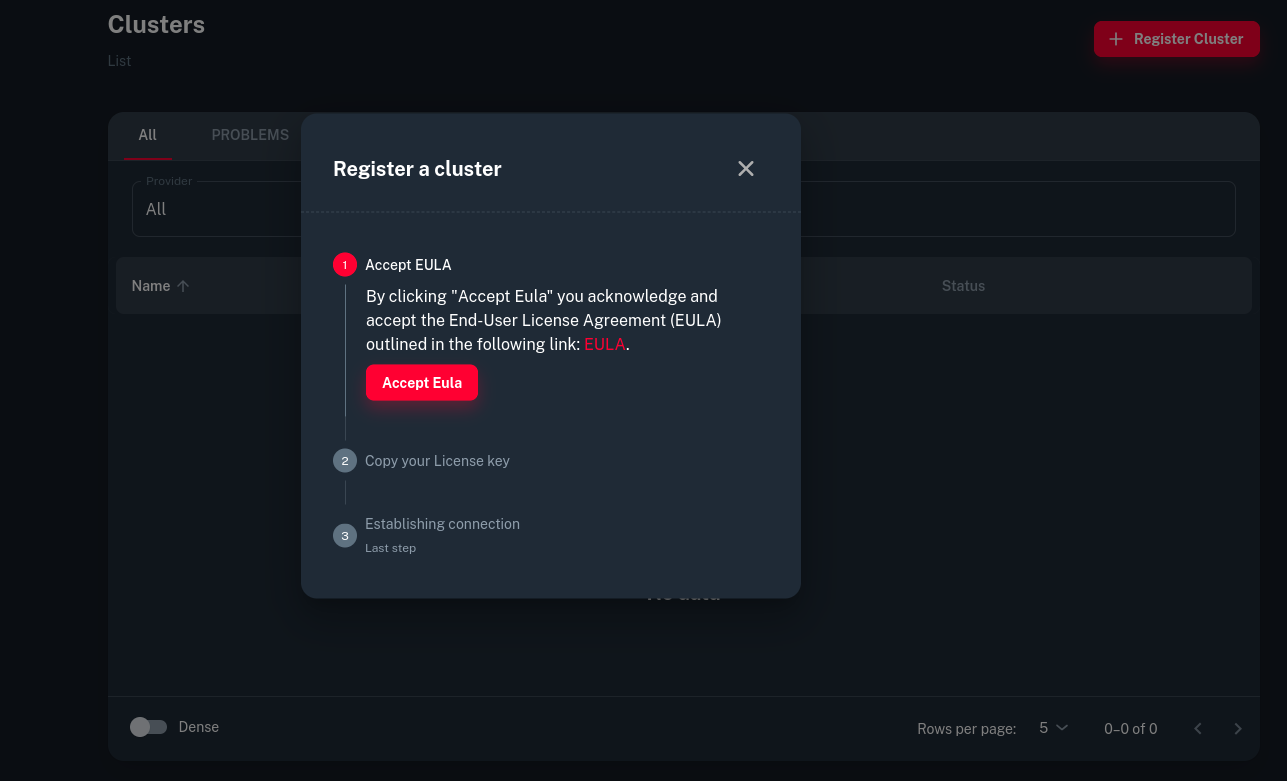
Now click on Accept EULA
Once that is done, you will get a licence key which you need to copy.
After that Log in to Otomi Console. You can find the link in the logs of the installer from the First Step.
Then add the License key to Otomi Console and Click Activate
Now you are ready use the Otomi which is installed using Helm.
Incase of using Helm with custom values
To access the essential values.yaml file containing detailed comments, you can view and download the latest values.yaml file for the chart. Execute the following command to display all the values, although this may present a comprehensive list:
helm show values otomi/otomi
To test wether the input values are correct run the following command:
helm template -f values.yaml otomi/otomi
To monitor the chart installation
# get the status of the job kubectl get job otomi -w # watch the chart install status: watch helm list -Aa
And now if you want to do the installation from source-
You can also clone the otomi-core source code from the Github and install otomi using the chart source code.
git clone https://github.com/redkubes/otomi-core.git cd otomi-core
Before installing the chart from source, first change the CHART_VERSION_PLACEHOLDER in the chart/otomi/Chart.yaml to v1.0.0
otomi: version: main
Use the below command to install the chart with the name my-otomi-release (any custom name which you kept)
In conclusion, deploying Otomi using the Helm chart offers a streamlined and efficient approach to setting up a powerful platform for cloud-native applications. By leveraging Helm, users can easily manage configurations and dependencies, ensuring a smooth installation process. With Otomi, organizations gain access to a feature-rich platform equipped with developer- and operations-centric tools, automation capabilities, and self-service functionalities. Whether deploying on-premises or in the cloud, Otomi simplifies the deployment and management of Kubernetes workloads, empowering teams to innovate and thrive in today’s rapidly evolving digital landscape.