


In this blog, we will see how we can change the name of an RDS Instance in Amazon Web Services.
Pre-Requisites
AWS Account
Create an RDS Instance
Lets first create an RDS instance.
1. Go to https://console.aws.amazon.com/rds/
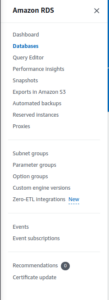
2. Select Databases from the left bar
3. Click on Create Database
Choose standard Create Option
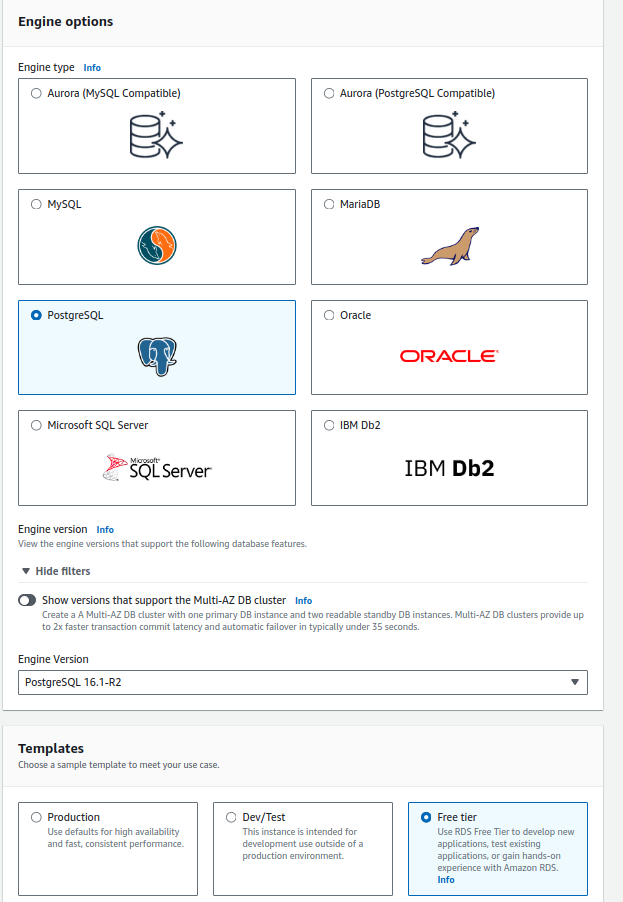
Based on your requirement, you can select the Engine Options. I am using PostgreSQL engine.
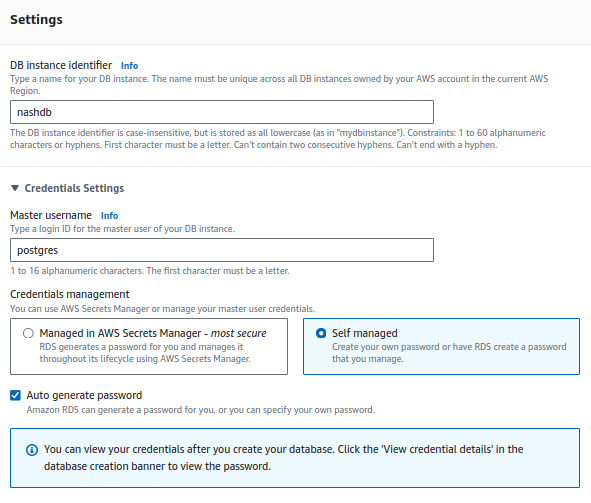
In Settings, add the DB instance identifier name and configure the credential settings as per your requirement.
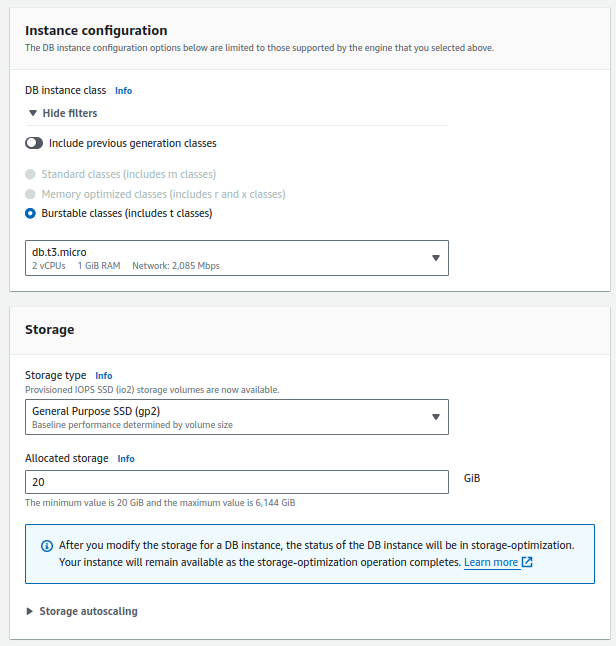
For Instance configuration, use Burstable Classes. I am using db.t3.micro.
Configure storage depending on your workload.
For Connectivity, choose the network configurations including your VPC and security Group. You can decide if you want to keep your DB as public or private. It is also recommended to enable Monitoring for the RDS.
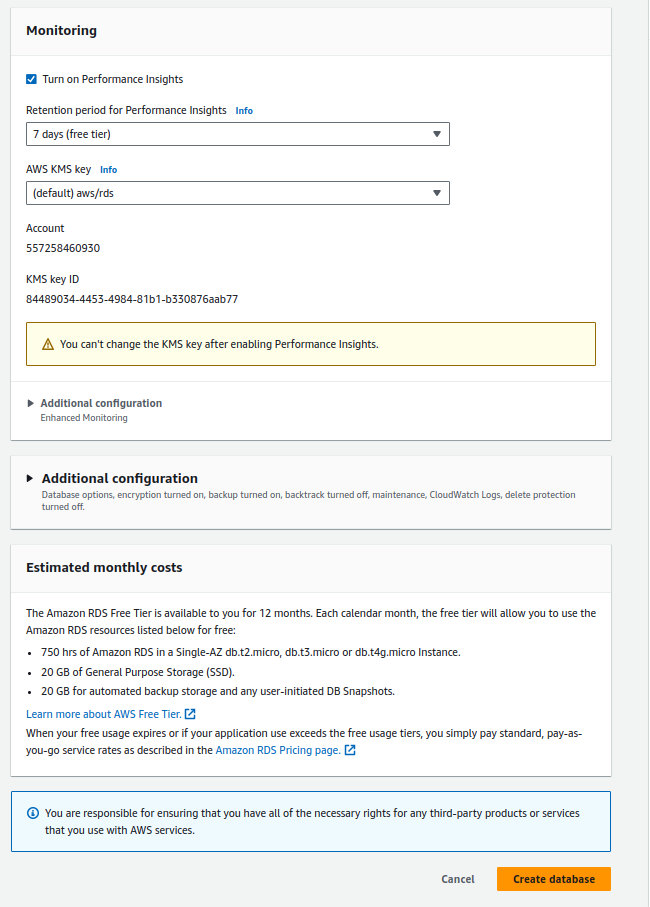
Once you have configured everything, click on Create database.

Our PostgreSQL Database has been created successfully. To retrieve the connection details, you can click on View Connection details. It will give you the endpoint to access the DB, including the credentials.
Accessing the RDS Instance
Since our DB is private, we can only access it form the same Virtual Network. I will use my ec2 instance that exists in the same network to access this DB.
Lets try to login to this database. We will use psql command so make sure psql client is installed in your system.
psql -h <DATABASE-ENDPOINT> –port 5432 -U postgres

You can perform all related queries here to store and retrieve data.
Creating READ replicas of RDS Instance
We create READ replicas of the RDS DB instance so that it becomes easy for applications to retrieve the data when there are multiple applications using the database for different purposes. It is more useful in cases where you have a huge amount of data present in the database, and the number of applications accessing the data are too many. In these cases, you must use a read replica for the DB so that the user does not experience any kind of delay in accessing or retrieving any data from your database. We can not perform write queries on read replica of the database.
Lets create a Read replica of the DB instance
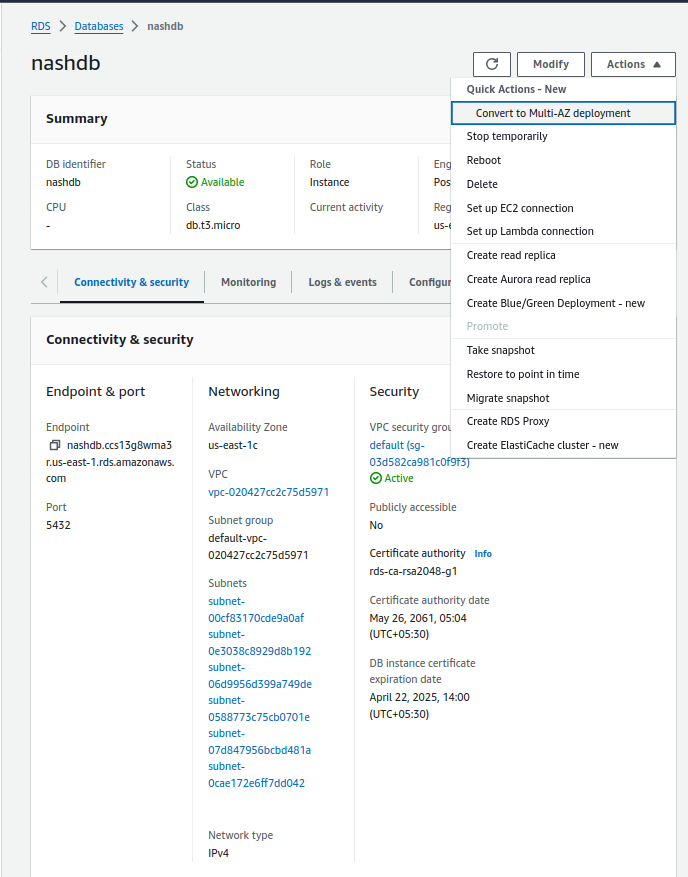
Select the DB instance and click on Actions.
Select the Create read replica option.
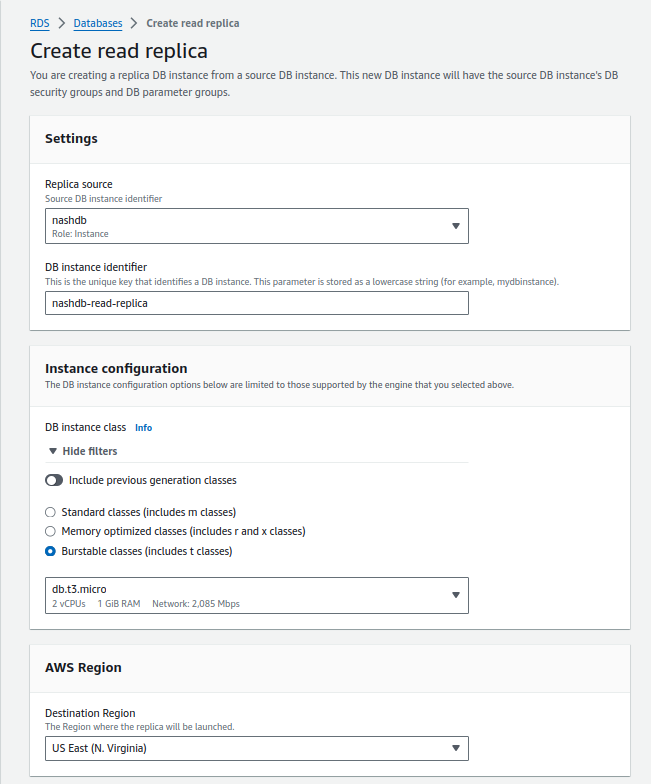
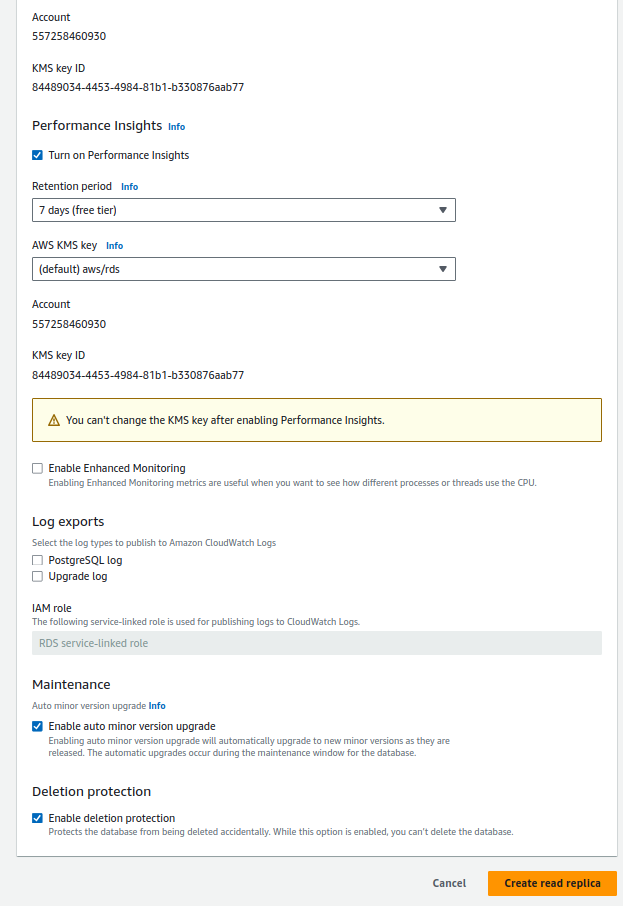
Enter other configuration details as per your use cases and requirements. For example, you can change your instance class, storage type, size of the storage, autoscaling of storage, Multi-AZ availability, authentication type etc.
Click on Create read replica.

The read replica is now getting created.
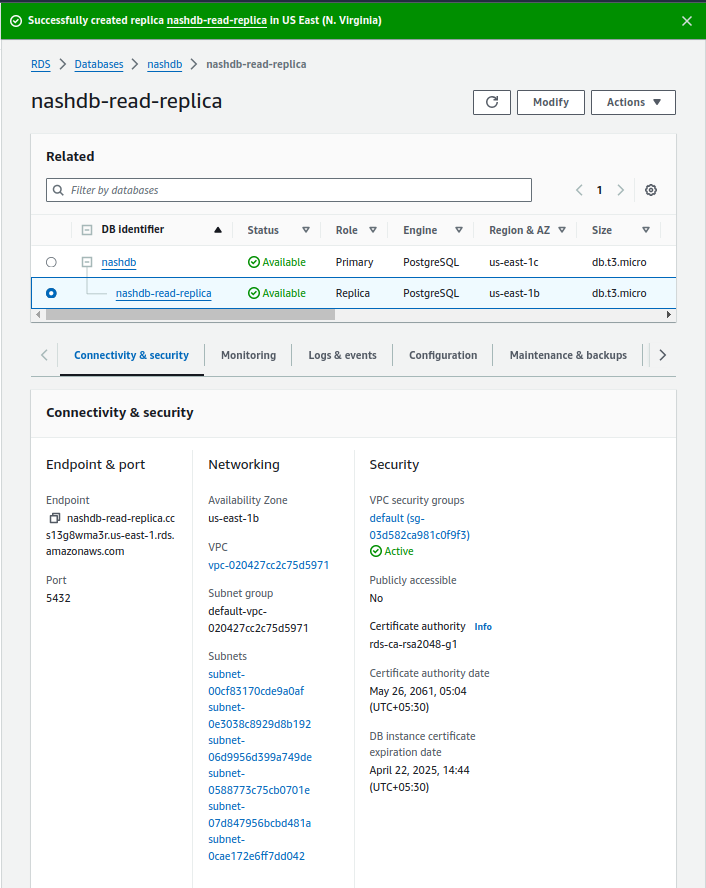
Our DB instance-read replica is now created. You can also see its endpoint mentioned in the description.
Lets try accessing the DB instance using read replica’s endpoint. We will use the same psql command to access it.
psql -h <READ-REPLCIA-ENDPOINT> –port 5432 -U postres
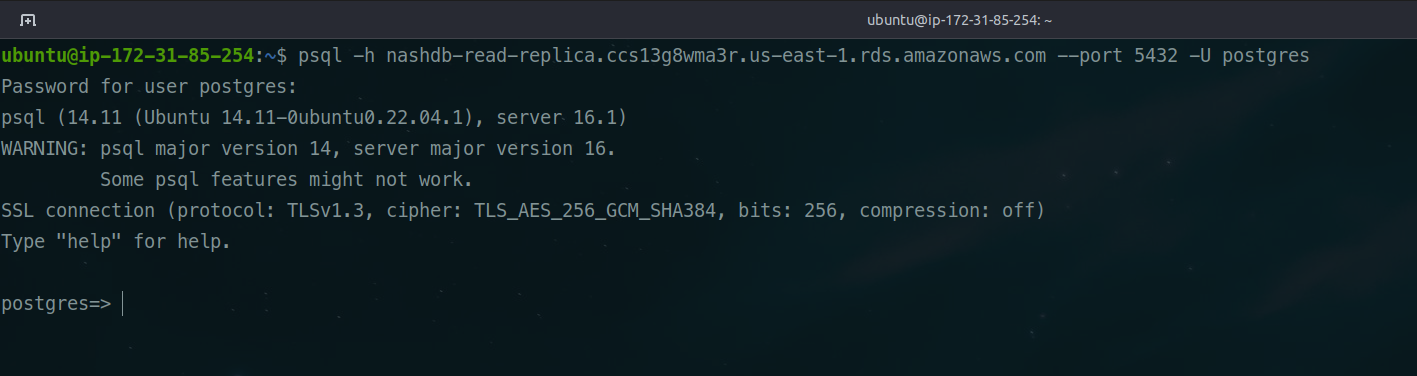
As you can see from above, we can access the read replica instance as well.
Renaming the RDS Instance
We can rename the RDS instance using:
- Console
- CLI
- RDS API
Here, we will use the console method to change the name of the database.
Before changing the name of the DB instance, you should consider the following points.
- It not only changes the name of the DB instance, but it changes the DB instance endpoint as well which we use to access the DB. Make sure your application uses updated endpoint.
- During the name change process, the old name is deleted immediately and it takes about 10mins for the new name to become effective.
- The old endpoint won’t work during the name change process.
- You have to choose a different name when you update the DB.
- It won’t affect READ replicas at all.
Now we will rename the master DB that we created previously.
Select the Database
Click on Modify.
In settings, change the DB instance identifier to the name of your choice.
Click on Continue.

Select when you want to apply this change.
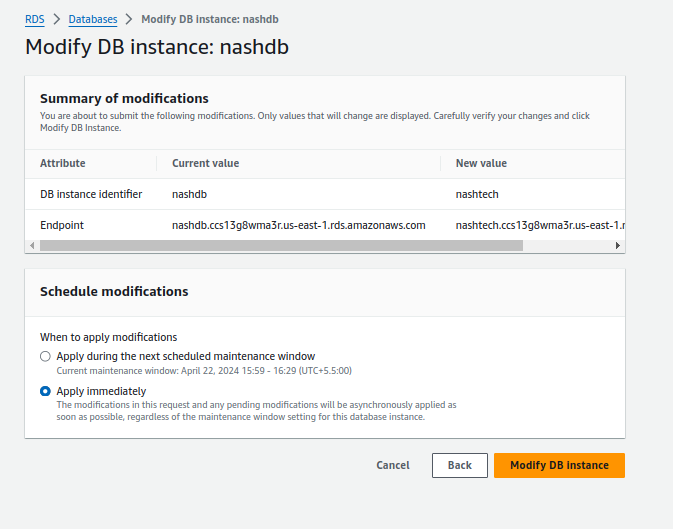
Click on Modify DB instance.
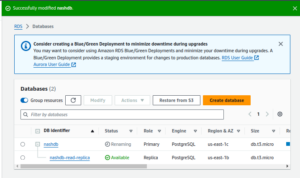
It has started renaming the DB instance. We can check if the old endpoint is still accessible or not.

It has stopped responding for the old endpoint. We will check the console and refresh it.

The name of the Primary has successfully changed, however, the read replica will remain unchanged. To change the name of the read replica, we will have to perform the same process as we did for the Primary instance.
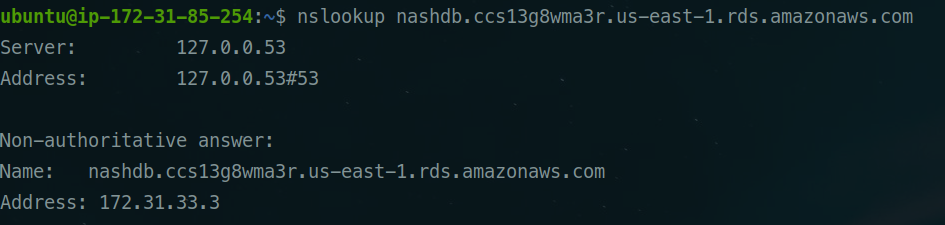
We will now check if we are able to resolve the new endpoint.
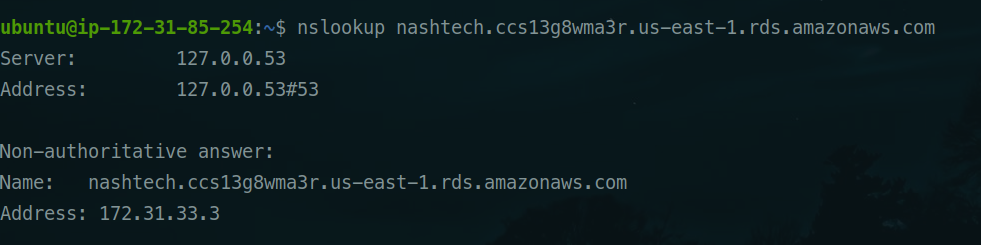
Yes, we are.
This is how you can change the name of the existing RDS instance. If you have any questions/feedbacks regarding this blog, I am reachable at vidushi.bansal@nashtechglobal.com. You can find more of my blogs here.