


What is stripe?
Stripe is a popular option to use as a payment provider for online transactions. It allows businesses to accept payments from customers through their website, e-commerce platform, app, or pretty much anywhere else on the internet.
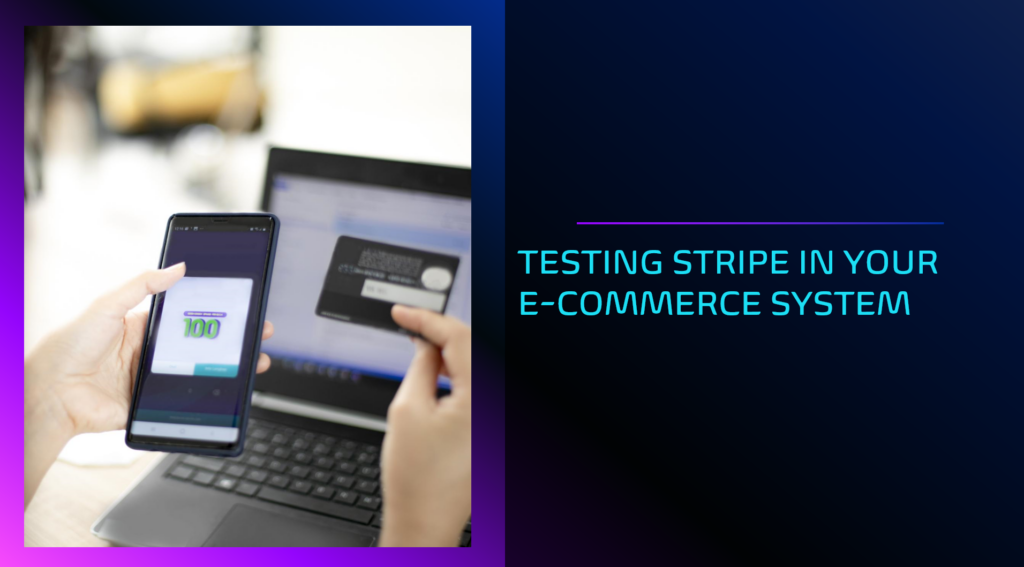
In this blog post, I will guide you on how to test the Stripe integration into the eCommerce website and dive deeper into the world of Stripe test cards, exploring their types, uses, and best practices.
A brief of how to receive payments through Stripe on e-commerce website
- To accept credit card payments, firstly need to set up a Stripe account.
- After that, Stripe account will need to connect to the eCommerce site which will allow it to start processing payments with Stripe.
- When customers purchase an item and hit the “checkout” button, they will be asked to enter their financial information into your site’s purchase page. Once the order is complete, the payment information will be sent through Stripe’s software from the website. Stripe will verify that the funds are available and then process the payment. The funds will be deposited into your merchant account. Both you and your customers will receive a receipt to confirm that the transaction is complete.
When testing transactions on your E-commerce site, you can use Stripe’s test mode along with their test card numbers to simulate transactions without actually charging any real credit cards.
Remember to perform thorough testing in test mode before launching your site to ensure a smooth customer experience.
Enabling Stripe Test Mode
When testing your payment form, you’ll need to ensure that no real transactions are made in the process. To do so:
- Login to the stripe.
- Toggle on the Test Mode option from the Dashboard

Now that you have enabled test mode, you can simulate various scenarios and potential issues by using the test card numbers provided in Stripe’s testing doc when filling out your form for testing.
Stripe payments testing scenarios:
Use a test card number provided by Stripe (you can find them in these Stripe Documents). These card numbers will be linked to particular scenarios you want to test.
Here are a few scenarios you can test:
- Successful transactions:
Ensure that:
- The transaction processes correctly, receipts are generated, and all post-transaction actions (like email notifications) are executed as intended.
- No error.
- Check that the successful payment appears in your Stripe dashboard and that the payment information is correct.
- Charge should populate as “Succeeded” in the Stripe Dashboard under “Payments.” Charge should be captured.

- To mimic authentication-required payment flows to customers while making payments using the recommended test cards to test 3D Secure payments
-
- Use an incorrect card number or incorrect CVC code along with a future expiry date to test how your site responds to incomplete or invalid payment information.
- Charge should populate as “Failed” in the Stripe Dashboard under “Payments.”
-
- Declined transactions could be due to many reasons, for example, insufficient funds, or the card being stolen, lost, or expired. So use test cards that correspond to specific decline reasons, like insufficient funds or an expired card.
- Use the specific card number for declined transactions in Stripe’s documentation to verify that your site handles declined payments correctly.
- Charge should populate as “Failed” in the Stripe Dashboard under “Payments.”

-
- if the user wants to cancel their order or subscription, Stripe lets you refund the amount (fully or partially) directly to their credit cards.
- Charge refunded: Charge should show as “Refunded” in the Stripe Dashboard
- Charge partially refunded: The charge should show as “Partial refunded” in the Stripe Dashboard. The refund amount will be different from the charge amount, and the partially refunded charges may still be disputed.

-
- To receive funds from the client/customer, Stripe (or your platform) makes payouts to the respective bank account.
- Test the Payouts:
- Click on the Balance tab on the side navigation bar under the Payments section.
- Redirect to the Payout screen.
- Test the Update Bank Details on the Payout setting screen

A small demo to test Stripe-hosted payment form integration:
- Click the checkout button on that payment form integrated with Stripe.
- Fill out the payment details with the test card information. Refer to those test card numbers in the Stripe document.
- Click Pay. You’re redirected to your new success page.
- Next, find the new payment in the Stripe Dashboard. Successful payments appear in the Dashboard’s list of payments: click a payment, it takes you to the payment details page.

5. Viewing Test Transactions in Your Stripe Account: click on Payments in the menu at the top of the screen. There are four tabs to filter the Payments type i.e. Succeeded, Refunded, Uncaptured, Failed, and All.

If you’d like, you can view more details for an individual payment. To do so, go to the row for that entry and click on the three dots to see more options. Then, select View payment details.


Switching to Live Mode
When you’re done testing, remember to deactivate Test Mode in Stripe before allowing users to submit payments in your form.
To enable Live Mode, scroll to the Stripe section and toggle the Test Mode option to the OFF position.

Best practices for testing with Stripe test cards
- Not understanding specific test card behaviors:
- Using a test card without fully understanding its behavior can lead to unexpected results, causing confusion or misinterpretation
- Solution: Familiarize yourself with the behavior of each test card. Stripe’s documentation provides comprehensive information on what each test card simulates. Review this before testing.
- Simulating different user experiences
- make a checklist of all possible scenarios you want to test—from successful payments to specific error codes. Use a diverse set of test cards to simulate as many user experiences as possible.
- Think like a user. Don’t just stick to standard scenarios. Delve into less common situations that might arise, like rapid successive transactions or odd input combinations. Attempt to make payments with incomplete details, incorrect inputs, and even random keystrokes. This helps in identifying potential user error points.
- Beyond just functionality, check if the payment form is intuitive, user-friendly, and responsive on different devices. As you make changes or updates to your payment system, revisit your test scenarios to ensure nothing breaks in the process.
- Handling and interpreting test results
- After each test, check Stripe’s dashboard to understand the transaction’s outcome. Ensure the recorded results align with what you expected.
- Mistaking test mode for live mode
- One of the most common mistakes is forgetting to switch between test and live modes, leading to either real charges being made or test data being misunderstood as real transactions.
- Solution: Always double-check the mode before initiating any transactions. In the Stripe Dashboard, the toggle between test and live mode is prominent.
- After switching to live mode, closely monitor the first few real transactions to ensure everything works as intended.
We hope this blog post can capture your imagination on what will be tested in a really short amount of time about e-commerce site integrated with Stripe