


In today’s fast-paced development environment, ensuring the security of web applications is crucial. Manual testing for vulnerabilities can be time-consuming and error-prone. This is where automated tools such as Arachni, specializing in automating application security testing, become invaluable. By leveraging Arachni for automating application security testing, developers can efficiently detect vulnerabilities and ensure the robust security of their web applications.
Introduction to Arachni
Arachni is an open-source dynamic application security testing (DAST) tool. It simulates real-world attacks on your web applications to identify security vulnerabilities such as SQL injection, cross-site scripting (XSS), and more. By automating the security testing process, Arachni helps developers quickly and efficiently find and fix vulnerabilities, ensuring their applications are secure.
What is Arachni?
Arachni is a feature-rich DAST tool that simulates real-world attack scenarios to identify security vulnerabilities in web applications. It has many scanning functions available, such as:
- Crawling: Arachni navigates through web applications, discovering all accessible pages and inputs.
- Auditing: It analyzes the discovered pages and inputs for various vulnerabilities, such as SQL injection, cross-site scripting (XSS), and more.
- Reporting: Arachni generates comprehensive reports detailing identified vulnerabilities and their severity levels.
Installation
Linux
- Open a terminal window.
- Update the package repository:
sudo apt update - Install Arachni:
wget https://github.com/Arachni/arachni/releases/download/v1.5.1/arachni-1.5.1-0.5.12-linux-x86_64.tar.gz - Run the installer script:
tar -xvf arachni-1.5.1-0.5.12-linux-x86_64.tar.gz - Go to the archani folder path
cd arachni-1.5.1-0.5.12/ - Go to inside bin folder
cd bin/ - To start the web interface of Arachni
./arachni_web
Setting Up Scans with Arachni : Automating Application Security Testing With Arachni
Method 1: Automating Application Security Testing With Arachni Using (CLI)
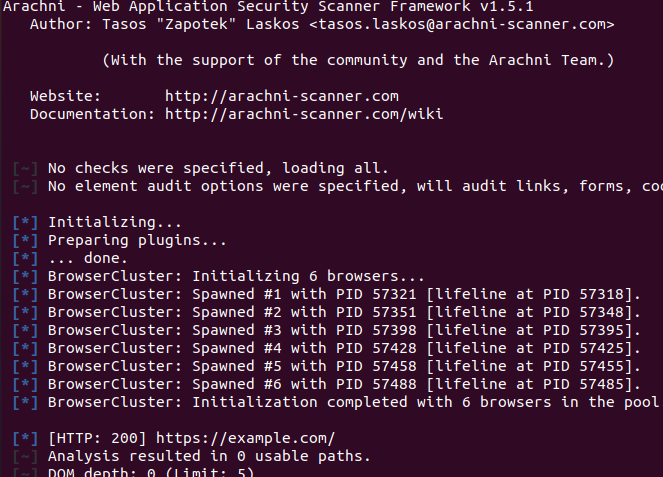
Getting started with Arachni is simple. Once you have it installed, you can initiate a scan using the command-line interface (CLI). Here’s a basic example:
./arachni https://example.com
- This command starts a scan on the specified URL(https://example.com), checking for various types of vulnerabilities.

- Wait for the scan to complete. Arachni will analyze the target web application for vulnerabilities.
- Arachni will produce a thorough report detailing the vulnerabilities found and their severity as soon as the scan is complete.
- Examine the report and take the appropriate steps to fix the vulnerabilities.
Method 2: Scan using the web interface of Arachni
- Open a terminal window.
./arachni_web

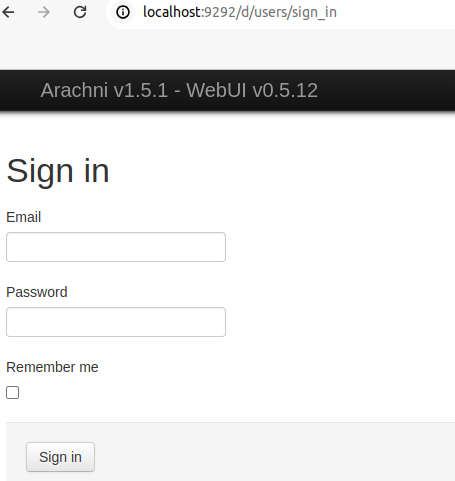
- Open the path in the browser “localhost:9292”

- To sign in as an “Administrator,” please refer to the default credentials provided in the link:
https://github.com/Arachni/arachni-ui-web/wiki#default-credentials

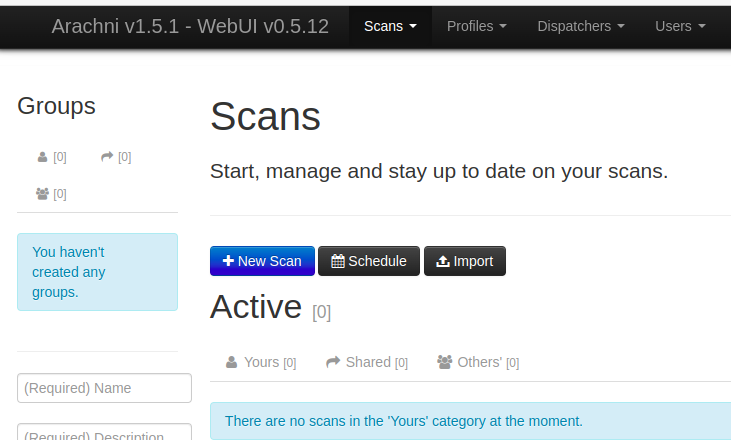
- Click on ‘Scans’ then click on ‘New Scan’

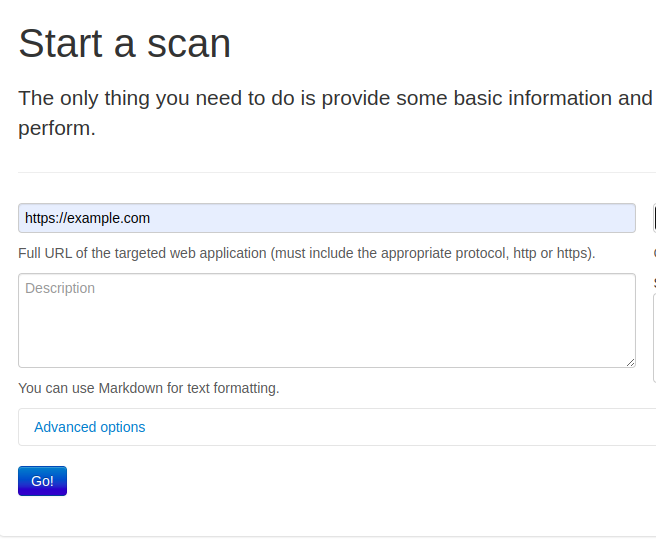
- Add ‘New Scan’ for target URL “https://example.com”

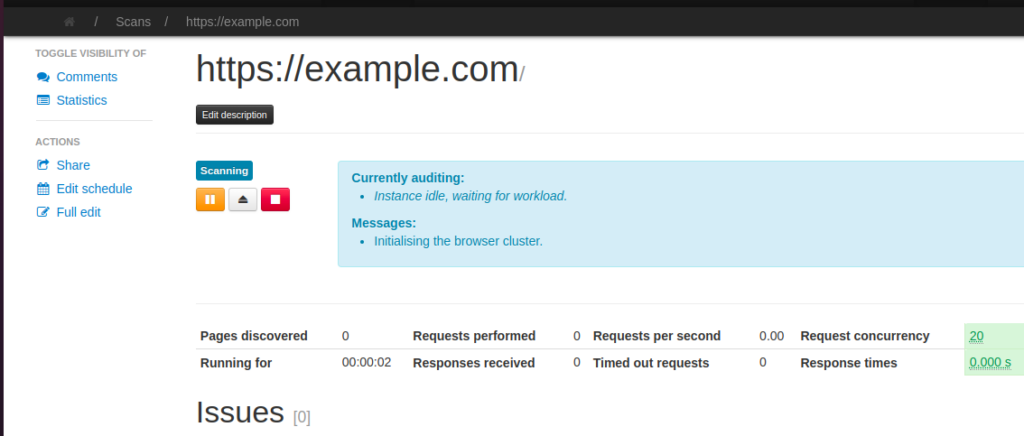
- Click on ‘Go’ button. Then it will start scanning the vulnerability.

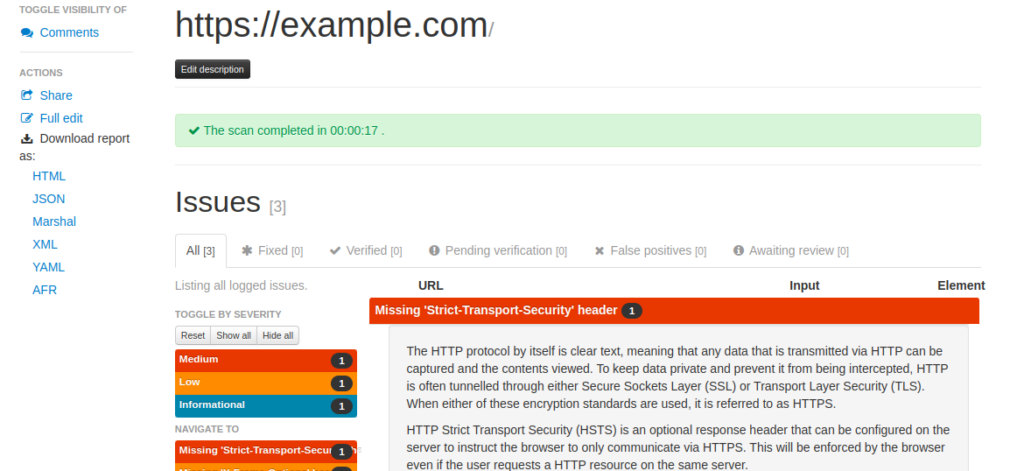
- Now we can see the vulnerability

- You can download the report in HTML, XML, or JSON format.
The report is downloaded as a ZIP file. After extraction, you can view the report by opening the ‘index.html’ file.
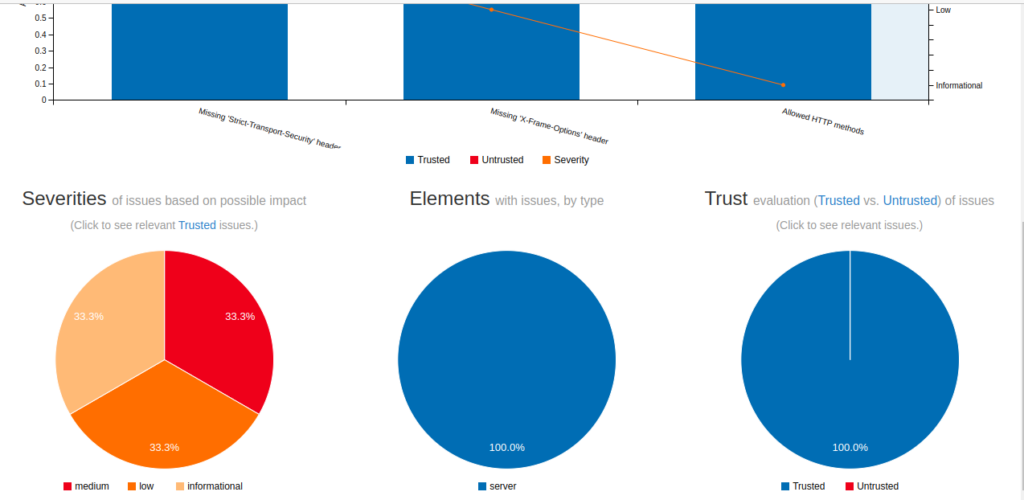
The HTML report appears as follows:

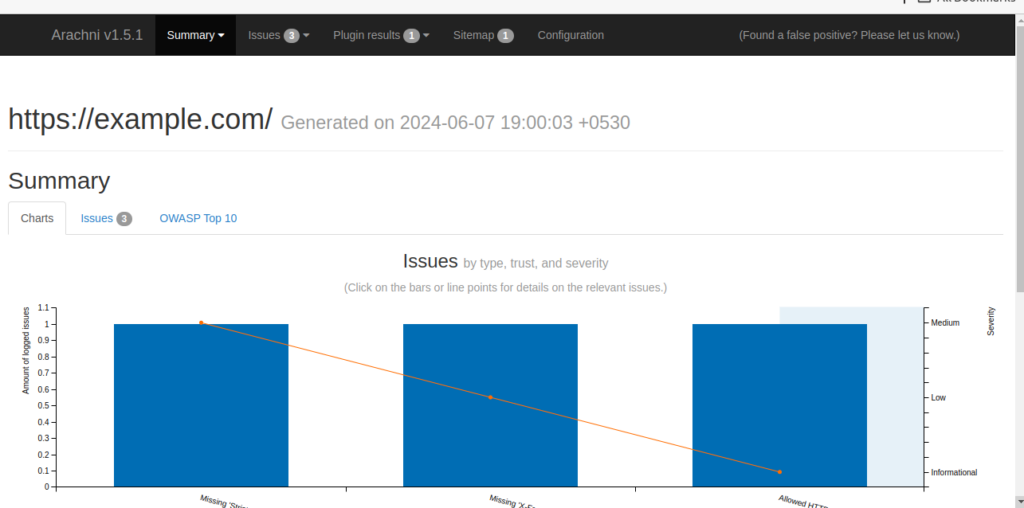
 In this case, Arachni will produce a thorough report detailing the vulnerabilities found and their level of severity.

 In this case, Arachni will produce a thorough report detailing the vulnerabilities found and their level of severity.
Conclusion
Automating application security testing with Arachni can greatly enhance the security of your web applications. By leveraging its powerful scanning capabilities and customizable features, you can proactively identify and fix vulnerabilities, ensuring your applications are safe from potential attacks.