


Introduction
In the ever-evolving digital landscape, ensuring your website functions seamlessly is paramount. Effective website testing not only enhances user experience but also boosts your site’s reliability and performance. This blog will walk you through essential tips for testing your website, focusing on key areas such as cache management, homepage settings, font consistency, media quality, hyperlink functionality, and sharing options.
Cache Management
Cache/Purge Cache
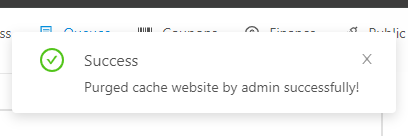
Caching is crucial for improving website speed and performance. It stores copies of your site’s files, reducing the load time for returning visitors. However, when new content is posted, it’s essential to purge the cache to ensure the latest information is displayed.
Steps to Purge Cache:
- Identify the caching method (browser, server, CDN).
- Use built-in CMS tools (like WordPress plugins) or third-party services to clear the cache.
- Regularly schedule cache purges when updates are made.
Tools for Cache Management:
- WP Super Cache (for WordPress)
- Cloudflare (for CDN caching)
- Google PageSpeed Insights (for checking cache effectiveness)
Homepage Settings and Loading
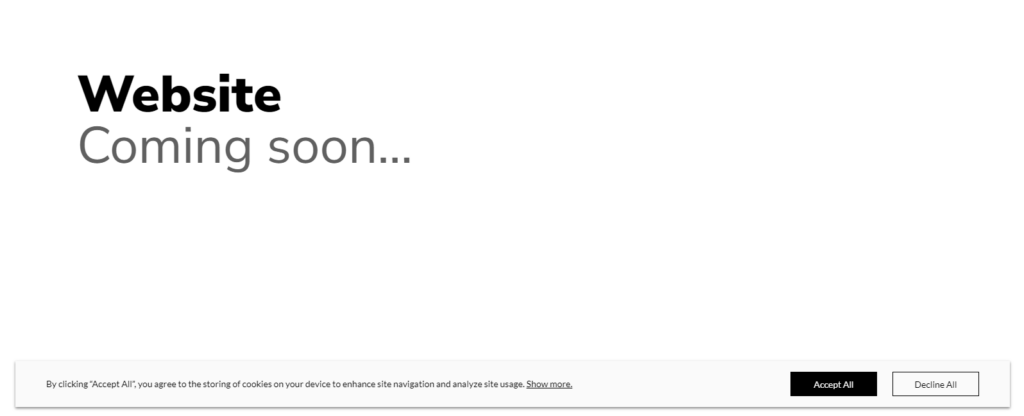
Your homepage is the face of your website. Ensuring it loads quickly and correctly is vital for a good first impression.
Testing Homepage Settings:
- Load Times: Use tools like GTmetrix or Pingdom to check and optimize load times.
- Element Loading: Ensure images, videos, and other elements load properly without delays or errors.
Tools for Testing Homepage Performance:
- GTmetrix
- Pingdom
- Google PageSpeed Insights
Font Settings
Consistent and readable fonts are key to a positive user experience.
Testing Font Compatibility:
- Check how fonts render across different browsers and devices.
- Ensure text is readable and accessible.
Tips for Optimizing Font Settings:
- Use web-safe fonts or Google Fonts.
- Ensure appropriate font sizes and spacing for readability.
- Check that product images display correctly in different sizes and views (thumbnails, gallery, zoomed in).
Video and Image Size and Quality
High-quality media enhances your site’s appeal, but it’s crucial to balance quality with load times.
Testing Video and Image Size and Quality:
- Compress images using tools like TinyPNG without losing quality.
- Ensure videos are optimized for web use, considering both quality and file size.
Tools for Media Optimization:
- TinyPNG (for image compression)
- HandBrake (for video compression)
- ImageOptim (for batch processing images)
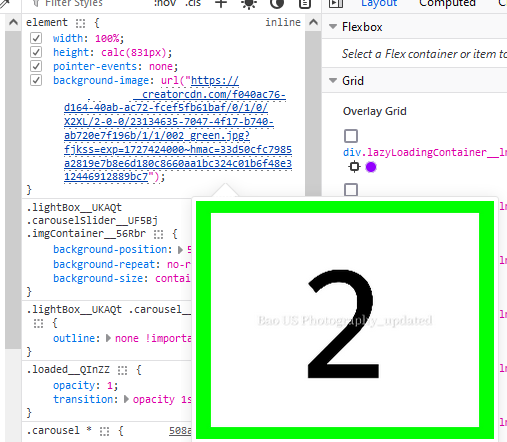
To ensure your images load quickly while maintaining quality, it’s important to use appropriately sized images depending on where they appear on your site. Here’s a recommended image size guide (Update on 1st August 2024)
- XXS: 60×60
- XS: 96×96
- S: 264×264
- M: 352×352
- L: 500×500
- XL: 685×685
- XXL: 1170×1170
- X2XL: 1488×1488 (replaced DCI2K)
- X3XL: 2974×2974 (replaced DCI4K)
Example of How XXL is Used:
- Whenever a requested size is greater than XXL, the photo resizes from a 4K source to maintain optimal quality and resolution.
- Whenever a requested size is equal to or smaller than XXL, the photo resizes from the XXL size (1170×1170). This helps to speed up loading times while preserving image clarity for smaller display sizes.
Hyperlinks
Functional hyperlinks are fundamental to a website’s navigation and SEO.
Testing Hyperlinks:
- Check all hyperlinks in buttons, text, and images to ensure they lead to the correct destinations.
- Use automated tools to scan for broken links and fix them promptly.
Tools for Link Checking:
- Broken Link Checker (for WordPress)
- Screaming Frog SEO Spider (for comprehensive link audits)
Sharing an Article/Post/Image via URL and Social Media
Easy sharing options can significantly boost your content’s reach.
Testing Sharing Functionalities:
- Ensure URLs are correctly formatted and lead to the right pages.
- Verify social media sharing buttons work and display correctly.
Tools for Testing Sharing Capabilities:
- ShareThis
- AddThis
- Buffer (for tracking social media shares)

Conclusion
Thorough website testing is a continuous process that ensures your site remains functional, fast, and user-friendly. By focusing on these key areas—cache management, homepage settings, font consistency, media quality, hyperlink functionality, and sharing options—you can maintain a high-performing website that meets users’ expectations. Regular testing and updates are crucial for staying ahead in the digital game.