


The RabbitMQ Management is an intuitive interface that allows you to monitor and manage your RabbitMQ server through a web browser. It provides functionality for handling queues, connections, channels, exchanges, users, and permissions—enabling you to create, delete, and list them directly in the browser. You can also monitor message rates and manually send or receive messages. This blog offers an overview of the various views available within RabbitMQ Management.
RabbitMQ Management is a plugin that can be activated for RabbitMQ. It provides a single static HTML page that interacts with the RabbitMQ HTTP API through background queries. The information from this management interface is valuable for debugging applications or gaining an overview of the entire system. For instance, a rising number of unacked messages might indicate that your consumers are slowing down. Additionally, you can test if an exchange is functioning correctly by sending a test message.
How to set up?
You can easily run RabbitMQ in a docker container using the following command.
docker run -d –hostname my-rabbit –name some-rabbit -p 8080:15672 rabbitmq:3-management
This will enable the management interface plugin which you can access on port 8080 and url http://localhost:8080/
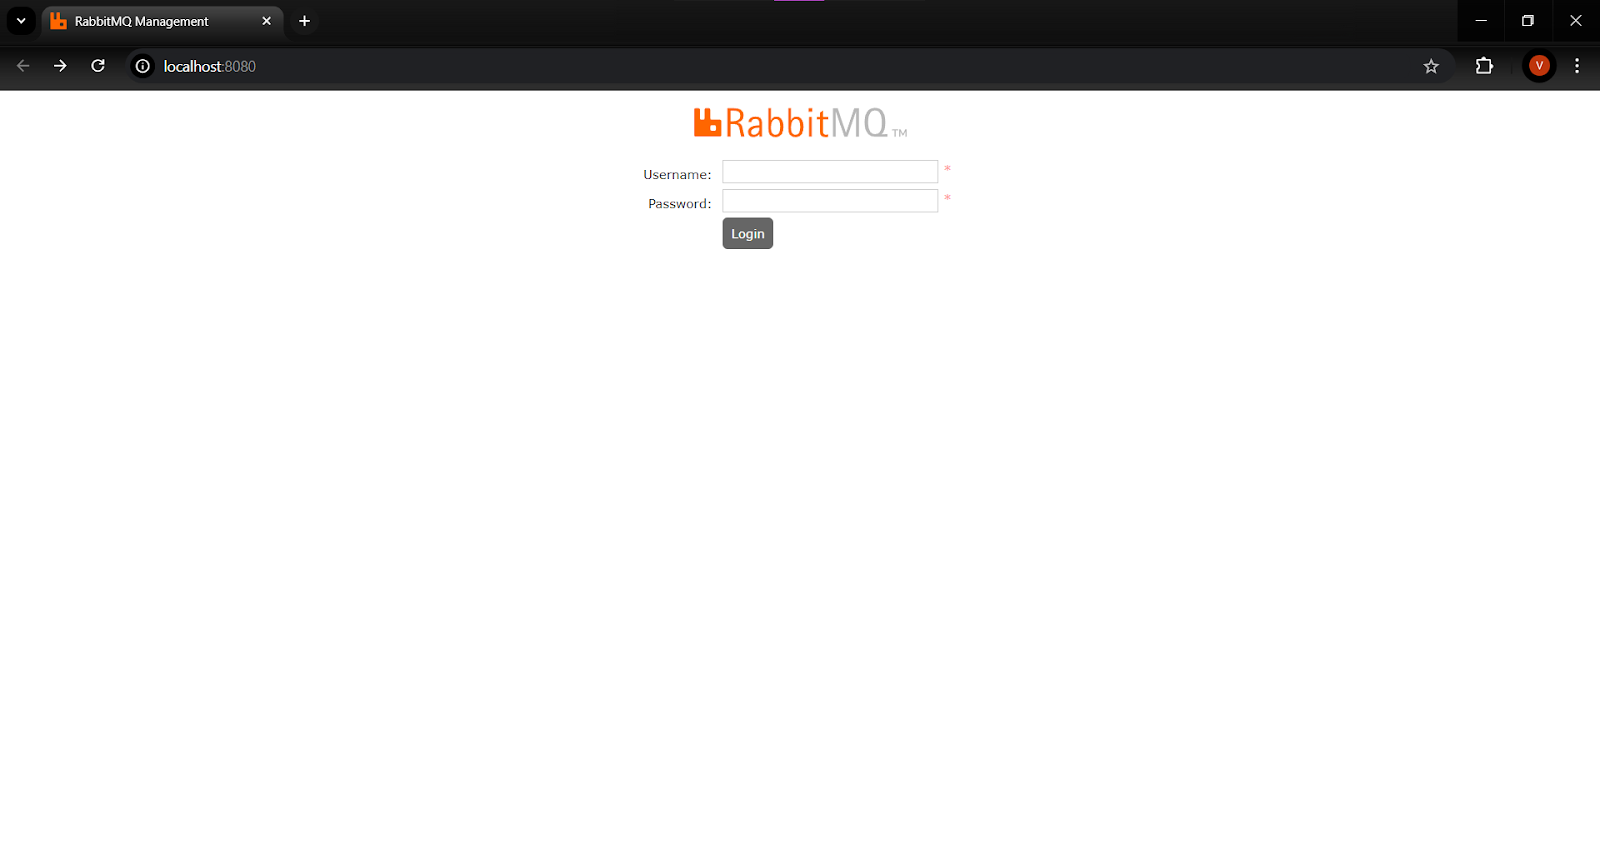
The default set of username and password is guest and guest. After logging in using the guest credential you will be redirected to the home page of RabbitMQ.

Queued Messages
This chart displays the total number of messages queued across all your queues. The “Ready” count indicates the number of messages available for delivery, while “Unacked” represents the messages awaiting acknowledgment from the server.

Message Rate
This chart illustrates the rate at which messages are processed. The “Publish” metric shows the rate at which messages are entering the server, while “Confirm” reflects the rate at which the server is confirming them.

Global Count
This section provides the total count of connections, channels, exchanges, queues, and consumers across all virtual hosts accessible to the current user.
Nodes
The “Nodes” section presents information about the nodes within the RabbitMQ cluster (a cluster being a group of nodes, or computers). If only one node is used, it will display information for that single node. Here, you can find details on server memory, the number of Erlang processes per node, and other node-specific data. The “Info” section offers additional details about the node and any enabled plugins.
Port and Contexts
This section lists the listening ports for various protocols.

Import/Export Definitions
You can import and export configuration definitions, which allows you to download a JSON representation of your broker (your RabbitMQ settings). This JSON file can be used to restore exchanges, queues, virtual hosts, policies, and users, making it a valuable backup tool. Whenever you make changes to the configuration, you can keep the previous settings as a safeguard.

Connection Tab
The connection tab displays all active connections to the RabbitMQ server. It shows the vhost in which each connection operates, the username associated with the connection, and the number of channels utilizing the connection. Additionally, SSL/TLS indicates if SSL secures the connection.
Channels
The channel tab provides details about all active channels. It displays the vhost in which each channel operates and the username associated with the channel. The mode column indicates the channel’s guarantee mode, which can be either confirm or transactional. In confirm mode, both the broker and the client track messages, and the broker confirms each message as it processes it. You enable confirm mode by invoking the confirm.select method on a channel.
Exchanges
An exchange receives messages from producers and routes them to queues, based on specific rules. The exchange must know exactly how to handle any message it receives. All exchanges can be viewed in the exchange tab. The Virtual Host column shows the vhost associated with each exchange, while the Type column displays the exchange type, such as direct, topic, headers, or fanout. The Features column lists the exchange’s parameters (e.g., D for durable, and AD for auto-delete). You define these features and types when you create the exchange.The list includes some default exchanges, such as the amq. exchanges and the unnamed (default) exchange, which are created automatically.

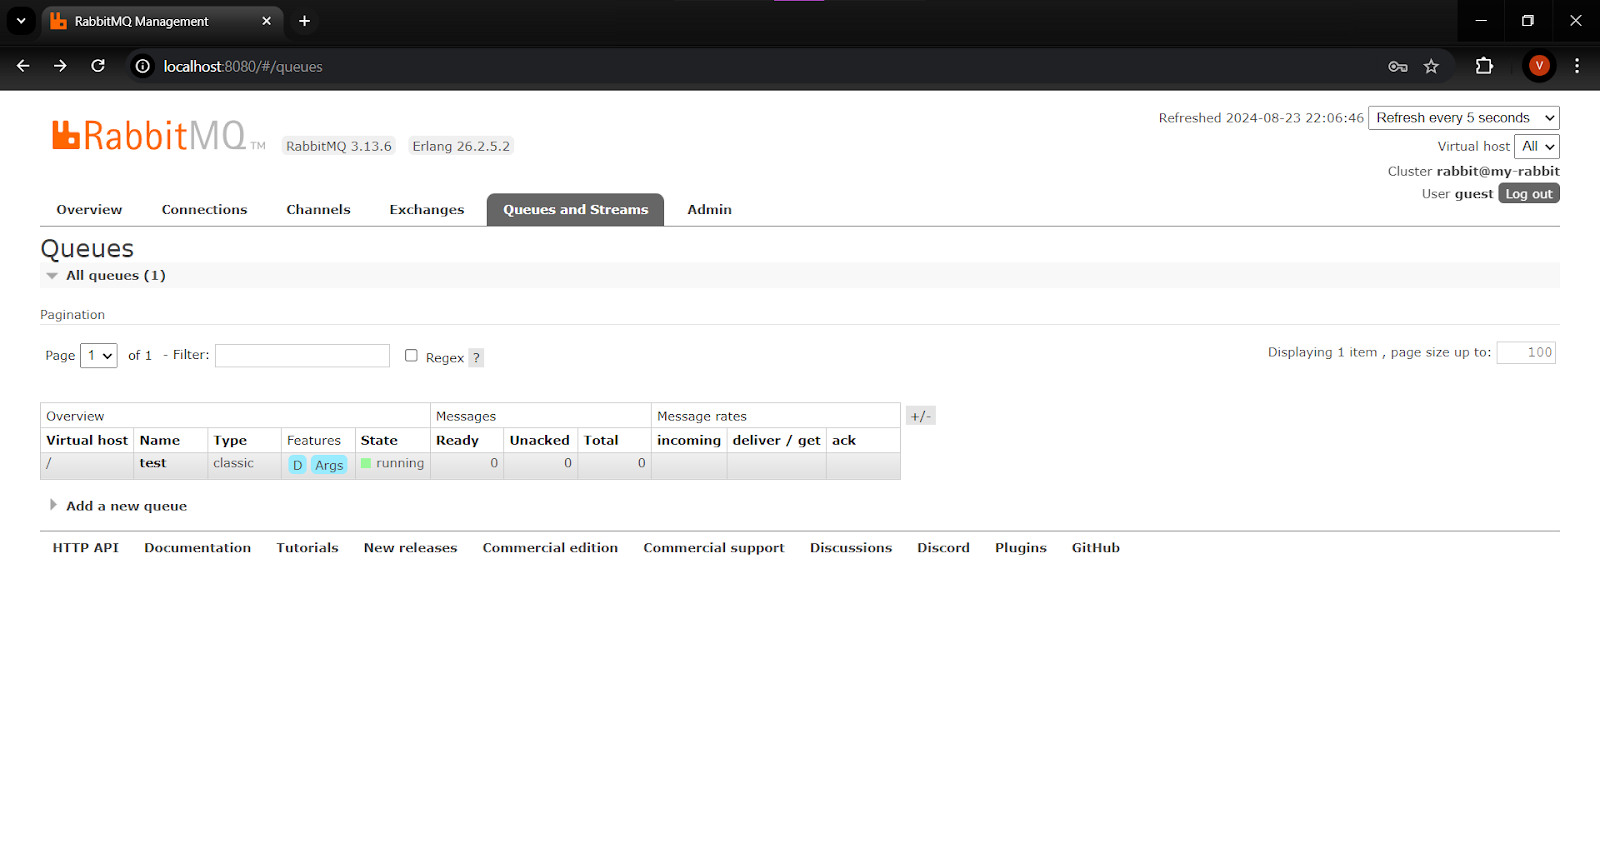
Queues
Queues have various parameters and arguments based on how they were created. The Features column displays the specific parameters associated with each queue. These features may include: Durable (ensuring RabbitMQ retains the queue even after a restart), Message TTL (the maximum time a message can remain in the queue before being discarded), Auto Expire (how long a queue can remain unused before being automatically deleted), Max Length (the maximum number of ready messages a queue can hold before it starts dropping them), and Max Length Bytes (the total body size limit for ready messages in a queue before they begin to be dropped).
Admin
The Admin view allows you to add users and modify their permissions. You can also configure vhosts, policies, federation, and shovels from this section.

Conclusion
Here we looked into how to run a RabbitMQ instance inside a docker container with management interface plugin enabled, what are the uses and functionality of different tabs inside the management interface.