


Microsoft PowerApps is a powerful low-code development platform that allows anyone to build custom apps quickly. Among the types of apps you can create in PowerApps, Canvas Apps stand out for their flexibility and intuitive design capabilities. Whether you’re a beginner or an experienced developer, Canvas Apps provide the tools to create tailored solutions for your business needs.
What Are Canvas Apps in PowerApps?
Canvas Apps are applications where you start with a blank canvas and design the user interface from scratch. You have complete control over the layout, appearance, and functionality of the app by dragging and dropping components onto the canvas. This makes Canvas Apps ideal for creating custom apps that match your specific design and workflow requirements.
Why Use Canvas Apps?
- Flexibility and Control: Canvas Apps provide unmatched flexibility, allowing you to design every aspect of your app.
- Ease of Use: With a drag-and-drop interface, building an app is straightforward, even for those with little to no coding experience.
- Integration: Canvas Apps can connect to a wide variety of data sources, including Microsoft Excel, SharePoint, SQL Server, and third-party services like Salesforce or Dropbox.
- Rapid Development: You can quickly create prototypes, test them, and make changes on the fly, reducing development time.
Step-by-Step Guide to Building Canvas Apps
Step 1: Access PowerApps Studio
- Sign In to PowerApps: Go to PowerApps and sign in with your Microsoft 365 account.
- Open PowerApps Studio: Once logged in, click on “Apps” in the left-hand menu and select “Create an app.”

Step 2: Choose the App Type
- Select Canvas App: You will be prompted to choose the type of app. Select “Canvas app” to get started.
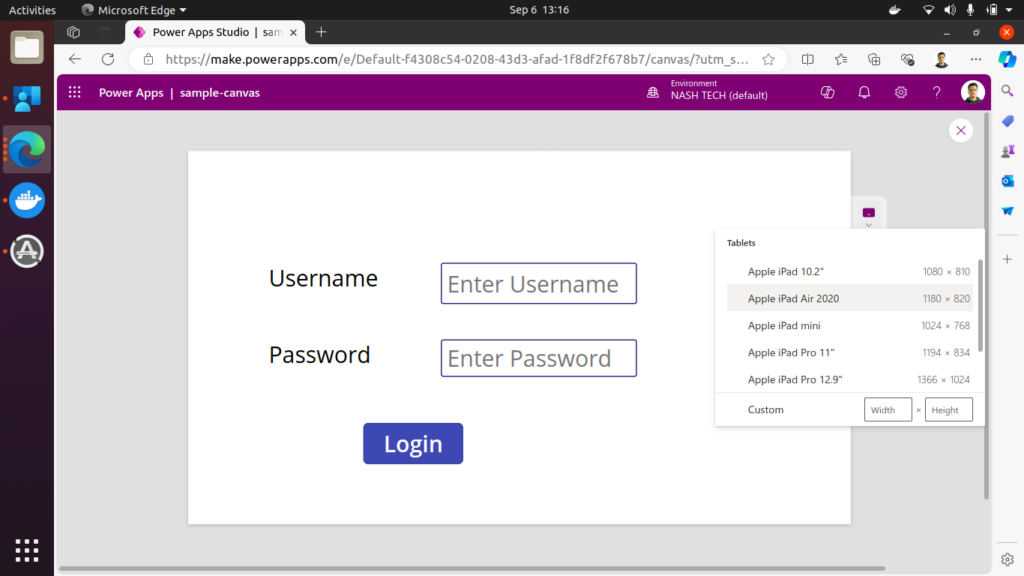
- Choose Your Layout: Decide if your app will be optimized for mobile or tablet layout. Mobile is suitable for apps primarily used on phones, while the tablet layout offers more space for complex designs.

Step 3: Connect to a Data Source
- Add Data Source: Click on the “Data” icon on the left panel and select “Add data.” Choose from a wide range of data sources such as Excel, SharePoint, SQL Server, or even custom connectors.
- Select Your Data Source: After choosing a data source, follow the prompts to connect PowerApps to your data. You might need to authenticate or provide credentials, depending on the source.

Code Snippet for Data Filtering
To filter data from a source, use the Filter function. For example, to show only records where the “Status” field is “Active”:
Filter(YourDataSource, Status = "Active")Step 4: Design Your App Interface
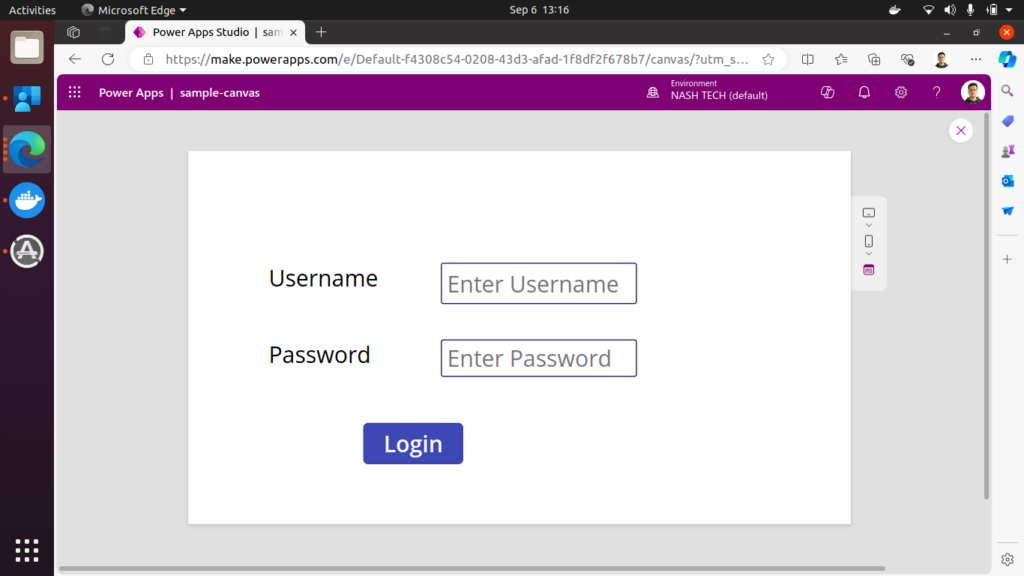
- Use Drag-and-Drop Elements: In Canvas Apps, you can drag and drop elements like text boxes, buttons, galleries, and forms onto the canvas.
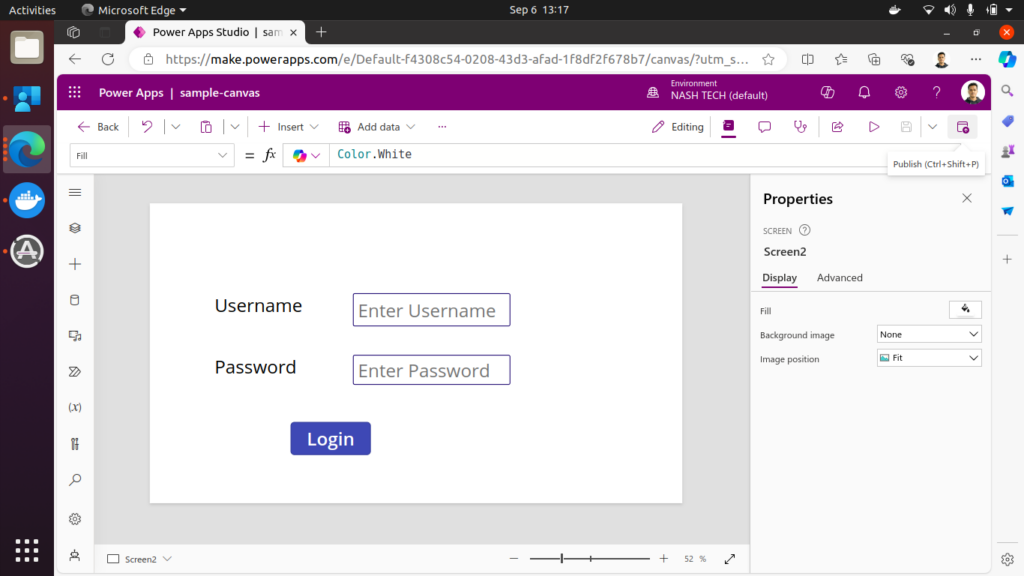
- Customize Components: Select any component to customize its properties, such as size, color, and text. Use the right-side property pane to make adjustments.
- Set Up Navigation: Add buttons and configure navigation actions to move between different screens or trigger events.

Code Snippet for Button Navigation
To create a button that navigates to a new screen, use the following formula in the “OnSelect” property of the button:
Navigate(ScreenName, ScreenTransition.Fade)Step 5: Add Functionality with Formulas
- Leverage PowerApps Formulas: Use PowerApps formulas, similar to Excel formulas, to add logic and functionality. For example, set the visibility of a button, calculate values, or filter data.
- Common Functions: Use formulas like
If,Navigate,LookUp, andFilterto create dynamic behavior within your app.
Example Formula:
To change the color of a button based on a condition:
If(Status = "Active", Green, Red)Step 6: Test Your App
- Preview Mode: Click on the “Play” button in the top right corner to test your app in preview mode. This allows you to interact with your app as a user would.
- Debugging: Make changes, adjust properties, and test again until your app works as desired.
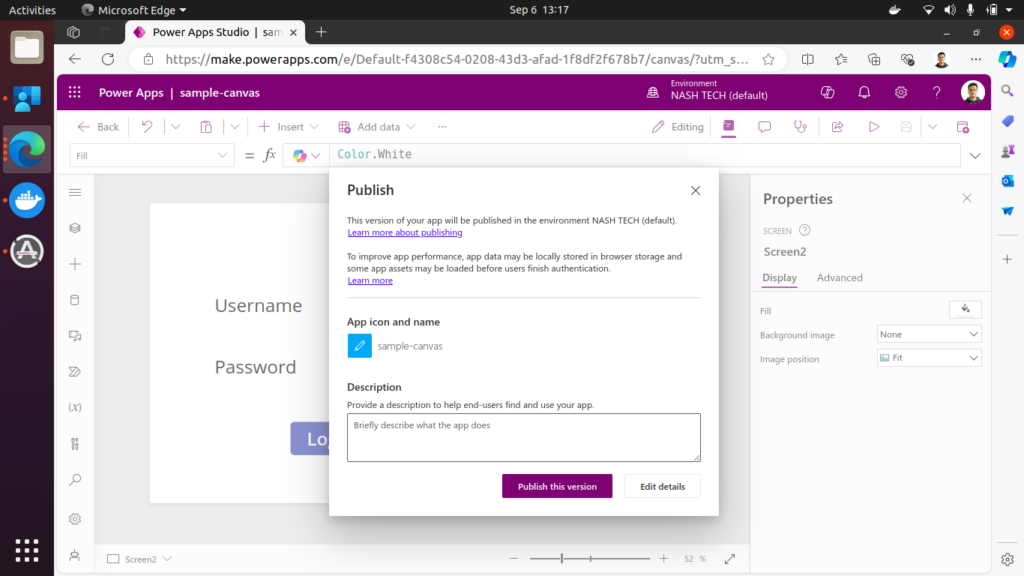
Step 7: Save and Publish Your App
- Save Your App: Click on the “File” tab and select “Save.” You can save your app to the cloud or download it locally.
- Publish: After saving, click “Publish” to make the app available to your organization or specific users.
Tips for Building Effective Canvas Apps
- Start Simple: Begin with a basic app to understand the layout and functionalities.
- Use Templates: Leverage the available templates to kickstart your app creation and get inspired.
- Optimize for Performance: Keep data connections minimal and use delegation whenever possible to ensure your app performs well.
- Consistent Design: Use consistent fonts, colors, and layouts to provide a smooth user experience.
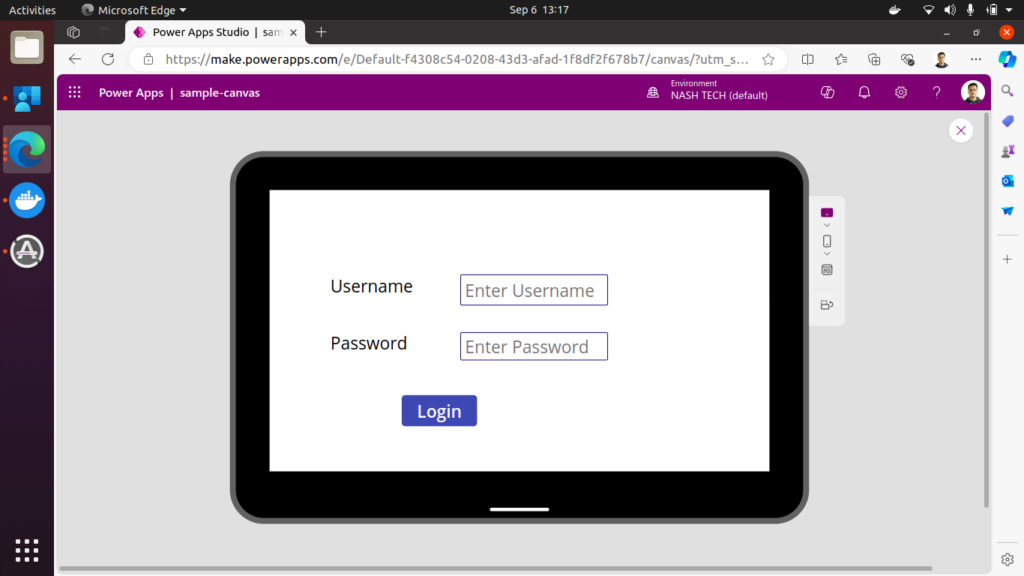
- Test on Multiple Devices: Ensure your app looks good and works well on all targeted devices.
Conclusion
Getting started with Canvas Apps in PowerApps is a straightforward process that empowers you to create powerful and custom applications tailored to your specific needs. With its intuitive drag-and-drop interface, seamless data integration, and flexible design capabilities, Canvas Apps are a fantastic tool for both beginners and experienced developers.
So, why wait? Dive into PowerApps today and start building your first Canvas App!