


Introduction
Businesses are continuously looking for methods to improve efficiency and streamline operations in an era where digital transformation is critical. Among these tools, Azure Logic Apps is particularly potent since it enables users to automate processes and integrate different services between on-premises and cloud settings in a seamless manner. This cloud solution eliminates the need for deep coding expertise by automating workflows and integrating services, data, and processes. It is the perfect solution for businesses aiming to increase productivity and spur creativity through automation because of its user-friendly low-code visual designer, which even non-developers can use to tackle challenging integration problems.
This blog post will discuss how to use Azure Logic Apps with a.NET web API to build a useful and effective serverless process. As an illustration of the power and adaptability of Azure Logic Apps, we’ll show you how to automate the logging of incoming emails into a database. This tutorial will give you a simple, step-by-step method to getting started with Azure Logic Apps and.NET, regardless of your goals—simplifying repetitive activities or creating intricate business processes.
An Overview of Logic Apps on Azure
With the help of Azure Logic Apps, customers can link services, data, and processes between on-premises and cloud-based systems and automate workflows. You can tackle difficult integration challenges with its low-code, visual designer interface without writing a single line of code.
Key Features
- Visual Designer: Use a graphical user interface to design, administer, and display workflows.
- Connectors: Get pre-configured connectors for hundreds of services, ranging from Office 365 and Salesforce to Azure and third-party apps
- Scalable & Reliable: Logic Apps, which are based on Azure, provide the performance, scalability, and availability that come with cloud services.
- Built-in Scalability: they can manage anything from high-speed processing to prolonged operations.
- Flexible Integration: Utilize cloud-based and on-premises services.
- Serverless: No infrastructure to maintain; only pay for the processes that are executed.
Step by Step Process
Example Scenario: Setting Up Email Alerts for Database Updates Automatically
In this blog post, we’ll build a logic application that records email details and delivers them to a.NET web API, which logs them to a database, upon receiving a new email in a designated Outlook inbox. This example demonstrates how well workflows can be automated with Azure Logic Apps.
1. Set Up the Environment
- Create an Azure SQL Database: Ensure you have an Azure SQL Database set up and populated with some records.
- Office 365 Outlook Account: Ensure you have an Office 365 Outlook account to send emails.
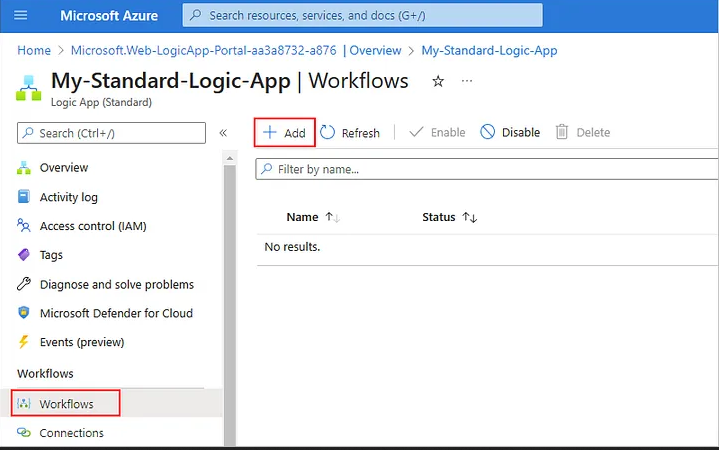
2. Create a Logic App
- Login to Azure Portal: Go to the Azure Portal and log in.
- Create a Logic App:
- Click on Create a resource.
- Search for Logic App and select it.
- Fill in the required fields (Subscription, Resource Group, Logic App name, Region) and click Review + create.
- After validation, click Create.
3. Open the Logic App Designer
- Once your Logic App is created, navigate to it and click on Logic App Designer.
4. Define the Trigger
- Choose a Trigger:
- Select the When a new email arrives (V2) under the Outlook connector.
- Sign in with your Outlook account and configure the folder to monitor (e.g., Inbox).
5. Define the Action
- Add an Action:
- After configuring the trigger, click on New step.
- Search for HTTP and select HTTP.
- Choose POST as the method and enter the URL of your .NET web API (we’ll create this next).
- In the Body field, add the JSON that represents the email details:
{
  "subject": "@{triggerOutputs()?['body/subject']}",
  "from": "@{triggerOutputs()?['body/from']}",
  "receivedTime": "@{triggerOutputs()?['body/receivedTime']}"
}
6. Create the .NET Web API
- Create a New .NET Web API Project:
- Open Visual Studio and create a new project.
- Choose ASP.NET Core Web Application, name it
EmailLogger, and click Create. - Select API as the template and click Create.
- Install Entity Framework Core:
- Open the Package Manager Console and run:
Install-Package Microsoft.EntityFrameworkCore.SqlServer
Install-Package Microsoft.EntityFrameworkCore.Tools
Set Up the Data Model:
- Create a new folder named
Modelsand add a class namedEmailLog.cs:
public class EmailLog
{
    public int Id { get; set; }
    public string Subject { get; set; }
    public string From { get; set; }
    public DateTime ReceivedTime { get; set; }
}
Configure the Database Context:
- Create a folder named
Dataand add a classApplicationDbContext.cs:
using Microsoft.EntityFrameworkCore;

public class ApplicationDbContext : DbContext
{
    public ApplicationDbContext(DbContextOptions<ApplicationDbContext> options) : base(options) { }

    public DbSet<EmailLog> EmailLogs { get; set; }
}
Configure Startup.cs:
- In
Startup.cs, configure the database context:
public void ConfigureServices(IServiceCollection services)
{
    services.AddDbContext<ApplicationDbContext>(options =>
        options.UseSqlServer(Configuration.GetConnectionString("DefaultConnection")));
    services.AddControllers();
}
Create a Connection String:
- In
appsettings.json, add your SQL Server connection string:
"ConnectionStrings": {
    "DefaultConnection": "Server=your_server;Database=EmailLoggerDb;Trusted_Connection=True;"
}
Add a Controller:
- Create a folder named
Controllersand add a new controllerEmailLogsController.cs:
using Microsoft.AspNetCore.Mvc;
using System.Threading.Tasks;

[Route("api/[controller]")]
[ApiController]
public class EmailLogsController : ControllerBase
{
    private readonly ApplicationDbContext _context;

    public EmailLogsController(ApplicationDbContext context)
    {
        _context = context;
    }

    [HttpPost]
    public async Task<ActionResult> PostEmailLog(EmailLog emailLog)
    {
        _context.EmailLogs.Add(emailLog);
        await _context.SaveChangesAsync();
        return CreatedAtAction(nameof(PostEmailLog), new { id = emailLog.Id }, emailLog);
    }
}
Run Database Migrations:
- Run the following commands in the Package Manager Console:
Add-Migration InitialCreate
Update-Database
7. Save and Test the Logic App
- Deploy the .NET Web API: You can deploy your API to Azure App Service or run it locally.
- Test the Logic App:
- Send a test email to the Outlook account you set up in your Logic App.
- Monitor the Logic App’s run history to ensure it triggers correctly and the data is sent to the .NET API.
- Check your database to see if the email log has been saved.
8. Monitor & Manage
In the Azure portal, view the run history and monitor the performance of your Logic App. You can troubleshoot any issues and modify the workflow as needed.
Advanced Capabilities
Azure Logic Apps also offer several advanced features:
- Conditional Workflows: Use conditional statements to direct workflow actions based on specific criteria.
- Looping & Arrays: Process multiple items using loops and work with arrays in your workflows.
- Error & Exception Handling: Create workflows that can catch and handle exceptions, ensuring your processes run smoothly.
Conclusion
A strong low-code framework for integrating services and automating workflows is offered by Azure Logic Apps. Its broad selection of connectors and user-friendly visual designer enable users to quickly create and implement workflows that increase productivity and efficiency. Logic Apps provides an adaptable and scalable solution for tasks including automating corporate processes, connecting on-premises systems with the cloud, and integrating cloud services.