


Breadcrumb navigation is an essential part of modern web applications, enhancing user experience by providing clear pathways for navigation. In this guide, we’ll walk through the implementation of a dynamic breadcrumb component in an Angular application, complete with practical code examples and UI designs.
Introduction to Breadcrumbs
Breadcrumbs are navigational aids that help users understand their location within an application. They typically display the current page’s hierarchy, allowing users to easily backtrack to previous sections. For instance, a breadcrumb trail for a gaming laptop could look like:
Home > Computers > Laptops > Gaming Laptops
This guide will help you implement a breadcrumb component that dynamically updates based on user navigation within your Angular application.
Setting Up the Angular Application
- To begin, ensure you have Angular CLI installed. If not, you can install it globally using the following command:
npm install -g @angular/cli - Next, create a new Angular application:
ng new breadcrumbExample - Once the application is set up, you can serve it using:
ng serve
Navigate to `http://localhost:4200` to see your application running.
Creating the Breadcrumb Component
1. Generate the Breadcrumb Component
Use Angular CLI to create a new component for the breadcrumbs:
ng generate component breadcrumb
2. Implement the Component Logic:
.TS File Implementation
Open breadcrumb.component.ts and implement the following code:
import {Component} from '@angular/core';
import {NavigationEnd, Router} from "@angular/router";
import {filter} from "rxjs/operators";

@Component({
  selector: 'app-breadcrumb',
  templateUrl: './breadcrumb.component.html',
  styleUrl: './breadcrumb.component.scss'
})
export class BreadcrumbComponent {
  breadcrumbs: { label: string, url: string }[] = [];

  constructor(private router: Router) {
    this.router.events
      .pipe(filter(event => event instanceof NavigationEnd))
      .subscribe(() => {
        this.updateBreadcrumbs();
      });
  }

  updateBreadcrumbs() {
    const currentUrl = this.router.url.split('/').filter(Boolean);
    this.breadcrumbs = [];

    const baseBreadcrumbs = [
      {label: 'Home', url: '/'},
      {label: 'Computers', url: '/computers'},
      {label: 'Laptops', url: '/laptops'},
      {label: 'Gaming Laptops', url: '/gaming-laptops'}
    ];

    if (currentUrl.includes('gaming-laptops')) {
      this.breadcrumbs.push(baseBreadcrumbs[0], baseBreadcrumbs[1], baseBreadcrumbs[2], baseBreadcrumbs[3]);
    } else if (currentUrl.includes('laptops')) {
      this.breadcrumbs.push(baseBreadcrumbs[0], baseBreadcrumbs[1], baseBreadcrumbs[2]);
    } else if (currentUrl.includes('computers')) {
      this.breadcrumbs.push(baseBreadcrumbs[0], baseBreadcrumbs[1]);
    } else {
      this.breadcrumbs.push(baseBreadcrumbs[0]);
    }
  }
}
Key Parts of the Code
1- Constructing the Breadcrumb Trail: Depending on the current URL, the method adds relevant breadcrumb objects to the array, guiding users through their navigation path.
2- Imports: The component imports essential modules, including Angular’s core module and the Router to handle navigation events.
3- Component Definition: The BreadcrumbComponent is defined with a selector and template, and an array to hold breadcrumb objects.
4- Router Events: In the constructor, the component listens for NavigationEnd events to trigger an update of breadcrumbs whenever the user navigates.
5- Updating Breadcrumbs: The updateBreadcrumbs() method splits the current URL into segments. It resets the breadcrumbs array.
.HTML File Implementation
In breadcrumb.component.html, add the following code to create the breadcrumb UI:
<hr>
<nav>
<ng-container *ngFor="let breadcrumb of breadcrumbs; let last = last">
<span *ngIf="!last">
<a [routerLink]="breadcrumb.url">{{ breadcrumb.label }}</a> >
</span>
<span *ngIf="last">
<a [routerLink]="breadcrumb.url">{{ breadcrumb.label }}</a>
</span>
</ng-container>
</nav>
<hr>Key Parts of the UI Design
This breadcrumb navigation component visually represents the user’s current location within the application. It displays clickable links that indicate the hierarchy of pages, allowing easy navigation back to previous sections.
User Guidance: Helps users understand where they are in the app.
Easy Navigation: Enables quick access to higher-level pages by clicking on breadcrumb links.
Improved UX: Enhances the overall user experience by making navigation intuitive and straightforward.
Create the Necessary Components
Use Angular CLI to create the components referenced in the routing module:
   ng generate component home
   ng generate component computers
   ng generate component laptops
   ng generate component gaming-laptops
Basic Component Structure
Each component can have basic content to display, like:
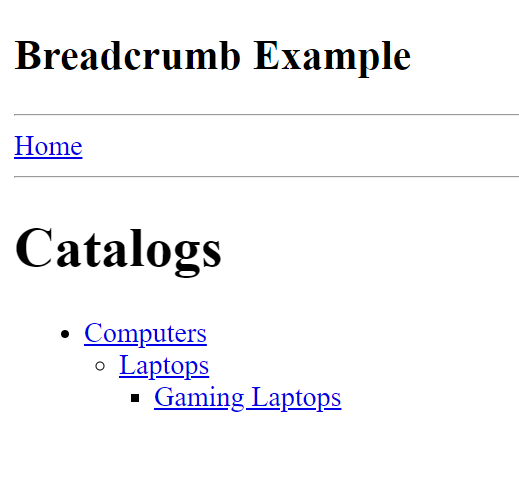
Home Component:
<h1>Catalogs</h1>
<ul class="menu">
  <li>
    <a [routerLink]="['/computers']">Computers</a>
    <ul class="nested-menu">
      <li>
        <a [routerLink]="['/laptops']">Laptops</a>
        <ul class="nested-menu">
          <li>
            <a [routerLink]="['/gaming-laptops']">Gaming Laptops</a>
          </li>
        </ul>
      </li>
    </ul>
  </li>
</ul>
Other Components:
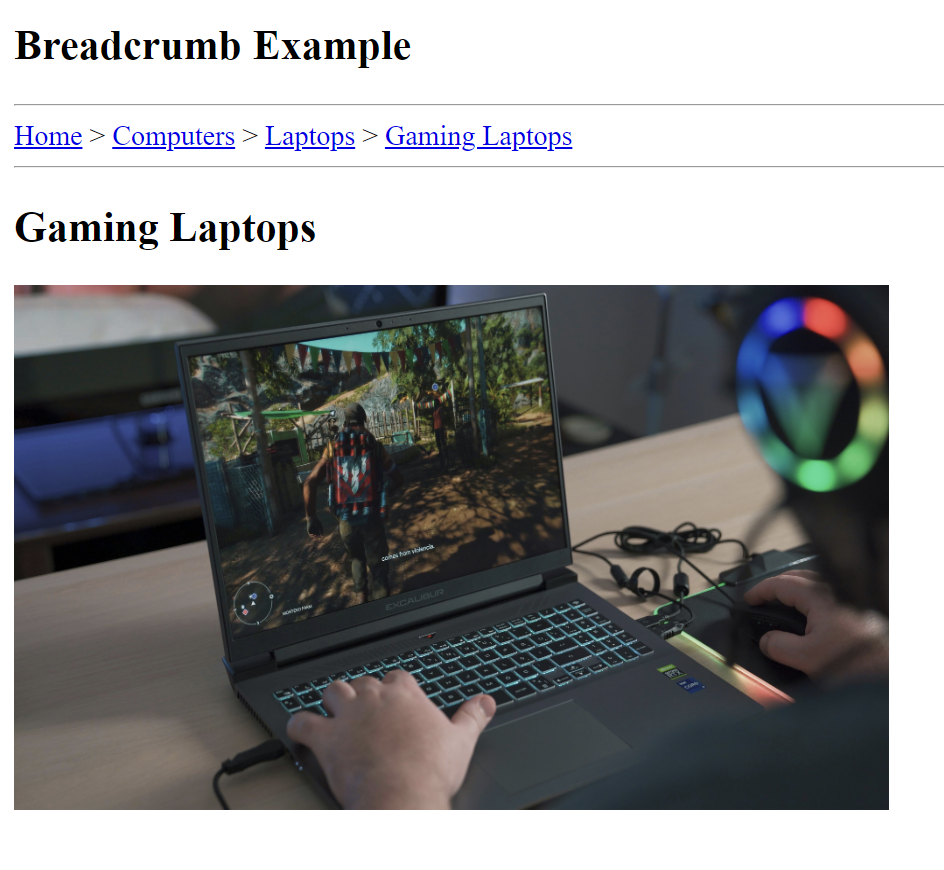
<h2>Gaming Laptops</h2>
<img src="assets/gaming-laptop.jpg" alt="Gaming Laptops" width="500px" height="300px"/>
(Update each component’s HTML as needed).
Routing Configuration
To enable navigation through the different catalog items, set up routing in your application.
   const routes: Routes = [
     { path: '', component: HomeComponent },
     { path: 'computers', component: ComputersComponent },
     { path: 'laptops', component: LaptopsComponent },
     { path: 'gaming-laptops', component: GamingLaptopsComponent }
   ];
These routes enable navigation within the application, allowing users to access different sections by entering specific URLs or using navigation links.
Sample UI Screens
Home Screen Example:
Last Screen Example: (Navigating to Gaming Laptops)
Conclusion
In this guide, we covered the essential steps to create a dynamic breadcrumb navigation component in an Angular application. This feature not only enhances user experience but also improves the overall usability of your application. Feel free to customize and expand upon this example to fit your specific project needs!
Git-Hub Repository Link: https://github.com/NashTech-Labs/breadcrumbExample