


Introduction
Hello readers! While working with .net applications, you will have to work with database. Sometimes reading data from the database, editing data or just adding data to the database. You simply cannot avoid such scenarios. To handle these operations in .net, we use ORM(Object Relational Mapping) tools. We can either use Dapper for it or Entity Framework core.
In this blog, we will be going through the process of using Dapper in .net applications.
What is Dapper?
Data is a lightweight ORM which helps us in providing fast and efficient data access from the database. Here are some key features of Dapper:
- Performance: Dapper is widely known for its high performance data access.
- Minimal Setup: It does not require any complex configurations, you can simply write your SQL queries and map that data with the objects.
- Lightweight: It does not impose additional layers
- Supports multiple databases: Works well with all major relational databases like SQL, MySQL, SQLite, Oracle.
Pre-Requisites
- Latest .NET SDK should be installed in your system.
- Preferred code editor or IDE
- Basics of C#
- Database ready to use
Creating Application
Once you are done with the above things, you are good to go ahead. So let us get started with creating a new webapi application. The command for creating webapi template is given below. Use it to create the application.
dotnet new webapi -n DapperDemoOnce you run this command, you will have a folder created with name DapperDemo which will consist of the webapi template. So that is the name of your application.
Navigate to the project directory and run the following commands.
dotnet add package Dapper
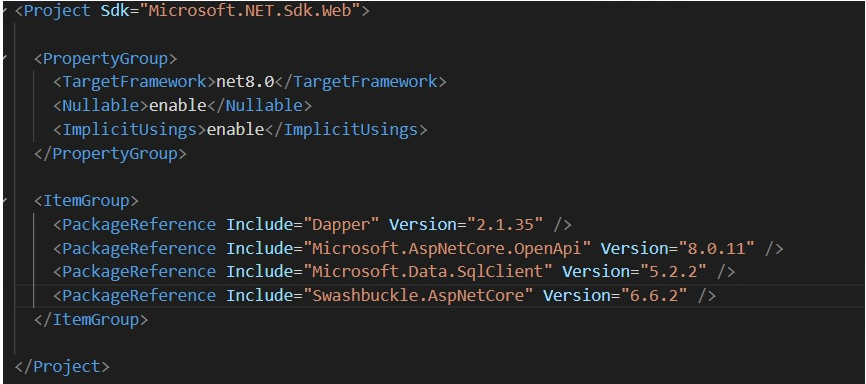
dotnet add package Microsoft.Data.SqlClientAfter running the above commands successfully, you will have the dependencies added in the DapperDemo.csproj file. The Microsoft.Data.SqlClient ensures that you have the database provider. The Swashbuckle package is for the SwaggerUI which is already configured within the template. You can see the code for that in Program.cs file.
You can now once try to run the application with help of below command.
dotnet run
You will see a port running. Navigate to the port and you will a screen like this:
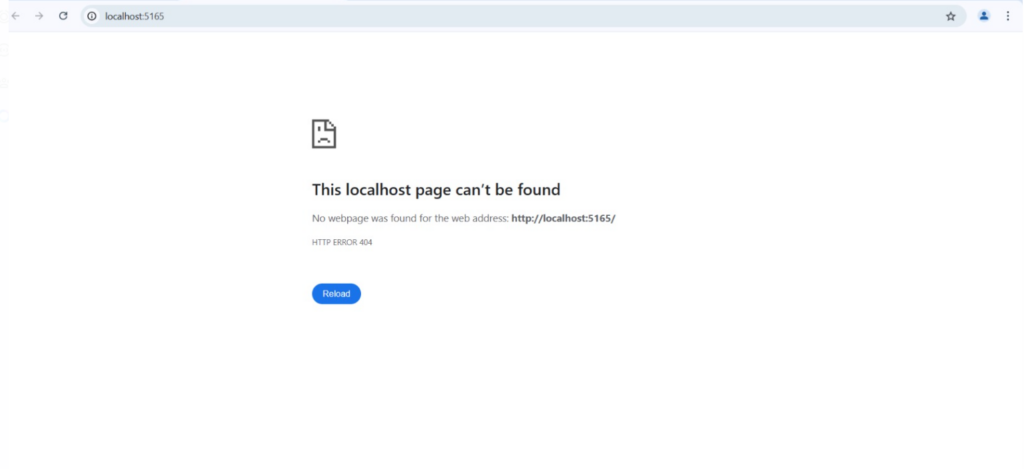
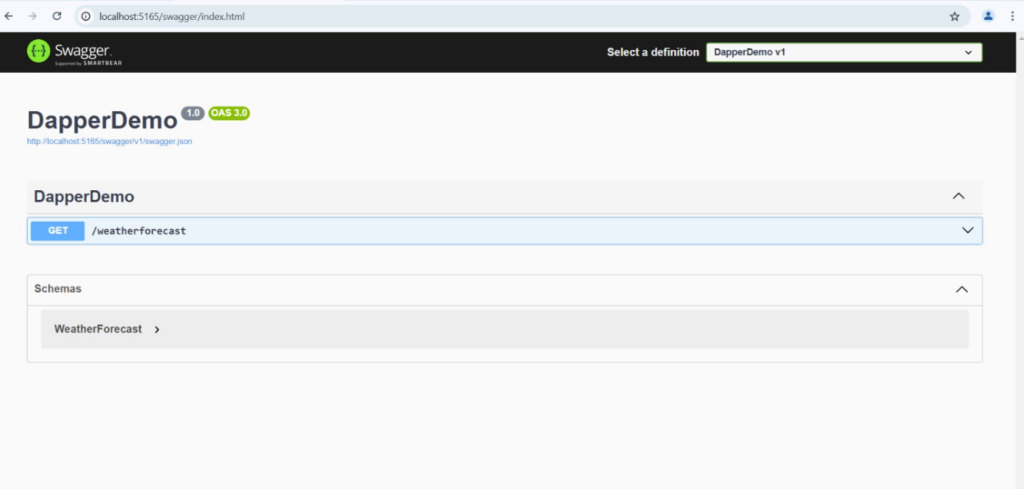
Here we cannot see anything. We can refer Swagger for the results. Just add /swagger to the URL that you have just visited and you will see SwaggerUI is loaded. It will initially have one GET call for getting weather forecast. You can try that if you want.
This is the initial code which is provided in the webapi template.
Using Dapper
Lets head back to our application and add the connection string. I am assuming you have a database which is ready to integrate. So we will simply go through the integration process. First of all, open the appsettings.json file and add connection string like:
{
  "ConnectionStrings": {
    "DefaultConnection": "Server=YOUR_SERVER_NAME;Database=YOUR_DATABASE_NAME;User Id=USERNAME;Password=PASSWORD"
  }
}
Next, we will create a Model class to define our data. I am creating a User.cs file.
public class User{
        public int UserId {get; set;}
        public string FirstName {get; set;}
        public string LastName {get; set;}
        public string Gender {get; set;}
}
I will now create a UserController.cs file and will add a endpoint to get all users. Create a class UserController and first we add IConfiguration. Inject the same in the constructor.
public class UserController: ControllerBase{

     private readonly IConfiguration _config;

    public UserController(IConfiguration config){
        _config = config;
    }

    [HttpGet("GetAllUsers")]
    public IEnumerable<User> GetAllUsers(){
        string sql = @"
        SELECT  [UserId]
        , [FirstName]
        , [LastName]
        , [Gender]
        FROM  DapperSchema.Users";
        IDbConnection dbConnection = new SqlConnection(_config.GetConnectionString(("DefaultConnection")));
        return dbConnection.Query<User>(sql);
    }
}
Here we have created a endpoint GetAllUsers which will return a IEnumerable Of type User. Then we write the sql query to get all the fields from the table and store that in a string. Next we make the connection using IDbConnection and use the GetConnectionString method to get our connection string from appsettings.json. And then we just use the Query method.
The Query method is capable of executing a query and mapping our data.
As of now, we have added everything in our Controller only as a demo purpose. You can create DataContext as well and add all data connection logic over there.
Now, head back to the Program.cs file and connect the controller.You can remove the code for Weather api from this file as it is not needed. Lets connect the controller using
builder.services.AddControllers();And before the app.Run(), also add this to map it.
app.MapControllers();Running the application
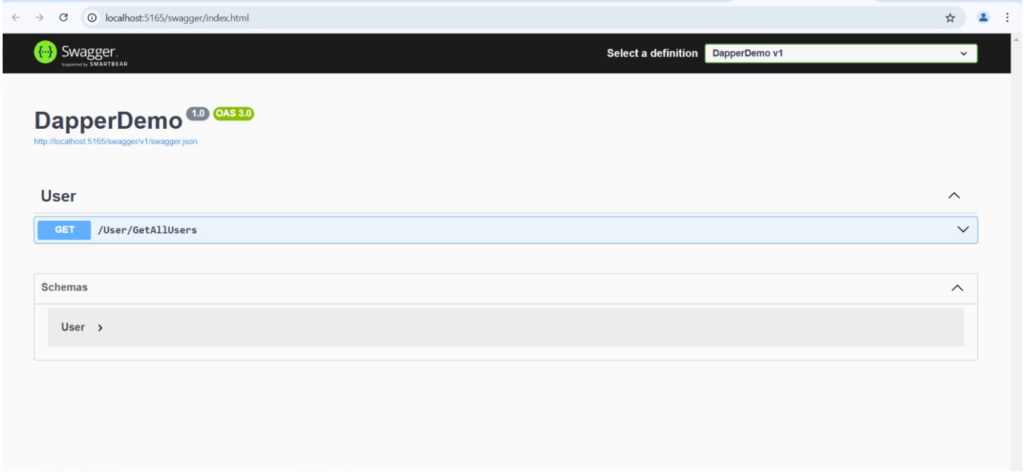
After all these changes, you should be good to run it now. Use the same command – dotnet run to run the application again. This time on swagger you will see only one end point.
You can also use another command to run the application, this will automatically open the swaggerUI URL and will also watch for changes in the application. Here is the command:
dotnet watch run
Conclusion
Overall, Dapper is a very lightweight and fast ORM tool and you should definitely try it. In this blog, we saw how we can create a new webapi template application and connect to our database. Then how we can use dapper to query data from our database.
I hope you find it useful.
Finally, for more such posts like this, please follow our LinkedIn page- FrontEnd Competency.