


Introduction
The Nightwatch.js is a powerful ally in the realm of automated testing, and mastering advanced techniques is crucial for overcoming the challenges posed by modern web applications. In this blog post, we’ll explore key strategies for handling complex scenarios, delve into the implementation of page objects, discuss best practices for structuring test suites, and uncover tips and tricks for managing multiple test environments and achieving seamless cross-browser testing with Nightwatch.js.
1.1 Mastering Nightwatch.js Testing: Advanced Techniques for Handling Complex Scenarios and Asynchronous Operations
Handling complex scenarios and asynchronous operations requires finesse. Additionally, Nightwatch.js provides several advanced strategies for tackling these challenges head-on.
1.1 Custom Commands for Asynchronous Tasks
browser.addCommand('performAsyncTask', function () {
  return new Promise((resolve) => {
    // Perform asynchronous task
    resolve();
  });
});

// Usage in test
browser.performAsyncTask();
1.2 Dynamic Waits for Responsive Testing
browser.waitForElementPresent(‘button’, 5000, ‘Button is present after 5s’);
1.3 Chaining Commands for Sequential Execution
browser
  .setValue('input', 'Nightwatch')
  .click('button')
  .perform(() => {
    // Additional asynchronous task
  });
2. Mastering Nightwatch.js Testing: Implementation of Page Objects and Test Suite Structure
2.1 Introduction:
Page Objects are a crucial component in building maintainable and scalable automated tests. Serving as an interface between test code and the application’s UI, they effectively encapsulate the details of the UI components. In Nightwatch.js, leveraging Page Objects can significantly enhance the structure and readability of tests.
2.2 Why Page Objects:
- Modularity: Page Objects allow us to modularize our test code, making it easier to manage and update.
- Reusability: When UI elements change, we only need to update the corresponding Page Object, reducing maintenance efforts.
- Readability: Tests become more readable and self-explanatory, as the interaction with UI elements is abs
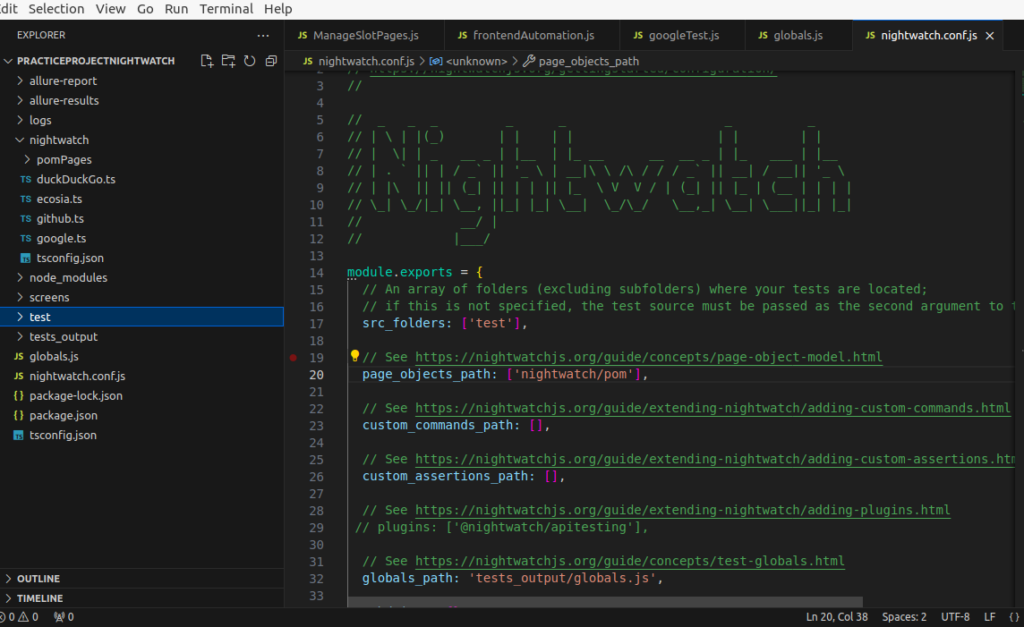
Installation
page_objects_path: [‘nightwatch/pomPages’],
Example Code:
// loginPage.js
module.exports = {
  elements: {
    usernameInput: 'input[name="username"]',
    passwordInput: 'input[name="password"]',
    loginButton: 'button[type="submit"]',
  },

  commands: {
    performLogin(username, password) {
      return this
        .setValue('@usernameInput', username)
        .setValue('@passwordInput', password)
        .click('@loginButton');
    },
  },
};
Usage in Test:
Now, in test file, we can use this Page Object:
// loginTest.js
const loginPage = require('../pageObjects/loginPage');

module.exports = {
  'Login Test': (browser) => {
    const username = 'yourUsername';
    const password = 'yourPassword';

    // Using the Page Object function
    loginPage.performLogin(username, password);

    // Continue with  assertions and other test steps
  },
};
3. Mastering Nightwatch.js Testing: Test Suite Structure
3.1 Introduction:
Organizing the test suite effectively is vital for maintainability and ease of execution. In Nightwatch.js, there is flexibility available for structuring the test suite to suit the specific needs of your project.
3.2 Best Practices:
- Grouping Tests: Group related tests into logical sections to maintain clarity and structure.
- Setup and Teardown: Leverage
beforeandafterhooks for setup and teardown tasks. - Parallel Execution: Nightwatch.js allows parallel test execution, enhancing efficiency.
Example Code:
Let’s structure a basic test suite with setup and teardown:
// nightwatch.conf.js
module.exports = {
  // Other configuration options...

  test_settings: {
    default: {
      // Other settings...

      before: (browser) => {
        // Perform setup tasks, e.g., launching the application
      },

      after: (browser) => {
        // Perform teardown tasks, e.g., closing the application
      },
    },
  },
};
Usage in Test:
Now, test file can focus solely on test scenarios:
// loginTest.js
module.exports = {
  'Login Test': (browser) => {
    const username = 'yourUsername';
    const password = 'yourPassword';

    // Your test steps go here

    browser.end(); // This triggers the 'after' hook in nightwatch.conf.js
  },
};
4. Mastering Nightwatch.js Testing: Managing Multiple Test Environments and Cross-Browser Testing
4.1 Introduction:
Implementing these advanced techniques in Nightwatch.js enhances the modularity, maintainability, and scalability of your automated testing suite. Moreover, effectively managing multiple test environments and ensuring cross-browser compatibility are crucial aspects of comprehensive testing. Fortunately, Nightwatch.js provides tools and techniques to streamline these processes effectively.
4.2 Environment Configuration
// Configure Nightwatch.js for different environments
module.exports = {
  'default': {
    launch_url: 'http://localhost',
  },
  'production': {
    launch_url: 'https://www.example.com',
  },
};
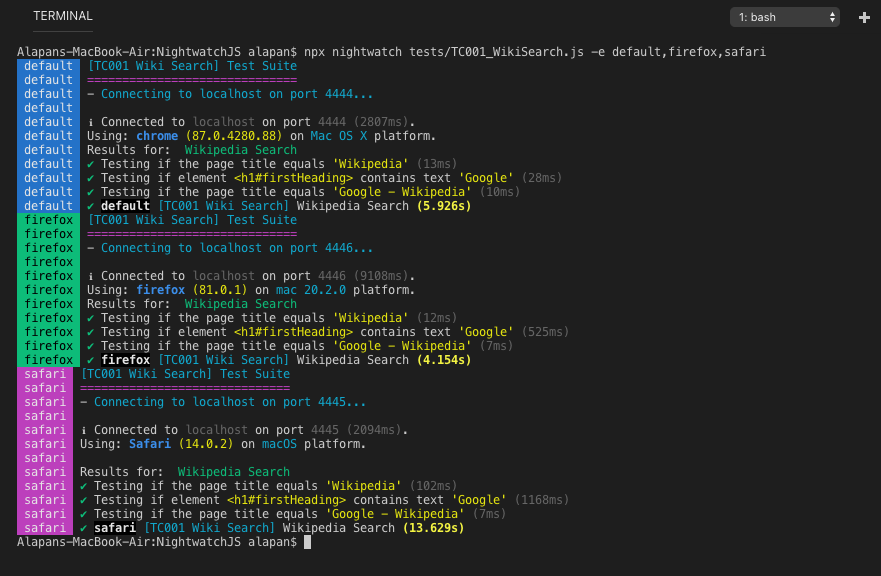
npx nightwatch test/TC001_WikiSearch.js –env default,firefox,safari
4.3 Parallel Test Execution for Efficiency
- Nightwatch.js facilitates parallel test execution across various browsers. Moreover, you can optimize the efficiency of test execution by utilizing the test workers configuration, allowing you to specify the number of parallel workers.
# Run tests in parallel
nightwatch --env chrome,firefox  --workers=2
4.4 Configuration in Nightwatch’s
// nightwatch.conf.js
module.exports = {
  test_workers: {
    enabled: true,
    workers: 2, // Adjust based on your needs
  },
  // Other configurations...
};
By implementing these strategies, you’ll enhance your Nightwatch.js testing approach. This will ensure the efficient management of multiple test environments while achieving comprehensive cross-browser testing coverage.
5. Conclusion
In conclusion, these advanced techniques offer a robust foundation for addressing the complexities of modern web applications with Nightwatch.js. Whether managing intricate scenarios or handling asynchronous operations, Nightwatch.js provides the tools necessary to elevate your automated testing practices.