


Hello Readers!! We are again back with another exciting Azure service i.e. Azure App Service. In this blog we are going to learn all about Azure App Service. What is it? And how we can utilize it for deploying our web applications?
Let’s get started.
Azure App Service:
As the name suggests, it is one of key compute services which streamlines development and maintenance of web applications. It is a powerful platform as a service provided by Azure which offers many of security and devops features for our applications. So, whatever we are doing frontend application or some Rest APIs, we need a service to call that, and we are going to see all about this service. This provides a hosting environment in Azure allows us to host web applications, mobile backends or Rest APIs.
How it works?
The users send the request to the app service, and the application send back a response. This is a high level view how it works. So, when we register a new app service in Azure App, we get a name registered in Azure website’s domain. Inside the application hosting environment, we have the application code. All these are stored in App service plan, it’s a container which has assigned capacity or storage. Also, we can host multiple services within one app service plan.

It supports multiple languages such as C#, PHP, Java, NodeJS, Python or Ruby. Microsoft Azure guarantees 99.95% availability for App service. It also provides feature of high scalability.
Utilizing Azure App Service for Web Application:
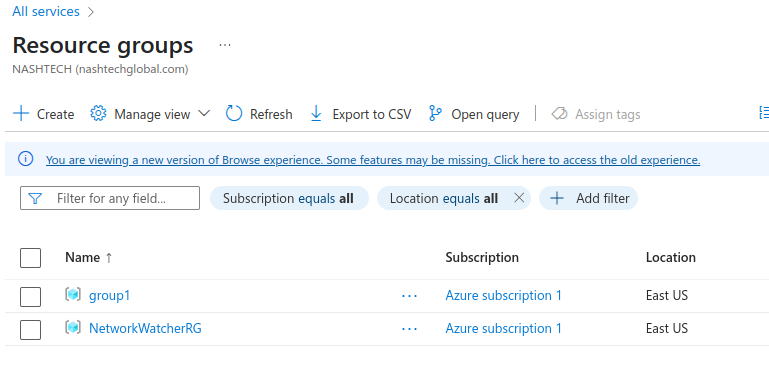
- We must have a resource group in Azure to create resources in that. As, I have already created we can see below:
2. Create a web app. Go to Azure services, search for web app.
Select subscription > select our resource group > provide web application name > choose if you want application to be deployed as code or container > select runtime stack > choose OS > Region > select pricing plan.
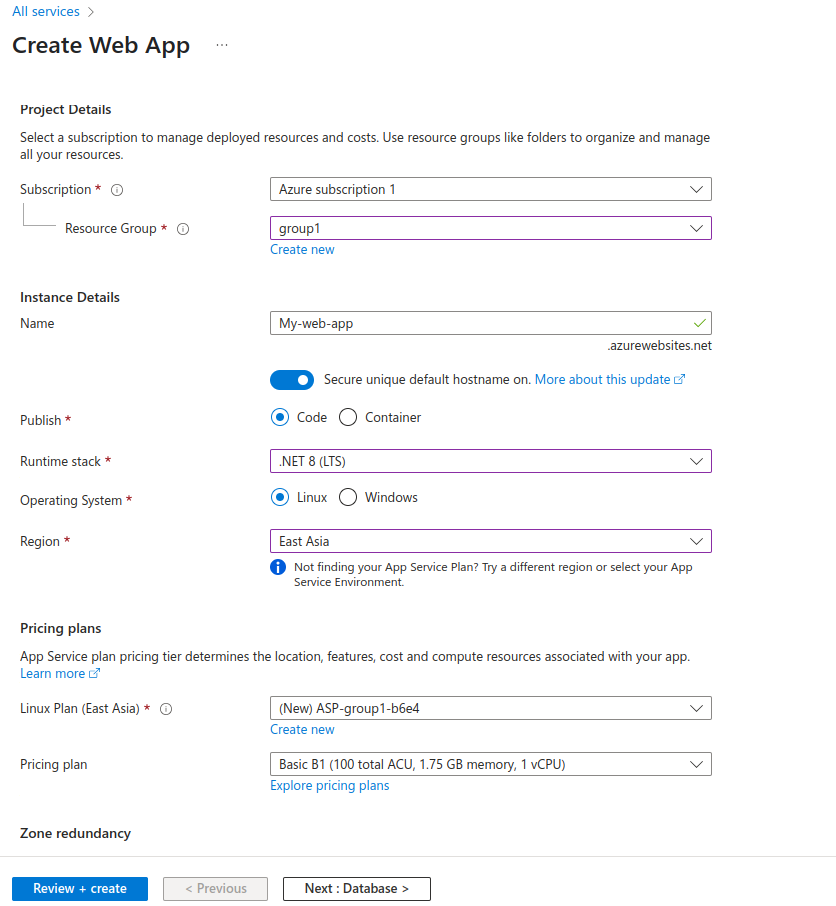
Click on Review + create.
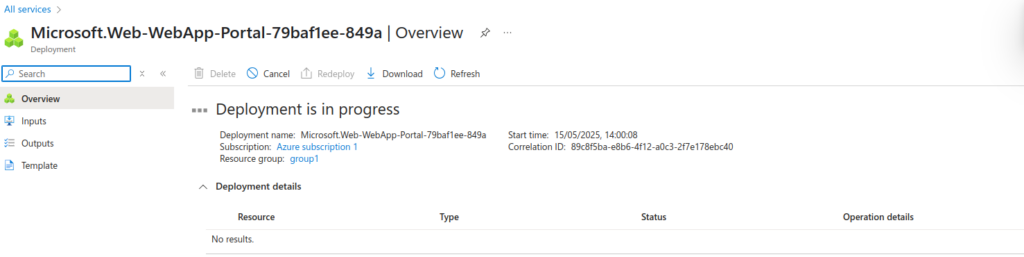
We can find deployment is currently in progress now.
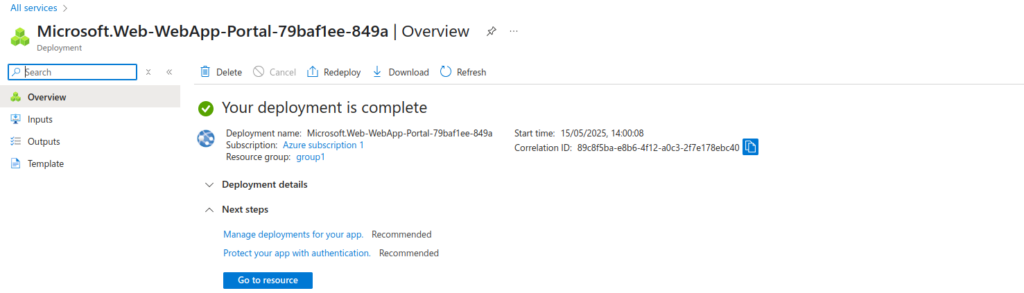
After few minutes, the deployment is complete.

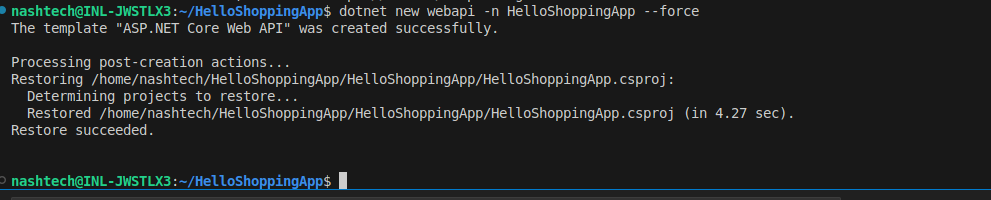
3. So, now let’s create a dot net app in visual studio code.
$ dotnet new webapi -n HelloShoppingApp
$ cd HelloShoppingApp
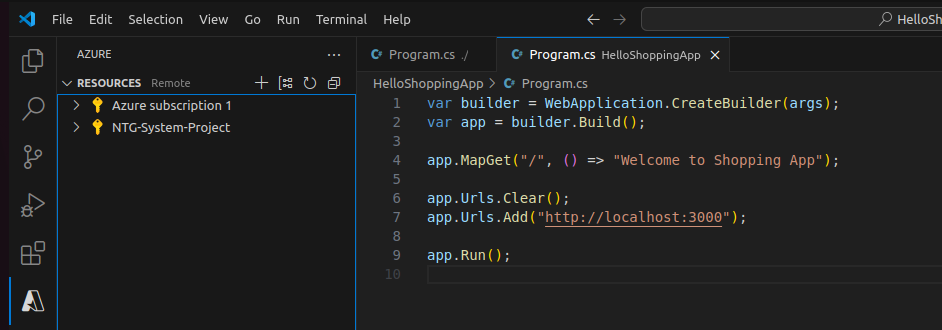
Here web app is listening on port 3000.

Now, run the application using:

Application is running fine on http://localhost:3000/

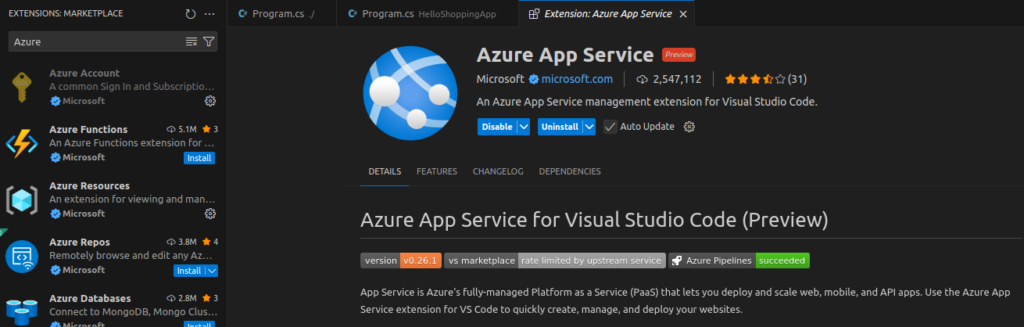
4. Install Azure account and Azure App Service extensions to integrate it with visual studio code.
Press Ctrl+Shift+P (or Cmd+Shift+P). Type Azure: Sign In
It will sign to Azure in Visual Studio code. After this we will be able to see our subscription here.
Select Azure subscription > App service > Web App > Deploy to Web App > Browse the dotnet app we created and select it.
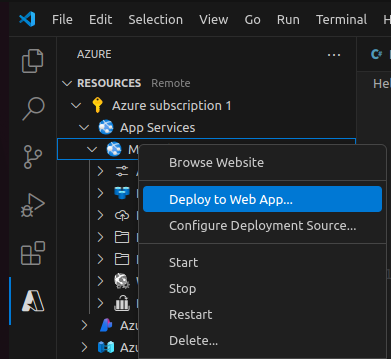
Click on Deploy.
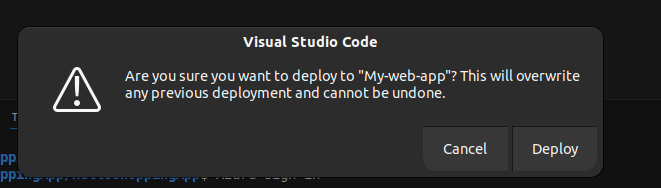
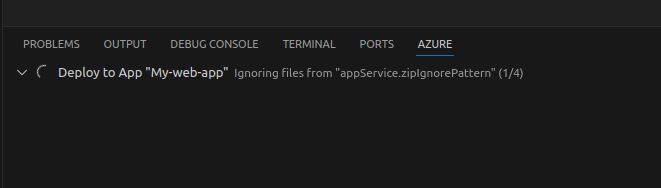
Deployment gets starts here.
And got succeeded here.
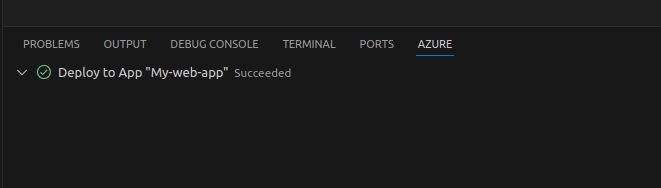
When we will browse the app from here, we can see its running successfully.


Yeah!!! We are all done now. I hope you have enjoyed a lot.
Conclusion:
Thanks for being with me till end. In this blog we have learnt all about Microsoft Azure App Service. How we can deploy a web app to it. It’s quite really interesting and easy to explore. If this blog helped you somewhere do like and share this blog with the needful.
HAPPY READING!!!