


Hello Readers!! We are again back with an exciting topic i.e. Microsoft Azure Virtual Machines. In this blog we are going to explore all about Virtual machines in Microsoft Azure cloud. As we all know, that nowadays Azure cloud is getting more and more popular and it’s becoming in demand in the market. So, let’s start exploring Azure cloud and its interesting and popular services. So, today we will get to know about its very basic service that is virtual machines.
Virtual Machines:
A VM (Virtual Machine) is a software-based emulation of a physical computer. It runs an operating system and applications just like a physical computer, but it’s hosted on a physical server through a hypervisor.
Features of a VM:
- Has virtualized hardware (CPU, RAM, storage, etc.).
- Is isolates from the host and other VMs.
- Can run any OS supported by the virtualization platform.
- Allows snapshots, cloning, and easy recovery.
How to create a Microsoft Azure Virtual Machine:
Prerequisite:
We must have a microsoft azure account to create a VM in it.
Steps to create:
- Login to your Microsoft Azure Account. I have my free-trial account created here.

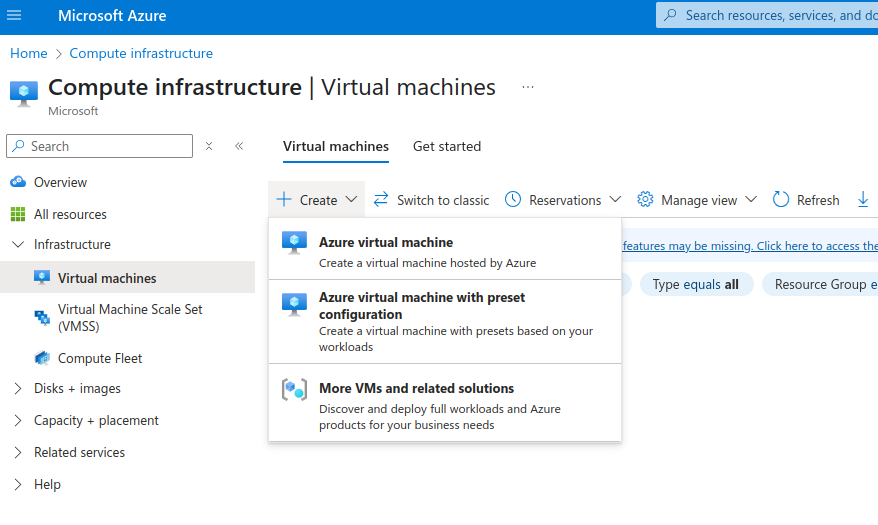
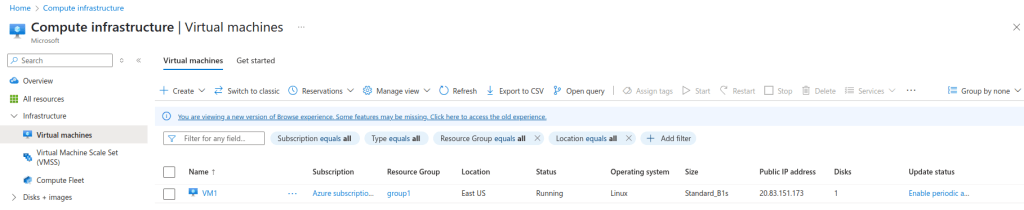
2. Click on Home > Virtual Machines.
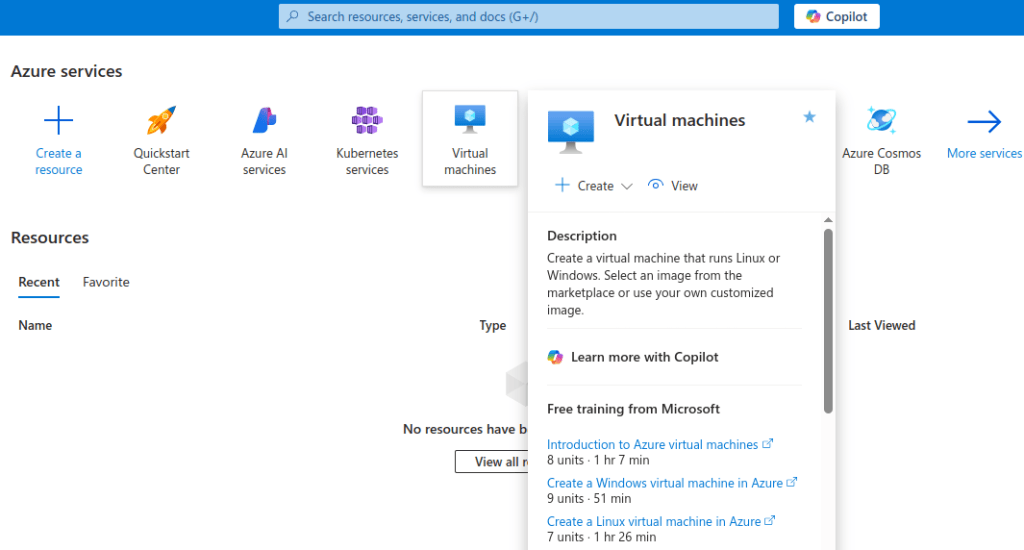
3. Click on Create.
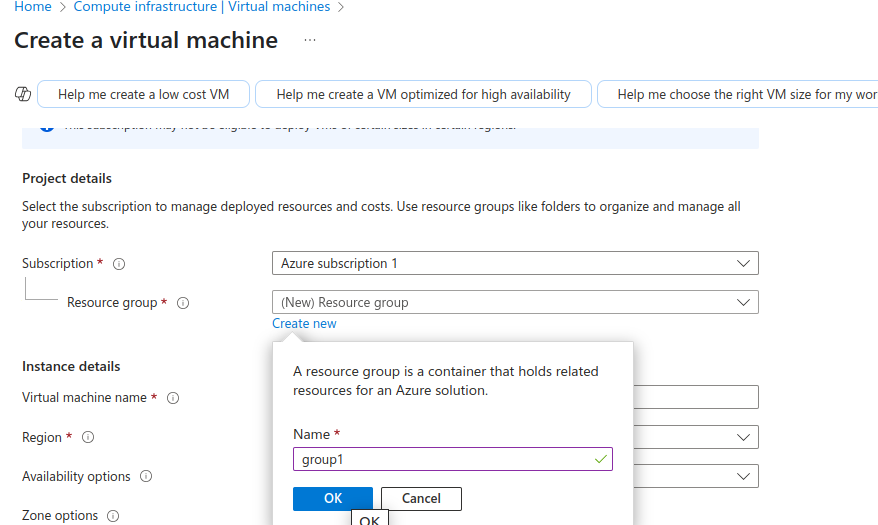
We need to have a valid subscription in order to create a virtual machine. Create a resource group, provide a name to it.
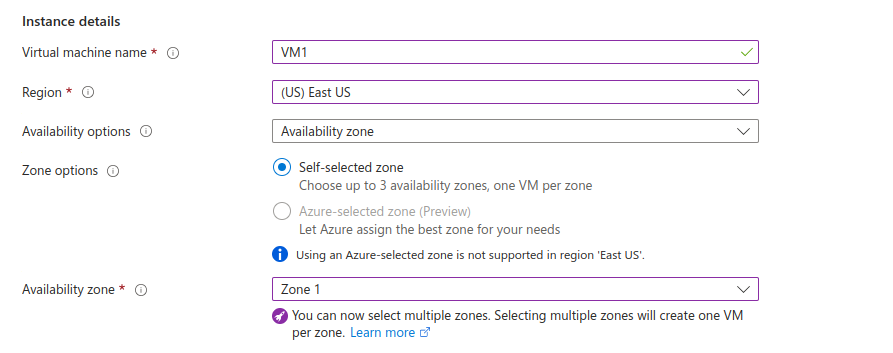
Provide here a virtual machine name. Select region from drop down list in which you want VM to be provisioned. Choose the type of zone options.
Select availability zone. We can select multiple zones. Selecting multiple zones will create one VM per zone.
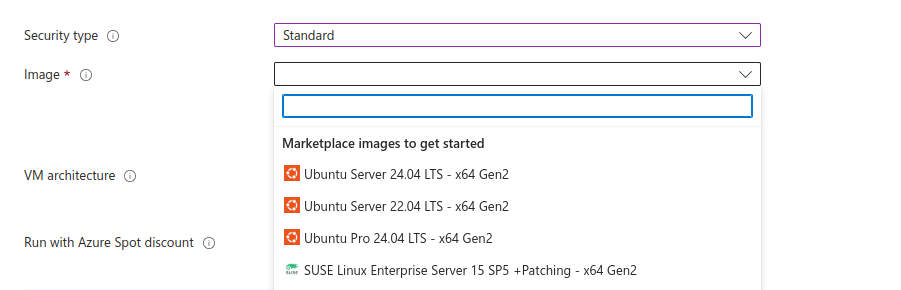
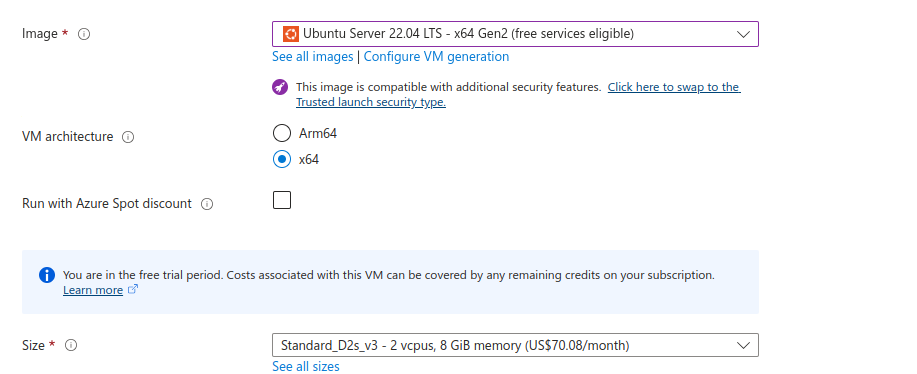
Choose the security type. Select the image for your virtual machine.
Select the VM structure and size that is needed for your virtual machine.
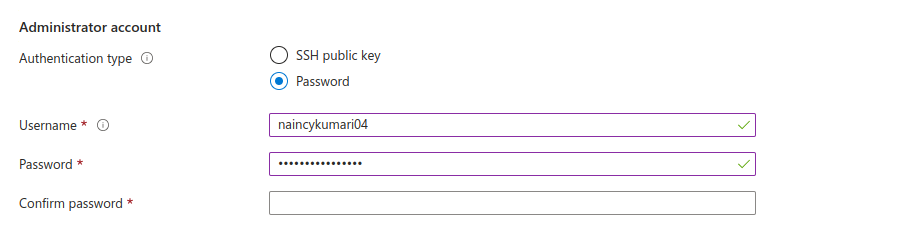
For authenticating to a VM, lets select password. Give a username and password here.
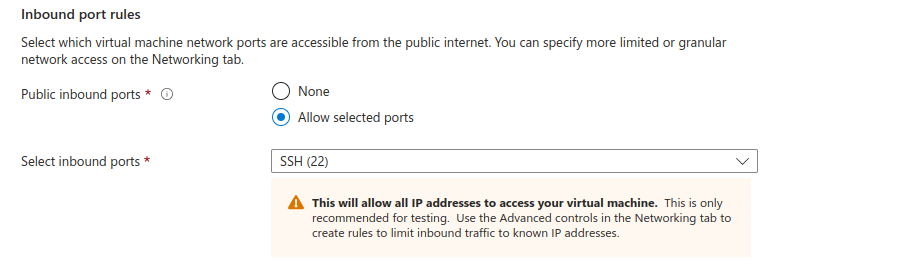
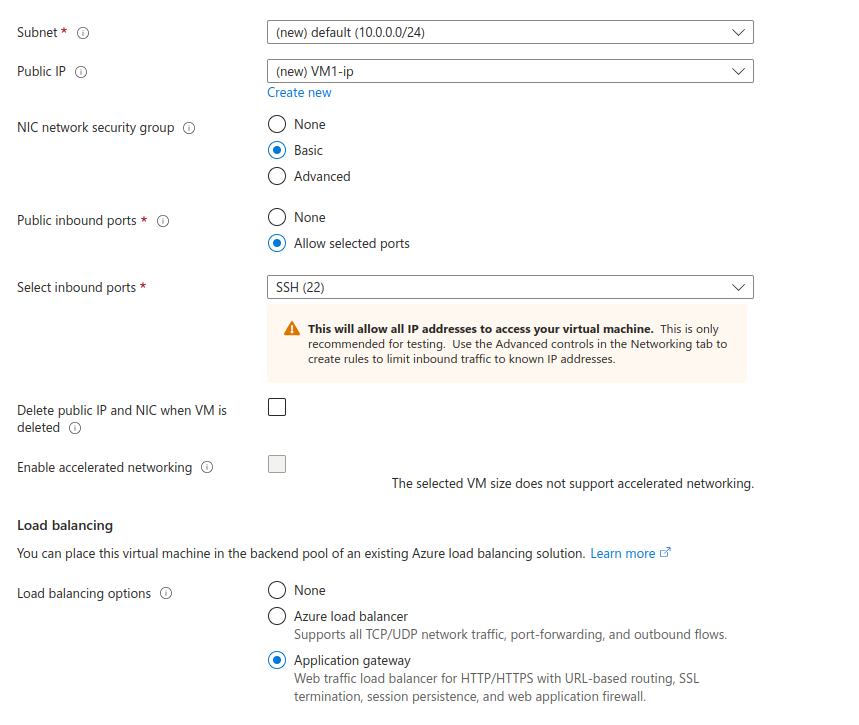
Select which virtual machine network ports are accessible from the public internet. You can specify more limited or granular network access on the Networking tab.
Create a virtual network.
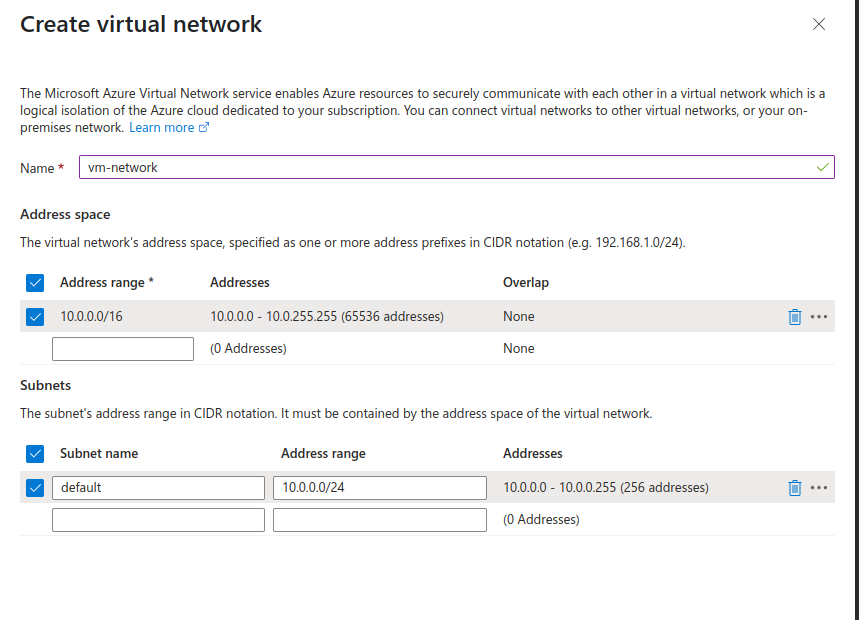
Select subnet, security groups, inbound ports and load balancing type which we need according to VM.
Click on Review + Create.
After this we can see that the deployment is in progress.

After few minutes, deployment is complete.
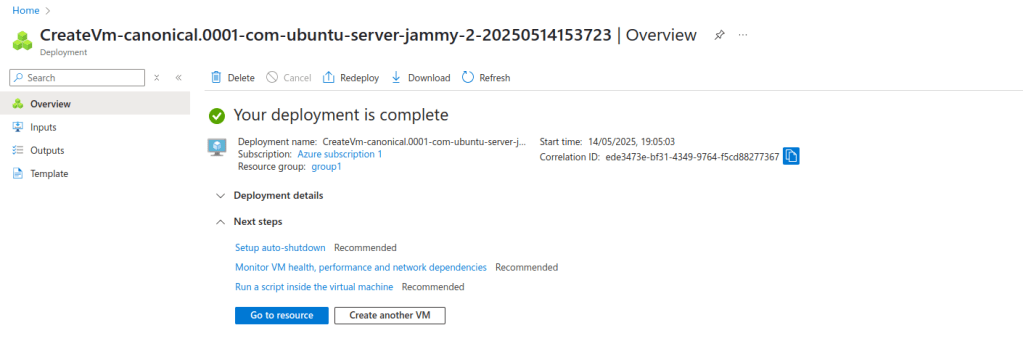
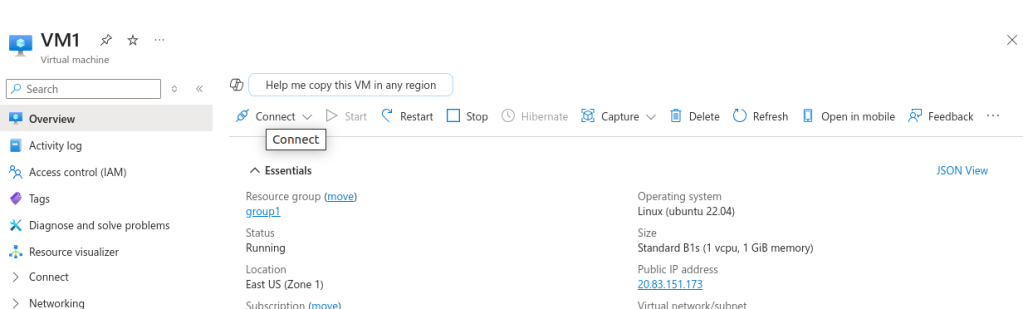
And the virtual machine successfully creates here.
We can connect to a VM from here.
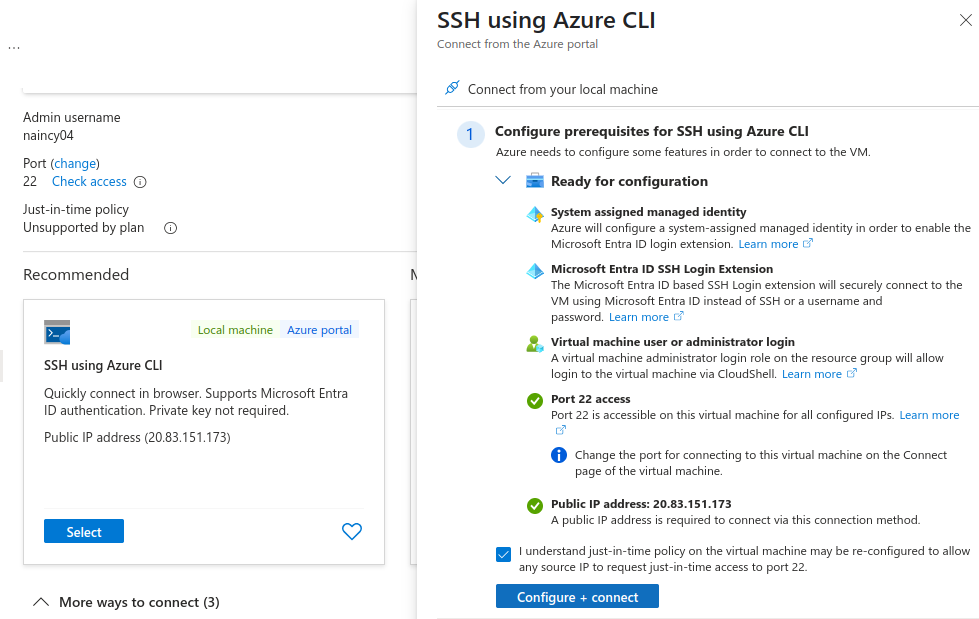
We will SSH into the VM using Azure CLI. Click on configure+connect.
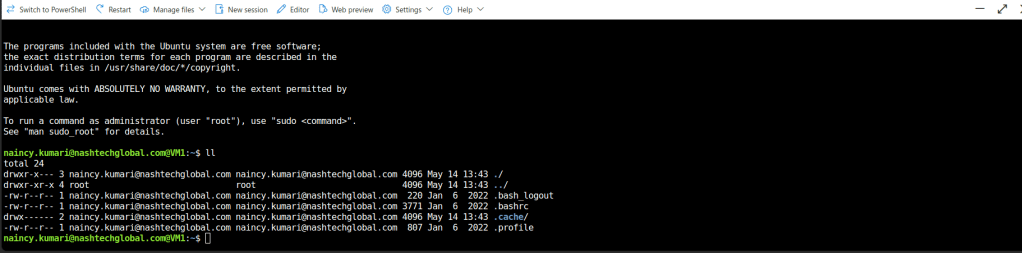
We are connected to the VM now.
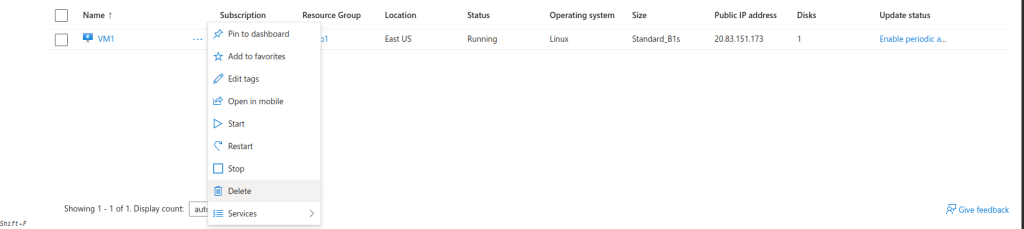
If wanted to delete this VM, then do it from here.
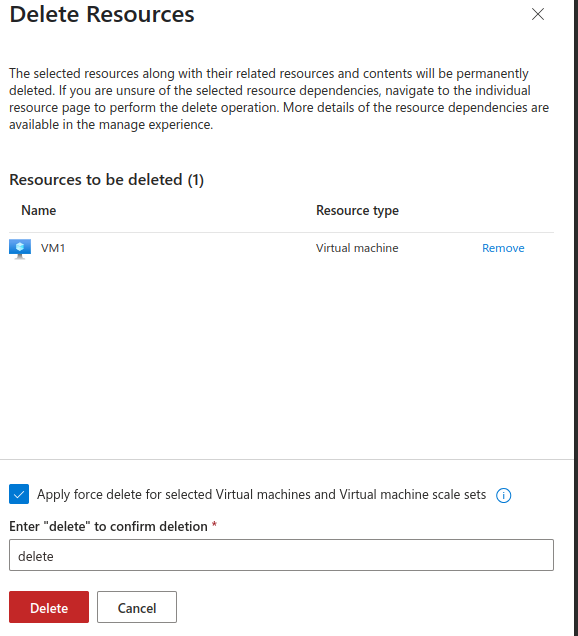
And it got deleted successfully. We are all done now.
Conclusion:
Thanks for being with me till end. In this blog we have learnt all about Microsoft Azure Virtual Machines. How we can create it in Azure. Its quite really interesting and easy to explore. If this blog helped you somewhere do like and share this blog with the needful.
HAPPY READING!!!