


Modern software development thrives on speed and reliability. There are two key practices: Continuous Integration (CI) and Continuous Testing (CT). They make this possible by ensuring every code change is automatically tested. Instead of waiting for lengthy manual regression cycles, CI/CD pipelines deliver rapid feedback, reduce bugs, and boost confidence in every release.
In this guide, we’ll walk through setting up a Windows-based CI/CD pipeline using Jenkins and Cypress, a powerful end-to-end testing framework. By the end, you’ll have a production-ready pipeline that runs Cypress tests automatically and publishes detailed reports.
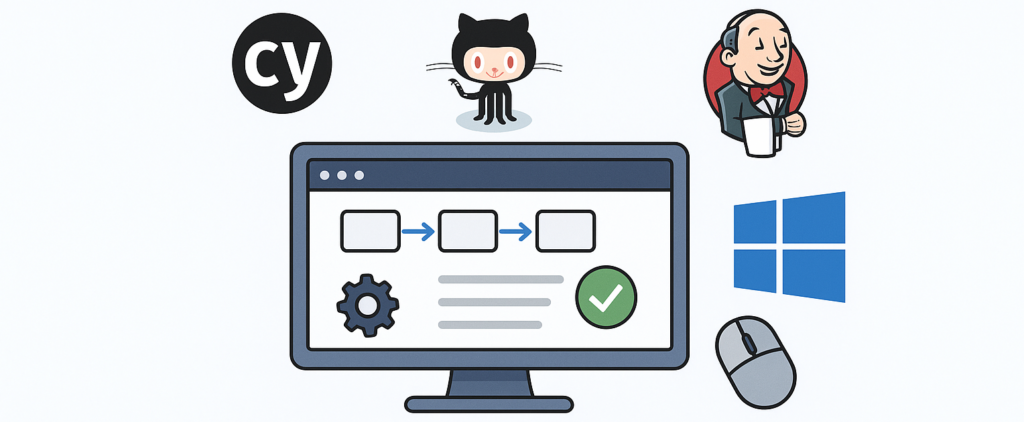
Pipeline Flow Diagram
Developer → GitHub → Jenkins (Windows) → npm ci → Cypress Run → Results (JUnit/HTML)
💡 Pro tip: Install Visual Studio Build Tools (for Windows) to avoid issues with native npm modules.
Step-by-Step Guide
Step 1 — Create a Cypress Project
Start by setting up a basic Cypress project locally. This ensures you have working tests before integrating them into Jenkins.
mkdir demo-cypress && cd demo-cypress
npm init -y
npm install cypress --save-dev
npx cypress open
Add a simple test under cypress/e2e/firstTest.cy.js:
describe('My first test', () => {
it('Visits Google', () => {
cy.visit('https://google.com')
cy.get('input[name="q"]').should('be.visible')
})
})
Run once locally to confirm Cypress is working:
npx cypress runStep 2 — Install Jenkins on Windows
Jenkins is the backbone of your CI/CD pipeline. Installing it on Windows allows you to run jobs natively without Docker or Linux dependencies.
- Download Jenkins Windows Installer (.msi)
- Run installer → choose defaults
- Jenkins will run as a Windows service on http://localhost:8080
- Unlock Jenkins → install suggested plugins → create admin user
- Go to:
http://localhost:8080- Install Required Jenkins Plugins
- From Jenkins dashboard:
- Go to Manage Jenkins → Plugins
- Install:
- NodeJS Plugin
- Git Plugin
- Pipeline
- Blue Ocean (optional for visual pipeline view)
- Install Required Jenkins Plugins
Step 3 – Jenkins
Before creating jobs, configure Jenkins to use Node.js and Git, and install essential plugins.
- Configure NodeJS:
- Go to Manage Jenkins → Global Tool Configuration
- Scroll to NodeJS section
- Add NodeJS with a name (e.g.,
Node23) - Uncheck “Install automatically” (since you already installed Node)
- Configure Git:
- Scroll to Git section
- Ensure Jenkins finds your Git installation path (e.g.,
C:\Program Files\Git\bin\git.exe)
Step 4 — Create Jenkins Pipeline
Define your pipeline using a Jenkinsfile. This file describes stages like checkout, install, test, and report generation.
- Create a New Job:
- Go to Jenkins Dashboard → New Item
- Choose Pipeline (recommended)
- Name:
DemoCypressJenkins - Click OK
Now you’ll see a configuration page. - Under Pipeline Section:
- Definition:
Pipeline script from SCM - SCM:
Git - Repository URL:
https://github.com/yourname/DemoCypressJenkins.git - Script Path: Jenkinsfile
Sample Jenkinsfile:
pipeline {
  agent any
  stages {
    stage('Checkout SCM') {
      steps {
        git 'https://github.com/yourname/DemoCypressJenkins.git'
      }
    }
    stage('Install Dependencies') {
      steps {
        bat 'npm install'
      }
    }
    stage('Run Cypress Tests') {
      steps {
        bat 'npx cypress run'
      }
    }
    stage('Generate HTML Report') {
      steps {
        bat 'npm run report:merge'
        bat 'npm run report:generate'
      }
    }
  }
  post {
    always {
      archiveArtifacts artifacts: 'cypress/reports/html/**', allowEmptyArchive: true
    }
  }
}
Click Save → Build Now
Step 5 — Parameterize environments
You want Jenkins to show a dropdown when you click “Build with Parameters”, like this:
Select Environment: [ dev | stage | prod ]
Then, your pipeline and Cypress tests will use the selected environment (for example, different base URLs).
Open your Jenkinsfile and at the top, add a parameters block:
pipeline {
  agent any
  parameters {
    choice(name: 'ENVIRONMENT', choices: ['dev', 'stage', 'prod'], description: 'Select the environment to run Cypress tests')
  }
  stages {
    stage('Prepare Reports') {
      steps {
        bat 'mkdir cypress\\reports\\raw'
        bat 'mkdir cypress\\reports\\html'
      }
    }
    stage('Install Dependencies') {
      steps {
        bat 'npm install'
      }
    }
    stage('Run Cypress Tests') {
      steps {
        bat "npx cypress run --env environment=${params.ENVIRONMENT}"
      }
    }
    stage('Generate HTML Report') {
      steps {
        bat 'npm run report:merge'
        bat 'npm run report:generate'
      }
    }
  }
  post {
    always {
      archiveArtifacts artifacts: 'cypress/reports/html/**', fingerprint: true
      publishHTML(target: [
        reportDir: 'cypress/reports/html',
        reportFiles: 'index.html',
        reportName: 'Cypress Test Report'
      ])
    }
  }
}
Step 6 — Troubleshooting
Common issues and quick fixes:
- Node not found → Add Node.js path to Jenkins Global Tool Config
- npm install fails → Run Jenkins agent with admin rights on Windows
- Headless browser issues → Ensure Chrome/Edge installed on Windows server
- Selected Git installation does not exist. Using Default → Please change Default name to another one
Conclusion
With this setup, you’ve taken the first big step into Continuous Integration and Continuous Testing using Windows + Jenkins + Cypress. You can now:
- Automate Cypress test runs every time developers push code
- Scale to multiple environments
- Reduce manual regression effort and catch issues early
This pipeline will save testers and developers time, improve release confidence, and make your automation work much more valuable to your team.