


CodeceptJS.io is a popular and powerful end-to-end testing framework for web applications. It is often described as “supercharged” because it simplifies the process of creating, running, and maintaining tests, making it an excellent choice for developers and QA engineers.
It can be applied to a wide range of web applications. Here are some application types:
| Type of Application | Description |
|---|---|
| Web Applications with Complex UI | Applications with intricate and dynamic user interfaces benefit from CodeceptJS’s smart wait mechanism and POM support. |
| Applications with Varied Tech Stacks | CodeceptJS’s support for multiple automation backends makes it ideal for applications that use different technologies or frameworks. |
| Large-Scale Applications | Applications with extensive test suites can significantly reduce test execution time by utilizing CodeceptJS’s parallel test execution. |
| Collaboration-Intensive Projects | Projects involving non-technical stakeholders can leverage CodeceptJS’s BDD support to promote collaboration and understanding. |
| Cross-Browser Compatibility Testing | CodeceptJS’s cross-browser testing capabilities are valuable for applications that need to ensure compatibility across multiple web browsers. |
| Rapid Test Case Development Projects | CodeceptJS’s built-in test recorder and declarative syntax are advantageous for quickly creating and maintaining test scenarios. |
| Custom Testing Requirements | CodeceptJS’s extensibility through plugins and extensions allows customization to meet specific testing requirements. |
| Emphasis on Comprehensive Reporting | Projects placing high importance on detailed test reporting and analysis can benefit from CodeceptJS’s integration with reporting tools. |
The first Script
Next, I will walk you through the basics of using CodeceptJS.io, from installation to writing your first test.
Step 1: Installation
The first step in using CodeceptJS is to install it. You can install CodeceptJS and its dependencies using npm or yarn. Open your terminal and run the following command:
npm install codeceptjsThis command will install CodeceptJS and all the necessary drivers and helpers for you to get started with your testing.

Step 2: Configuration
Run : npx create-codeceptjs .
CodeceptJS relies on configuration to define various settings, such as the testing framework, WebDriver, and other essential parameters. To create a configuration file, you should generate a codecept.conf.js file in your project’s root directory. Configure it according to your project’s needs.
Here’s a basic example of a CodeceptJS configuration file:
exports.config = {
  tests: './tests/*.js',
  output: './output',
  helpers: {
    WebDriver: {
      url: 'http://your-app-url.com',
      browser: 'chrome',
    },
  },
  include: {
    I: './steps_file.js',
  },
  bootstrap: null,
  mocha: {},
  name: 'my-app-tests',
};

This configuration tells CodeceptJS to look for test files in the ./tests directory, use the WebDriver helper to interact with a website, and specify the base URL for the tests.

To install codeceptjs into a different folder, like tests use npx create-codeceptjs tests
Step 3: Writing a Test
Now that you’ve set up the configuration, it’s time to write your first test. CodeceptJS provides an expressive syntax for writing tests that’s easy to read and understand. Create a new test file in the tests directory and define your test scenarios. Here’s a simple example:
Feature('Login Functionality');

Scenario('User can log in', (I) => {
  I.amOnPage('/login');
  I.fillField('Username', 'myusername');
  I.fillField('Password', 'mypassword');
  I.click('Login');
  I.see('Welcome, User!');
});
This test defines a basic login scenario where a user navigates to the login page, enters their credentials, clicks the login button, and checks if a welcome message appears.
Step 4: Running Tests
With your test in place, you can now execute it. To run your tests, open your terminal and use the following command:
npx codeceptjs run --stepsCodeceptJS will launch the specified browser, execute the test steps, and provide a detailed report with the test results, including any failures or errors encountered during the test run.
Until this step, you’ve learned the fundamental steps to get started with CodeceptJS.io. From installation to writing and running your first test, you now have the foundational knowledge to automate your web application tests effectively.
Advanced Features
CodeceptJS offers a range of advanced features designed to supercharge your web application testing. These capabilities go beyond basic test automation, providing you with the tools to handle complex testing scenarios, enhance collaboration, and streamline your testing workflow. Explore these features to improve your testing processes and ensure the quality of your web applications.
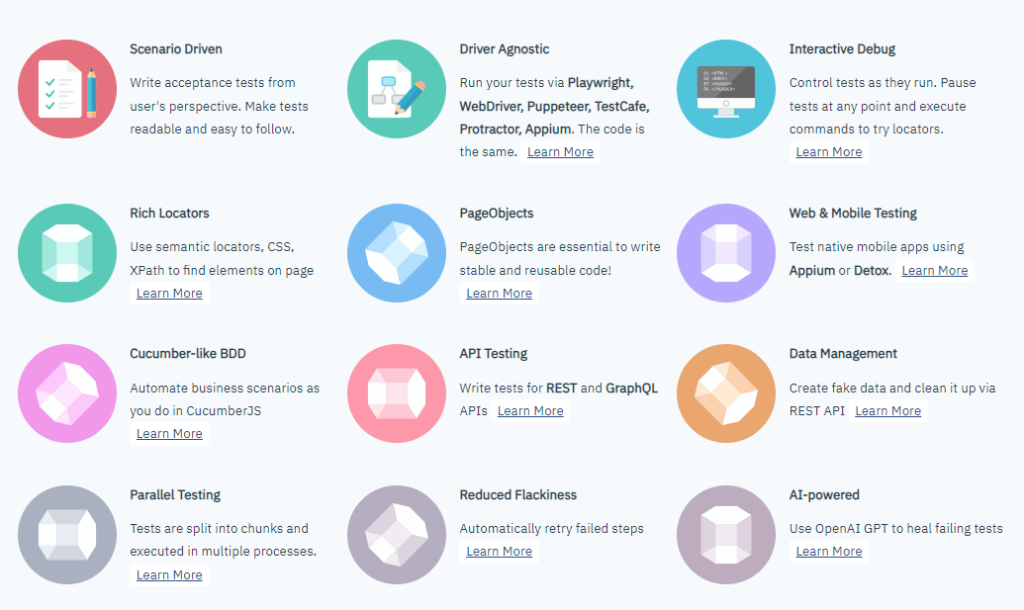
CodeceptJS offers a range of advanced features to enhance your testing process. You can see the “AI-powered” feature has launched recently.
AI has the potential to transform automated testing by making it smarter, more adaptive, and capable of handling the intricate demands of modern software applications. CodeceptJS, with its flexibility and extensibility, serves as an excellent platform for leveraging AI in testing. AI-driven testing with CodeceptJS introduces a range of intelligent capabilities that enhance the entire testing lifecycle.
This allows us to create more robust, efficient, and effective automated tests. AI-powered testing can generate test scenarios, adapt to changes in the application, optimize test suites, and even predict potential issues. It brings forth self-healing tests, dynamic locators, and predictive analytics, all aimed at improving test coverage and reducing false positives.
CodeceptJS utilizes the OpenAI API to interact with web pages effectively. This enables CodeceptJS to perform actions like inquiring how to create a test for a specific page. The GPT model, integrated with CodeceptJS, possesses the ability to generate CodeceptJS code, craft intelligible semantic locators, and analyze HTML structures to create suitable matches.
As mentioned in the https://codecept.io/ai/, CodeceptJS AI can do the following:
- Assist writing tests in pause() or interactive shell mode.
- Self-heal failing tests (can be used on CI)
- Send arbitrary prompts to GPT from any tested page attaching its HTML contents.
It is really good to do some practices with the “AI-powered” feature. However, this feature requires sending HTML content to OpenAI. So, you need to consider whether your project requirements match OpenAI compliance before applying the “AI-powered” feature.
Conclusion
CodeceptJS.io is a powerful and versatile testing framework that can save you time, improve your testing process, and ultimately enhance the quality of your web applications. As you explore more of its advanced features and integrate it into your development workflow, you’ll find it to be a valuable tool in your arsenal.
Reference: