


Introduction
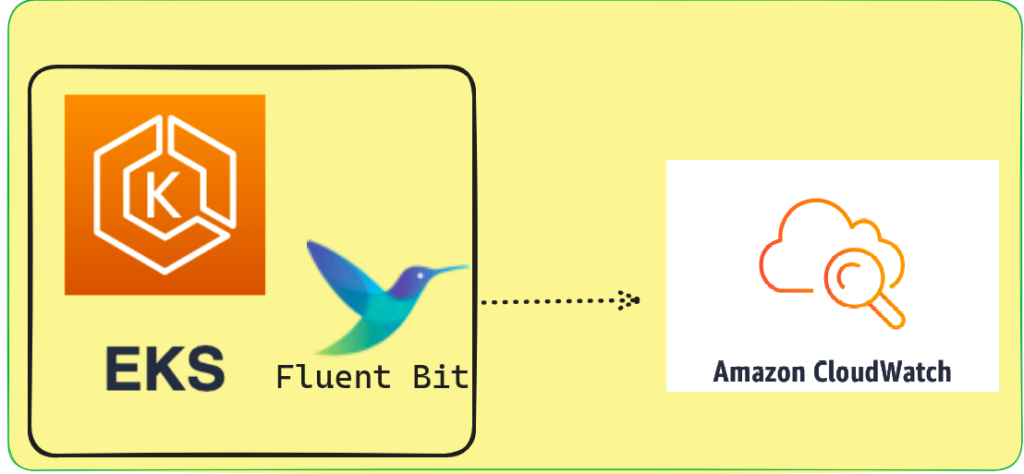
In this blog I will tell you how you can configure fluent bit for EKS cluster to send logs on cloudwatch. As we all know, logs are very important for debugging issues, as they help developers quickly identify the reasons for those issues.
One can employ various tools for this purpose, and one of the famous ones is ELK with Filebeat. The choice of tools depends on the specific requirements of the scenario.
What is Fluent-Bit
Fluent Bit, a tool designed to collect and process data or logs before sending them to a desired location, is typically deployed as a DaemonSet when used with EKS.
The reason for this is that an EKS cluster comprises multiple nodes, and each node stores logs in the directory /var/log/container/. To effectively collect these logs, it’s essential to ensure that there is at least one pod available on each node dedicated to collecting and forwarding these logs.
Difference Between Fluent-D and Fluent-Bit
So you can use either Fluent-D or Fluent-Bit for sending logs to cloudwatch but you should know the difference between these two and why to use Fluent-bit over Fluent-D.
- Fluent-Bit takes fewer CPU resources to run as compared to Fluent-D.
- Fluent-But takes fewer Memory resources to run as compared to Fluent-D.
Demo
Setup IAM role and Attach cloud watch policy to it
First of all, we need to create a policy file and then apply it using AWS CLI command to grant access to cloud watch for fluent-bit
$ cat > cloudwatchpolicy.json << EOF
{
	"Version": "2012-10-17",
	"Statement": [{
		"Effect": "Allow",
		"Action": [
			"logs:CreateLogStream",
			"logs:CreateLogGroup",
			"logs:PutLogEvents"
		],
		"Resource": "*"
	}]
}
 EOF
after running above command you have a file named cloudwatchpolicy.json you need to create the policy by running the below command
$ aws iam create-policy --policy-name cloudwatchpolicy --policy-document file://cloudwatchpolicy.jsonNow you need to create a policy for service account to access the Cloudwatch
cat > service-account-policy.json <<EOF
{
  "Version": "2012-10-17",
  "Statement": [
    {
      "Effect": "Allow",
      "Principal": {
        "Federated": "arn:aws:iam::$account_id:oidc-provider/$oidc_provider"
      },
      "Action": "sts:AssumeRoleWithWebIdentity",
      "Condition": {
        "StringEquals": {
          "$oidc_provider:aud": "sts.amazonaws.com",
          "$oidc_provider:sub": "system:serviceaccount:$namespace:$service_account"
        }
      }
    }
  ]
}
EOF
Replace the $account_id with your actual AWS account id and $oidc_provider id with your EKS cluster oid_provider id, If you are unaware of how you can create oidc_provider then you can visit this to create it https://docs.aws.amazon.com/eks/latest/userguide/enable-iam-roles-for-service-accounts.html
Also replace $namespace value with the fluent-bit namespace, for now you can provide a service account name that you will use for your service account.
Now you need to create a role and attach above policy on it, to do so you can run below command
$ aws iam create-role --role-name fluenbit_access_cloudwatch_role --assume-role-policy-document file://service-account-policy.json --description "this role will provide access to cloudwatch access"$ aws iam attach-role-policy --role-name my-role --policy-arn=arn:aws:iam::$account_id:policy/cloudwatchpolicyDownload Fluent-bit helm chart
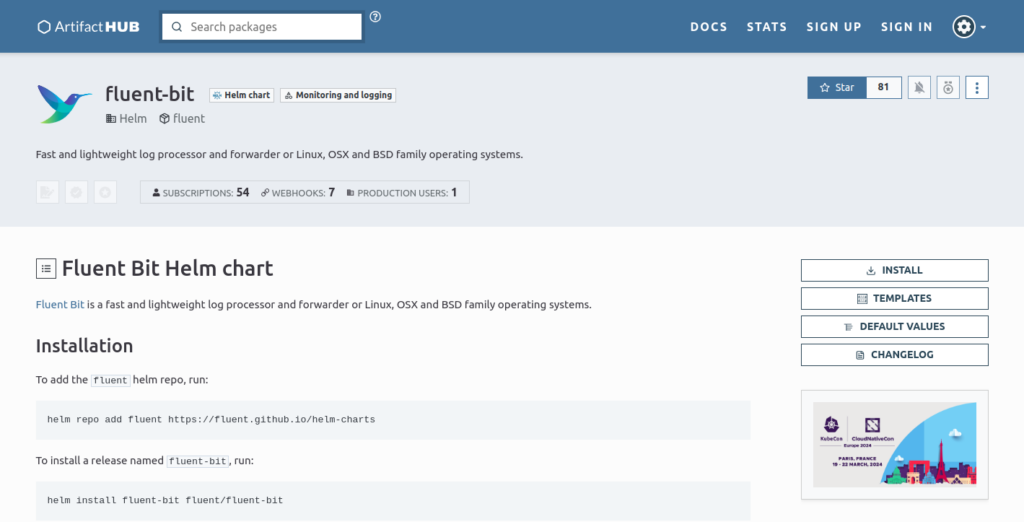
To download helm chart in you system you type this url https://artifacthub.io/
Then type fluent-bit in the search bar as shown below image

Then click on the icon you will be redirected to helm chart page
Click on Install and then click on You can also download this package’s content directly using this link

Now you have the fluent-bit helm chart zip you need to extract it and browse to the fluent-bit chart values.yaml file
Open values.yaml file and search for serviceAccount and replace your code with below code
serviceAccount:
  create: true
  annotations:
   eks.amazonaws.com/role-arn: arn:aws:iam::$account_id:role/fluenbit_access_cloudwatch_role
  name: fluent-bit
Now you also need to modify the [output] block for values.yaml file
outputs: |
  [OUTPUT]
   Name cloudwatch_logs
   Match *
   region ca-central-1
   log_group_name fluent-bit-cloudwatch
   log_stream_prefix from-fluent-bit
   auto_create_group On
the aoto_create_group On will automatically create the log group for us if it is not present on the cloudwatch log group by the name provided in log_group_name.
Now run
$ helm install fluent-bit fluent-bit -n monitoring and thats it you will able to check the pods of fluent-bit running on each node to verify if everything is up and running run following command
$ kubectl get pods -n monitoring And thats it you are ready to send logs using fluent bit to cloudwatch.