


Hello Everyone, Welcome to the series of blogs on create service connection in ADO. Today also we will learn something
different form our past blogs.
Steps to Create Service Connection in ADO
As a Pre-Requisite, you already need to have the:
- Azure Account
- Service Principal / App Registration
Step 1 :
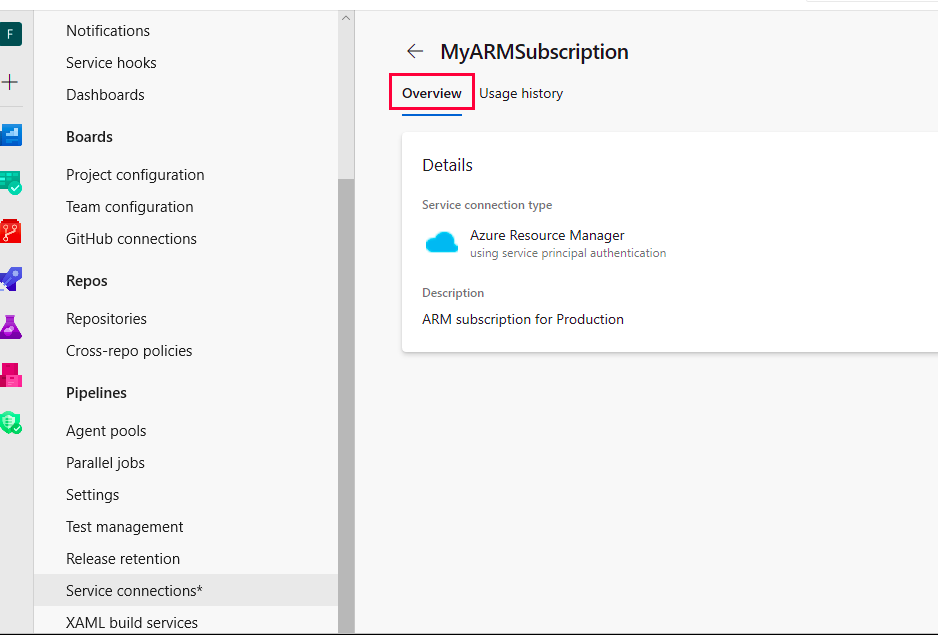
Go to the Project Setting in Azure DevOps (ADO), you will find the setting in the left side panel and then click on the Project Setting.
Step 2 :
After clicking on the Project Setting, you will find multiple options to create the service connection like Service Principal
Authentication, Managed Identity Authentication and Publish Profile Based Authentication.
Step 3 :
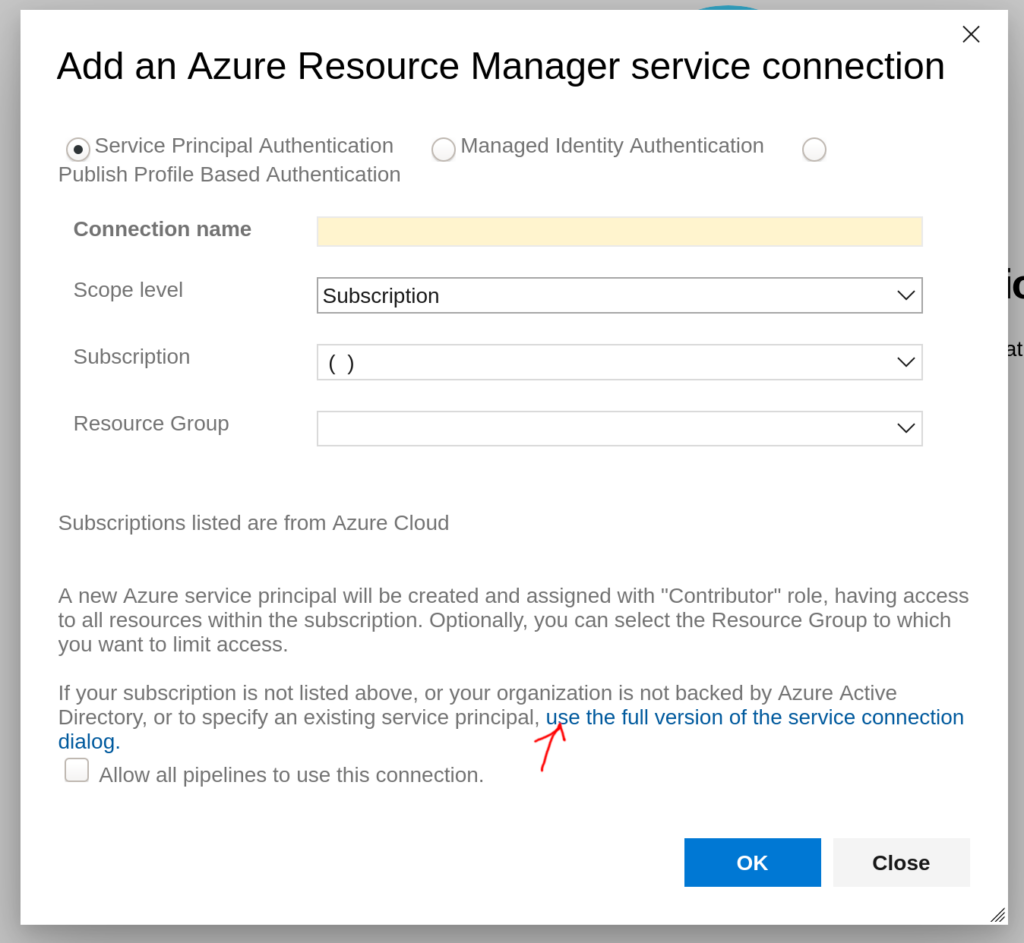
After selecting the Service Principal Authentication, we will get multiple details to be filled. Like :
Scope Level: Subscription
Service Connection Name: Name of the service connection
Resource group: Resource Group in which the connection will be created
Step 4 :
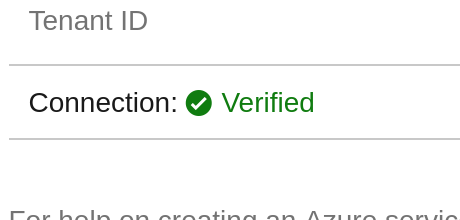
After filling all the details, click on the Verification Connection to verify your established connection.
For more amazing blogs , please follow by clicking here .
Step 5 :
After establishing the connection , utilise it in the pipeline by triggering the pipeline and if shows this error:

Click on the “Authorize Resource” for the authorization of Azure Resources.
Step 6 :
You also need to permit the ADO pipeline to use the service connection, The owner of the service principal and the
contributor can provide with the access to service connection.