NashTech Blog

Creating a Virtual Machine in Google Cloud (Console & CLI)

Table of Contents

In the previous blog, we learned how to set up and authenticate Google Cloud CLI using a service account. We now have a working CLI setup, ready for scripting, automation, and DevOps workflows.

Now in this blog, we’ll explore how to:

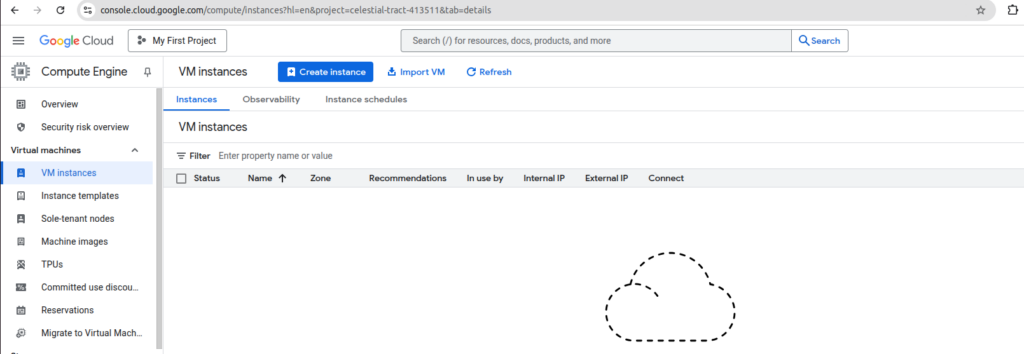
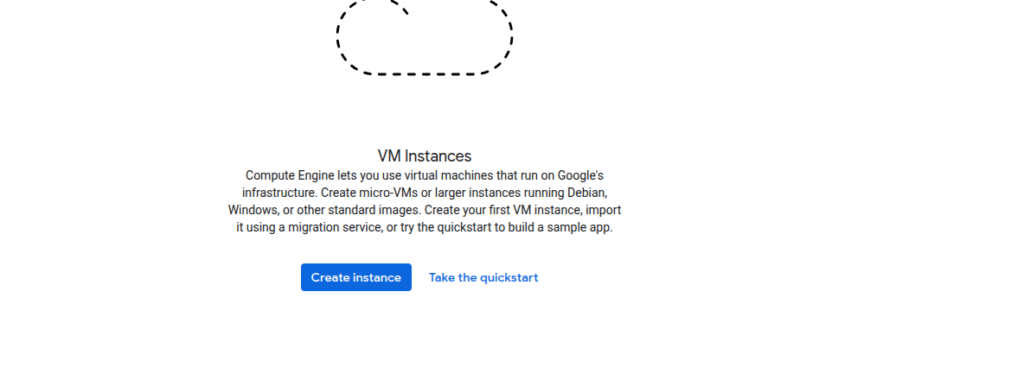
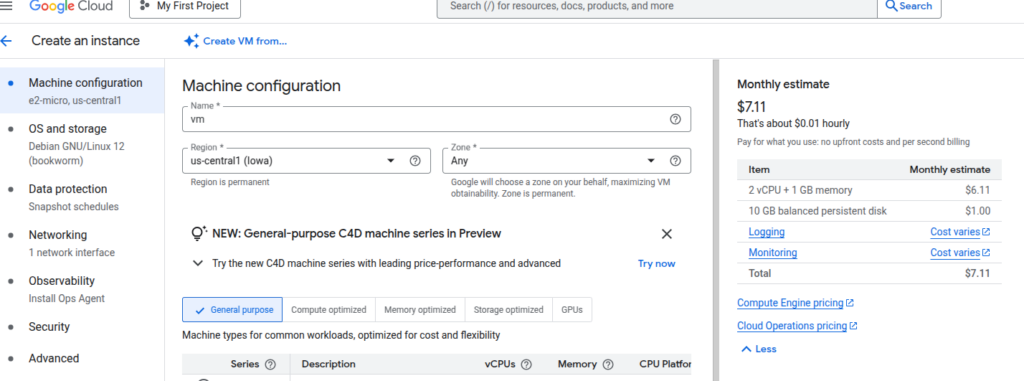
  • Create a Virtual Machine (VM) using both the Google Cloud Console and the gcloud CLI.
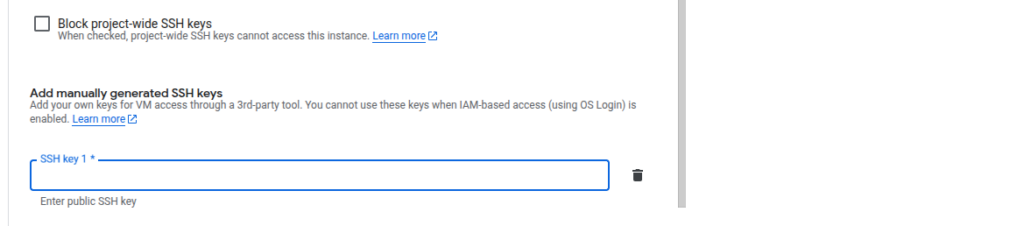
  • Add SSH keys for secure access.
  • Enable the Serial Port to help with advanced debugging.

🔹 Creating a VM via Google Cloud Console

  • Click “Create Instance”
  • Fill in Basic Config:
    • Name: e.g. vm
    • Region & Zone: e.g. us-central1 > us-central1-c
    • Machine type: e.g. e2-micro
    • Boot disk: Choose Debian or any other OS image.
  • Enable SSH Access:
    • Scroll down to “Security” > “SSH Keys”
    • Paste your public key from ~/.ssh/id_rsa.pub or google_compute_engine.pub into the textbox.
  • Enable Serial Port Access:
    • Go to “Management, security, disks, networking, sole tenancy”
    • Expand the “Advanced options”
    • Under “Enable connecting to serial ports”, select On.
  • (Optional) Allow SSH from the internet:
    • Go to “Networking”
    • Under “Network tags”, add: allow-ssh
  • Ensure a firewall rule exists with:
    • Target tags: allow-ssh
    • Allow: TCP:22 (SSH)
  • Click “Create”

Creating a VM using gcloud CLI

Make sure you’re authenticated with your desired service account:

gcloud auth list
gcloud config set account [YOUR_SERVICE_ACCOUNT]

Then run:

gcloud compute instances create my-vm \
  --zone=us-central1-c \
  --machine-type=e2-micro \
  --image-family=debian-11 \
  --image-project=debian-cloud \
  --metadata=serial-port-enable=1,ssh-keys="nashtech:$(cat ~/.ssh/google_compute_engine.pub)" \
  --service-account=test-657@celestial-tract-413511.iam.gserviceaccount.com \
  --scopes=https://www.googleapis.com/auth/cloud-platform

This command:

  • Creates the VM in us-central1-c
  • Sets a Debian image
  • Enables serial port
  • Injects your SSH public key
  • Adds firewall tag for SSH

Note: Replace nashtech with your desired username if different.

Verify Serial Port Connection

Once the VM is running, connect to the serial port with:

gcloud compute --project=celestial-tract-413511 connect-to-serial-port my-vm --zone=us-central1-c

Tip: If you get a permissions error, ensure your service account has the Compute Viewer or Compute Admin IAM role.


Connect to the VM via SSH

If you’re connecting manually (without gcloud), use the external IP of the instance and run:

ssh -i <key-file><username>@<external ip>

Conclusion

In this blog we learned how to create a VM instance from both the Google Cloud Console and gcloud CLI. You also learned how to:

  • Enable serial port access during VM creation,
  • Add custom SSH keys for secure connections,
  • And connect to your VM using both serial port and SSH.

These methods are essential for managing infrastructure in both interactive and automated environments. Whether you’re debugging a VM via serial output or deploying services over SSH, you now have a solid foundation to move forward.

In the next blog, we’ll explore how to create firewall rules, assign static IPs, and automate VM provisioning with startup scripts. Stay tuned!

Picture of rupali1520

rupali1520

Leave a Comment

Your email address will not be published. Required fields are marked *

Suggested Article

Scroll to Top