


Deploy Aspire to Azure: A Complete Step-by-Step Guide
Deploying Aspire to Azure is a straightforward process once you have the correct tools installed. This guide walks you through the essential steps and ensures your environment is ready before deployment.
Prerequisites
Before you deploy Aspire to Azure, make sure you have the following:
- Azure CLI installed, configured, and signed in with an active Azure subscription.
- Aspire CLI installed.
- Aspire 13.0 or above (See: What’s new in Aspire 13 | Aspire).
- Docker Desktop or Podman running on your machine.
Note: If you are using Podman instead of Docker, ensure the docker command is properly aliased to podman so Aspire can run container operations without issues.
Install Azure CLI
To install the Azure CLI, open a terminal and run:
winget install --exact --id Microsoft.AzureCLIAfter the installation completes, verify that Azure CLI was installed correctly:
az version
After signing in, confirm that your Azure CLI session is active by running:
az login --tenant YOUR_TENANT_ID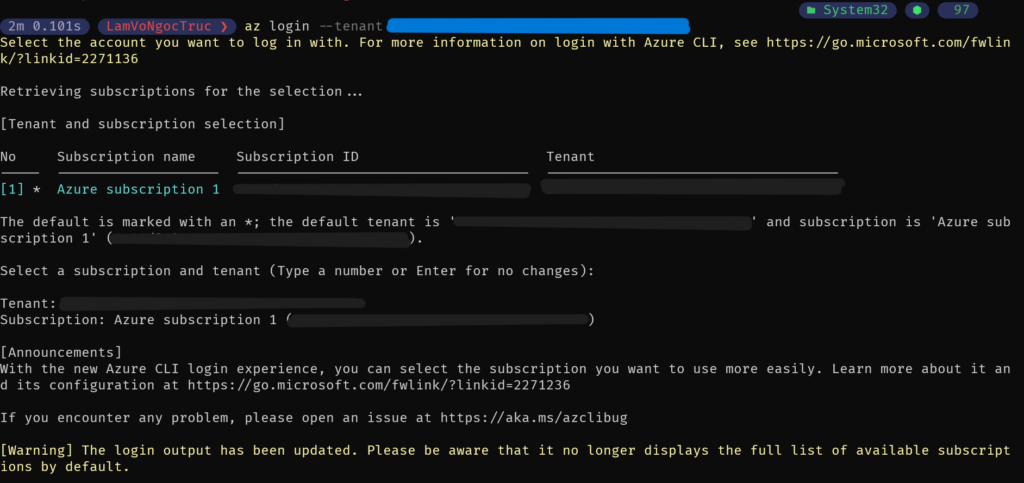
When you deploy Aspire to Azure using the Aspire CLI, the az bicep command is executed automatically in the background. Therefore, you should verify that Azure Bicep is installed correctly along with the Azure CLI.
To check your Bicep installation, run:
az bicep version
If Azure Bicep is not installed yet, you can install it with the following command:
az bicep installInstall Aspire CLI
To install the Aspire CLI, open a terminal and run:
dotnet tool install -g Aspire.CliAfter the installation completes, verify that the Aspire CLI is installed successfully by checking its version:

1. Create an Aspire Stater app
To begin, you can use your existing Aspire app, or you can create a new one if needed.
To create a new Aspire app using the .NET CLI, run the following command:
dotnet new aspire-stater -n YourAppName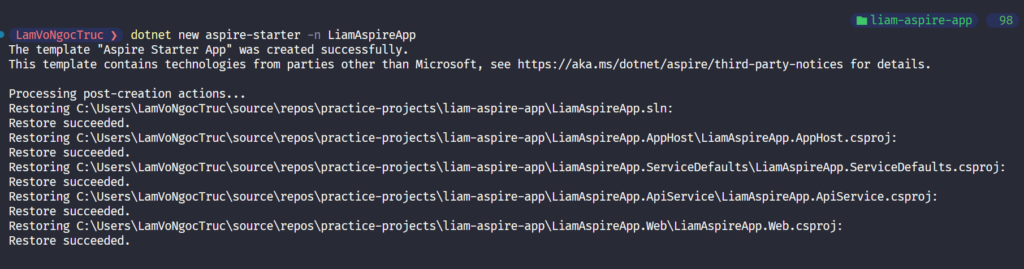
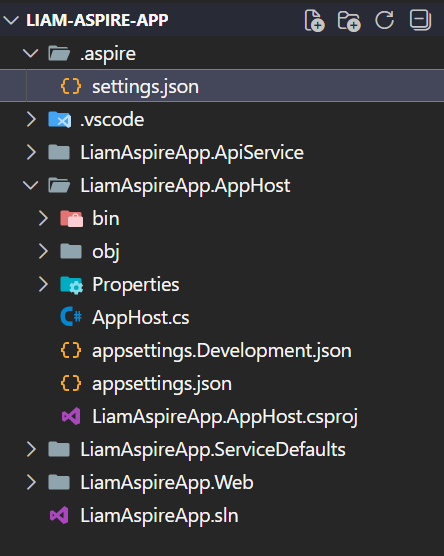
The Aspire Starter App includes all the essential projects required to run a minimal Aspire application. It automatically sets up:
- An API service
- A web frontend
- An Aspire AppHost for orchestrating your services
With this structure, you instantly have a clean and ready-to-use setup that follows Aspire’s recommended architecture. This makes it much easier to deploy Aspire to Azure later, since the project already includes the necessary building blocks for containerization, configuration, and environment orchestration.
2. Add a deployment package
Next, you need to add the deployment package that enables you to deploy Aspire to Azure. From the root directory of your Aspire solution, run:
aspire add azure-appcontainers
This command configures your project for Azure App Containers deployment. After running it, Aspire will automatically generate a new settings.json file inside the .aspire folder. This file contains the deployment configuration and environment metadata required for Azure.
With the deployment package added, your Aspire app is now ready for the next step: preparing and validating your Azure resources.
3. Update file AppHost
Next, update your AppHost project to enable Azure deployment.
Open the AppHost file and add the following configuration:
// Add the following line to configure the Azure App Container environment
builder.AddAzureContainerAppEnvironment("azure");
The AddAzureContainerAppEnvironment method configures the Azure App Container environment required for deployment. It also automatically enables containerization for the AppHost resources, ensuring that your Aspire application can run smoothly on Azure App Containers.
This step completes the environment configuration, making your app fully prepared for the deployment workflow.
4. Deploy the Aspire app
Now that everything is configured, you can deploy your Aspire app to Azure.
Run the following command in the root directory of your Aspire solution:
aspire deployThis command uses your current Azure CLI login session, so make sure you are signed in to the correct Azure account before running it. The deployment process may take a few minutes as Azure provisions resources and sets up your container environment.
During the deployment, Aspire CLI will prompt you to provide several configuration values for your Azure resources:
Select the Azure tenant
Choose the default tenant, or search for the appropriate tenant if your account is linked to multiple directories.

Select your Azure subscription
Pick the subscription where you want to deploy your Aspire application.

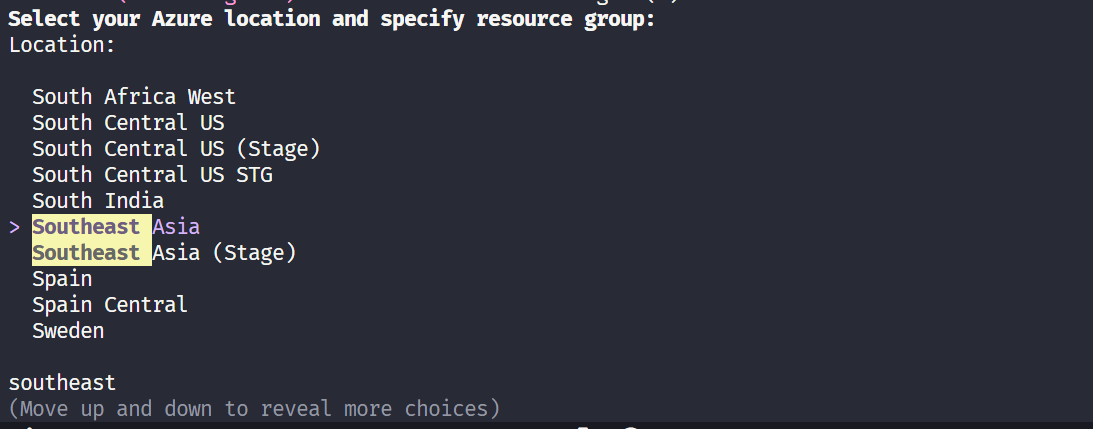
Select the deployment location
Choose the region where your resources will be created.
If you plan to reuse an existing resource group, make sure to select the same region as that resource group.
Select or create a resource group
You can enter the name of an existing resource group, create a new one, or simply press Enter to let Aspire CLI use the default suggested name.

Once the deployment finishes, you will see an output similar to the following:
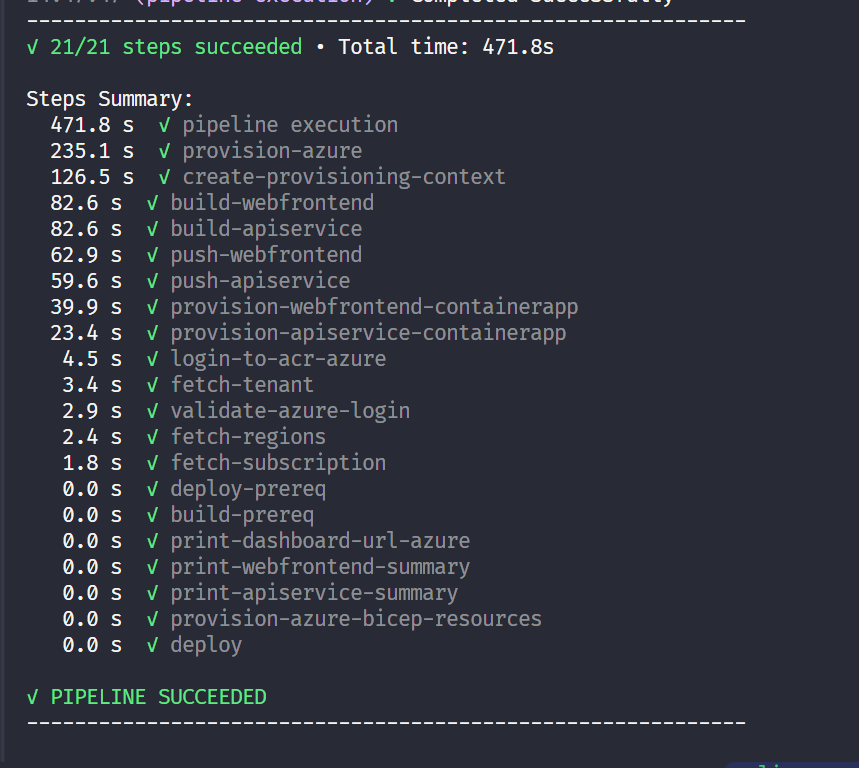
5. The deployment output
After the deployment completes, Aspire CLI will display a summary of all resources created in your Azure subscription. These resources are automatically provisioned and configured based on your Aspire project and deployment settings.
You can optionally include a screenshot here showing the resources inside the Azure Portal for better clarity and SEO (example: Azure Container Apps, Container App Environment, Log Analytics Workspace, etc.).
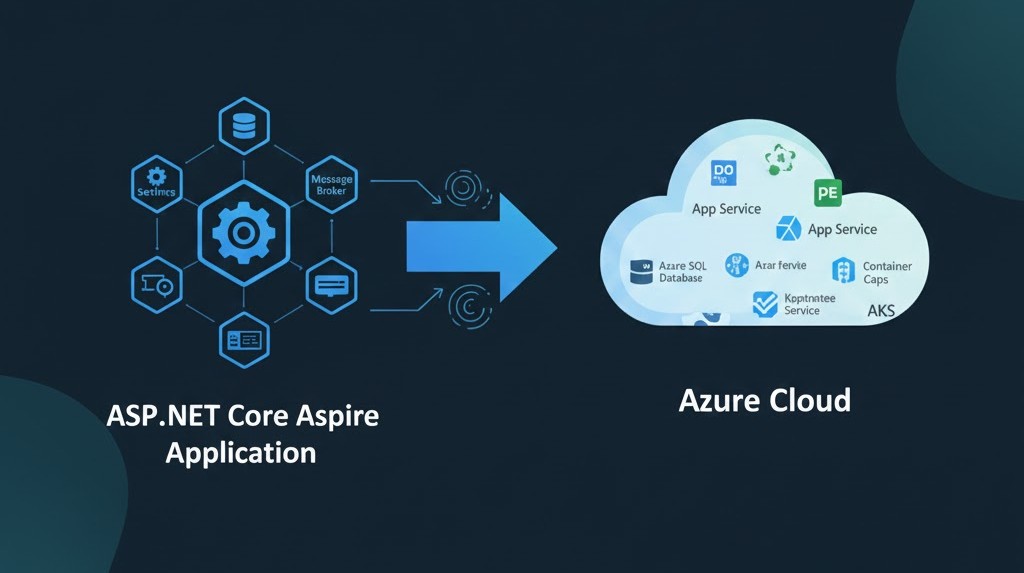
What Gets Deployed?
When you deploy Aspire to Azure, the Aspire CLI builds and containerizes each service in your application. Instead of deploying service code directly (like API or frontend source files), Aspire deploys Docker/OCI containers for each project. These containers are then hosted inside Azure Container Apps.
Typically, your deployment will include:
- A Container App Environment – the managed environment where all your container apps run
- One Container App per Aspire project, such as:
- API service container
- Web frontend container
- A Log Analytics Workspace – used to collect logs and metrics for your Aspire app
- A Managed Storage Account (if required by your services)

Conclusion
Deploying Aspire to Azure is a straightforward process once you have the right tools installed and your environment properly configured. By setting up the Aspire CLI, adding the Azure deployment package, updating your AppHost, and running the deployment command, you can containerize and deploy your .NET Aspire application with minimal effort.
This workflow allows you to take full advantage of Azure Container Apps, including scalable hosting, built-in monitoring, and simplified environment management. With your app now running in Azure, you can continue iterating on new features, improving performance, or expanding your architecture as needed.
If you want to explore further, consider adding secrets, configuring environment variables, or integrating managed Azure services to extend your Aspire application.