


Introduction
Hello reader, welcome again in my very new blog. Today I came with another tool called harness which is not just a CI/CD tool but also provide some other useful feature as well so without any further delay get started with “Deploy your infrastructure using Harnes”.
What is Harness?
Harness is an advanced DevOps platform that automates the end-to-end software delivery process. It provides a comprehensive suite of tools for Continuous Integration, Continuous Delivery, Feature Flags, Cloud Cost Management, and Security Testing Orchestration. Harness aims to reduce the complexity and manual effort involved in deploying applications, ensuring that deployments are consistent, reliable, and efficient.
Infrastructure deployment using Harness
In today’s example, we will setup a harness pipeline for creating a static website that will run as static website inside AWS S3 and we will do that using Terraform (Infrastructure as Code tool).
Prerequisites
- Harness Account
- AWS account
- Terraform Code on any git repo
Demo
Step 1: Account Creation
First and foremost you require an account you can create your own account using this link https://app.harness.io/auth/#/signup
Step 2: Configure Workspace
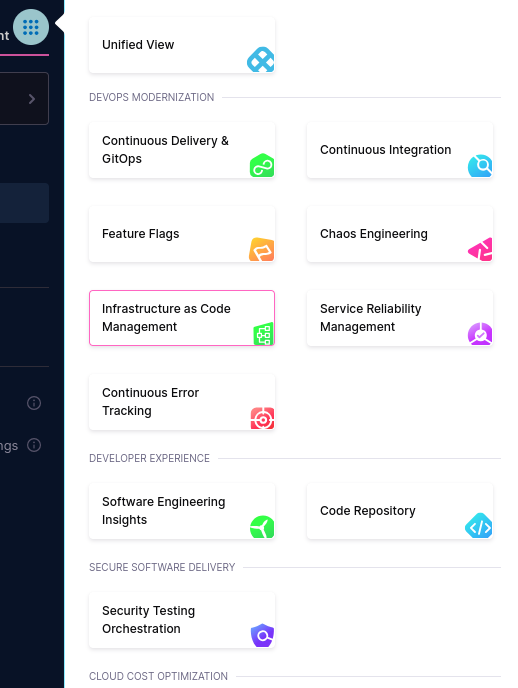
Now click on the menu bar and select Infrastructure as Code Management option
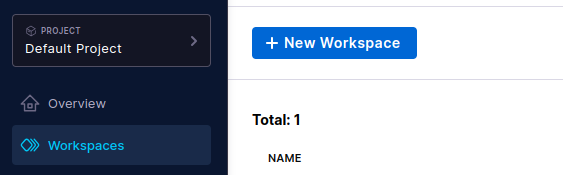
After that click on Workspaces option and select New Workspace
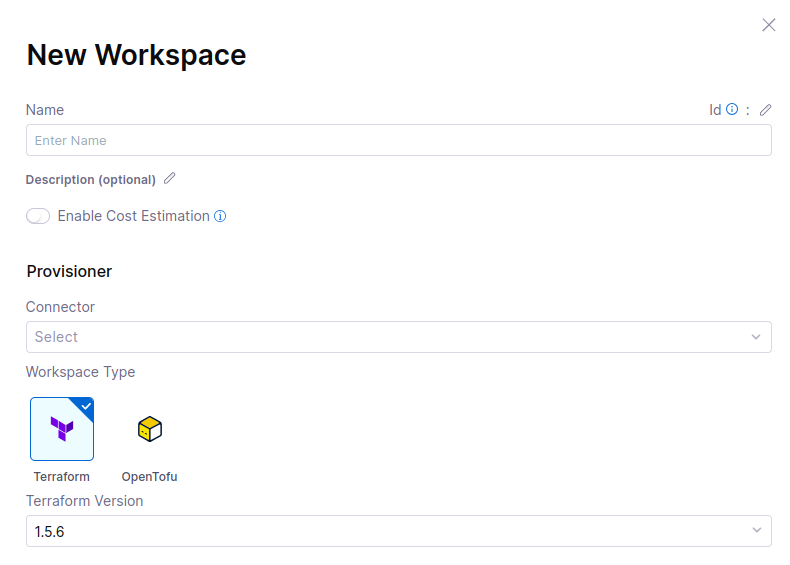
Fill the details such as name and tool ( terraform or opentofu ) then you need to add a connector that will help us to authenticate with AWS below provisioner select connector
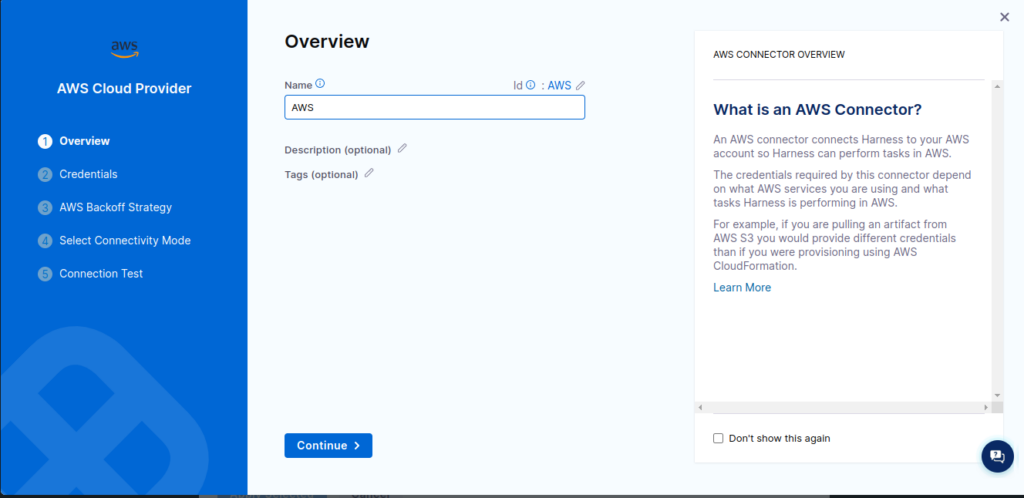
After clicking on New connector you need to select connector type you can select provider according to your need.


Here I have selected AWS now I need to provide some details such as connector name credentials type etc.
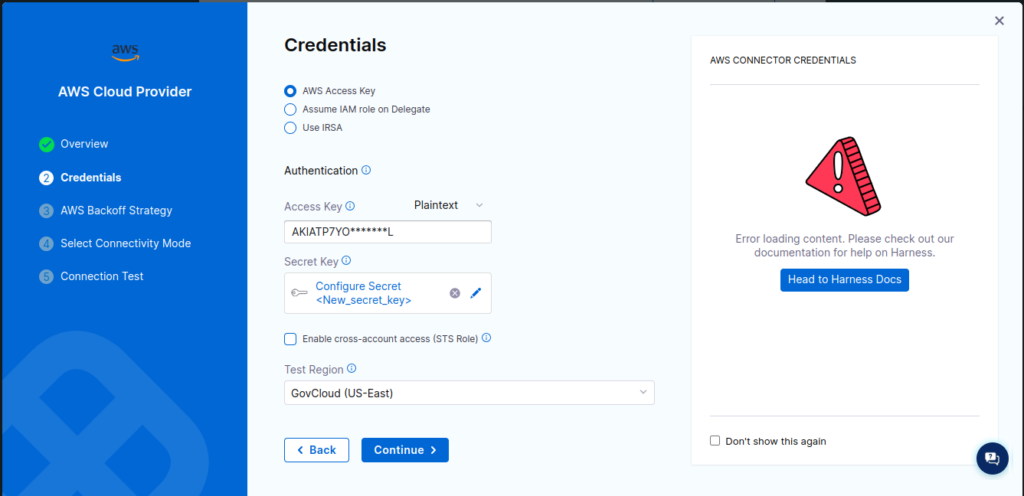
For AWS Backoff strategy select Fixed Delay and on the connectivity mode select Connect through Harness platform for now and click continue.
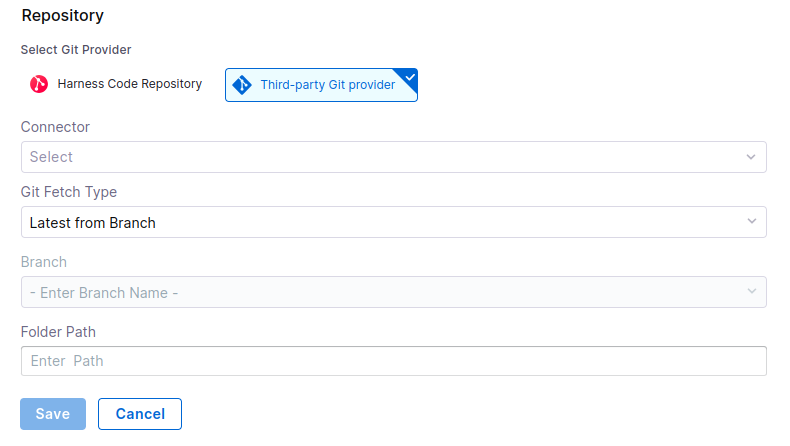
Now enter your repo details where you have putted your terraform or opentofu code and click save
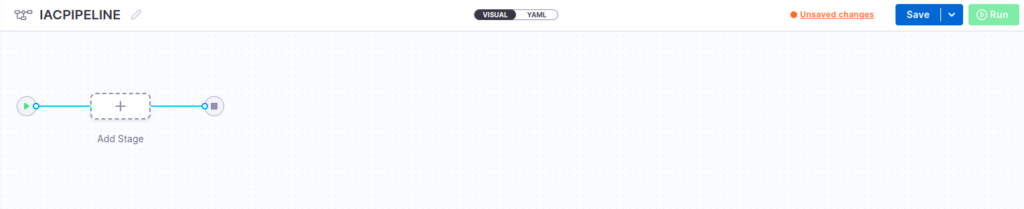
Step 3: Pipeline Creation
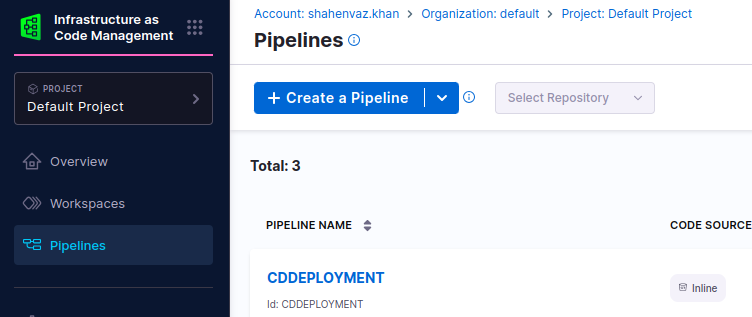
For pipeline creation click on Pipelines opention and select Create a Pipeline button
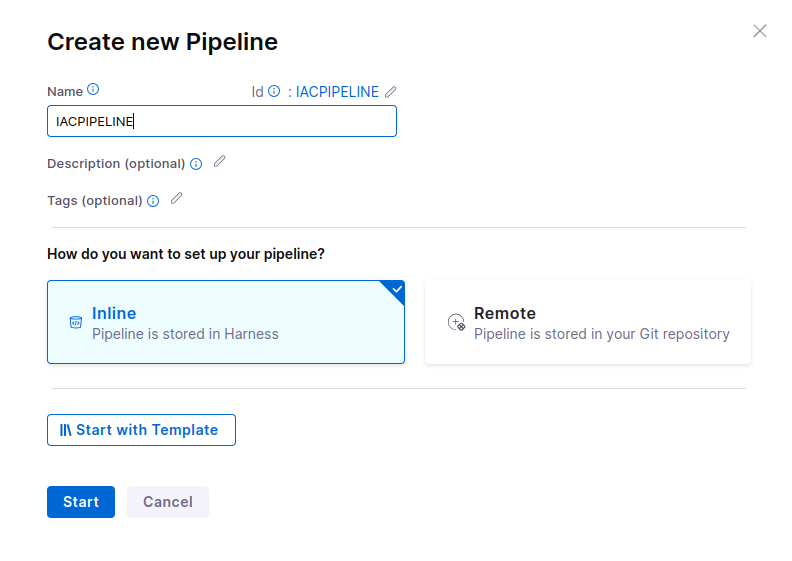
Fill the details as shown below
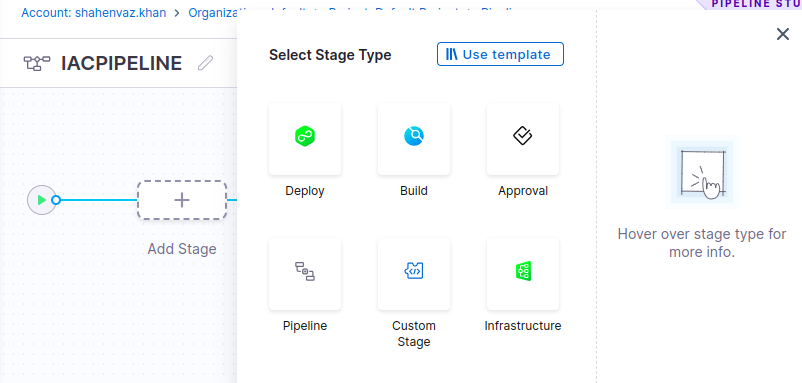
Now click Add stage
Now after clicking on add staging you have to select stage type. As we are deploying our infrastructure, we will select the Infrastructure option.
Now this will provide you with infrastructure details leave it as default for now and click Next

Now here you need to select the workspace select the workspace that we have created in step 2.

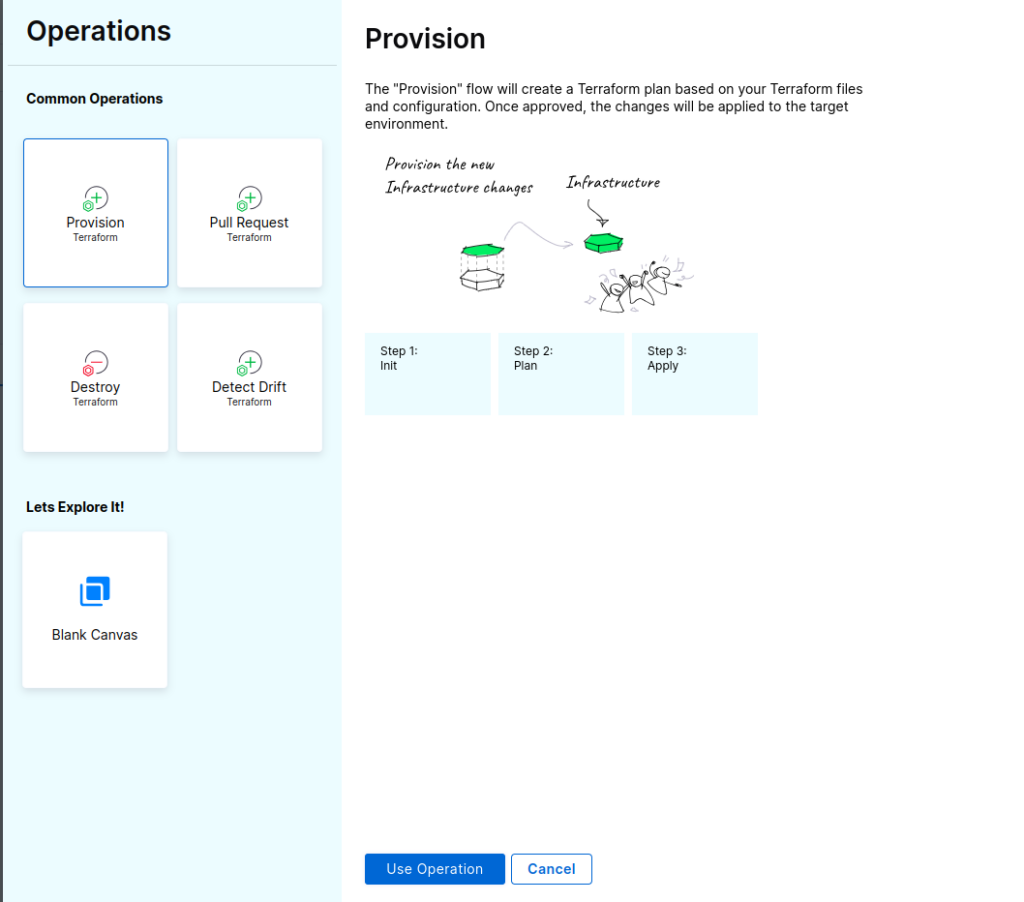
After you click next you will see that it will ask for operation select provision and click use operation.
Now save the pipeline and run it. The pipeline will executed and it will deploy your infrastructure to AWS cloud.
Conclusion
Harness not only provides various deployment option, it also provided very easy and interactive GUI as well through which you can crate and manage your pipelines very easily. So that’s it for today’s blog “Deploy your infrastructure using Harnes”, I will come back again with another blog until then keep learning.