


UIAutomatior 2 is one of the most famous libraries for automate Android application. For generating script quickly with this library, ATX team has developed WEditor,a web-based editor designed for creating and editing UIAutomator2 Python scripts. It’s particularly useful for mobile test automation, allowing you to interact with UI elements and write test scripts using a web browser. In this article, I’d like to introduce its features and quick steps to install and use WEditor.
1. WEditor introduction
1.1. WEditor key features
- Element inspector: WEditor provides a graphical interface to inspect the UI elements of an Android device. It displays a hierarchy tree of UI elements, allowing users to view the properties of each element. We can search to find specific UI elements by attributes such as
resource-id,text,class, etc. - Script generator: Users can interact with UI elements directly from the graphical interface, including clicking, typing, or performing gestures on elements. After that, the script is generated automatically.
1.2. WEditor strengths
- User-Friendly Interface: Make it easy for users to edit and manage content.
- Rich Feature Set: Syntax highlighting, auto-completion, and version control integration.
- Customizability: Many WEditor tools allow users to customize the environment according to their preferences and workflows.
- Extensibility: The ability to add extensions or plugins can greatly enhance the functionality of the editor.
1.3. WEditor weakness
- Performance Issues: Slow or laggy, especially when dealing with large files or projects.
- Complexity: Difficult to learn for beginners.
- Compatibility: There may be issues with compatibility, especially when integrating with other software or systems.
- Community: Small community
- Programming Language: Only python
- Languages: Chinese
2. Quick steps to set up WEditor
2.1 Dependency packages installation
- Python 3 +: Download Python | Python.org
- Android Emulator: Noxplayer – Fastest and Smoothest Android Emulator for PC & Mac – Free and Safe (bignox.com)
- Android SDK: Download Android Studio & App Tools – Android Developers
- UIAutomator2: pip3 install -U uiautomator2
- WEditor: pip3 install -U weditor
2.2 How to use WEditor
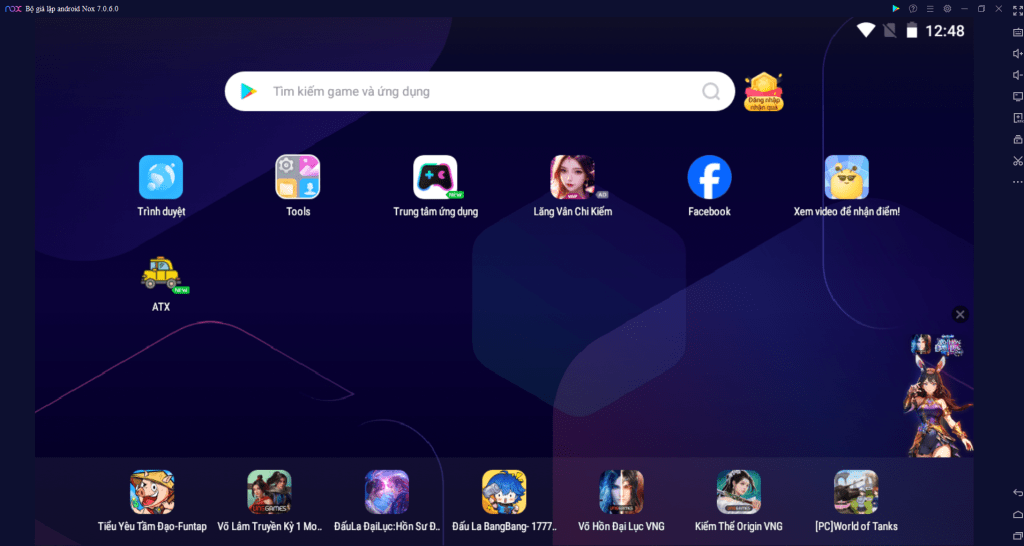
2.2.1 Start NoxPlayer
Firstly, we need to start NoxPlayer to simulate Android device
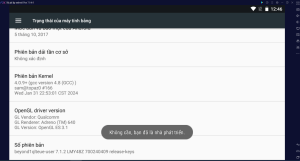
2.2.2 Open Developer mode for NoxPlayer
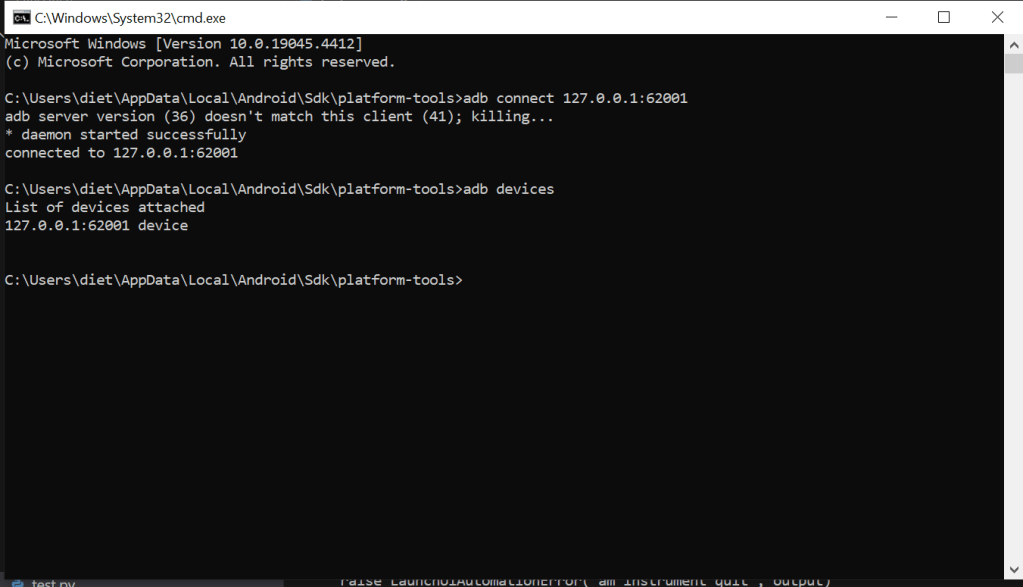
2.2.3. Connect NoxPlayer
Use “adb” command to connect NoxPlayer to ADB server
2.2.4. Open WEditor with command line

After running “weditor” command, the WEditor will be open automatically in browser.
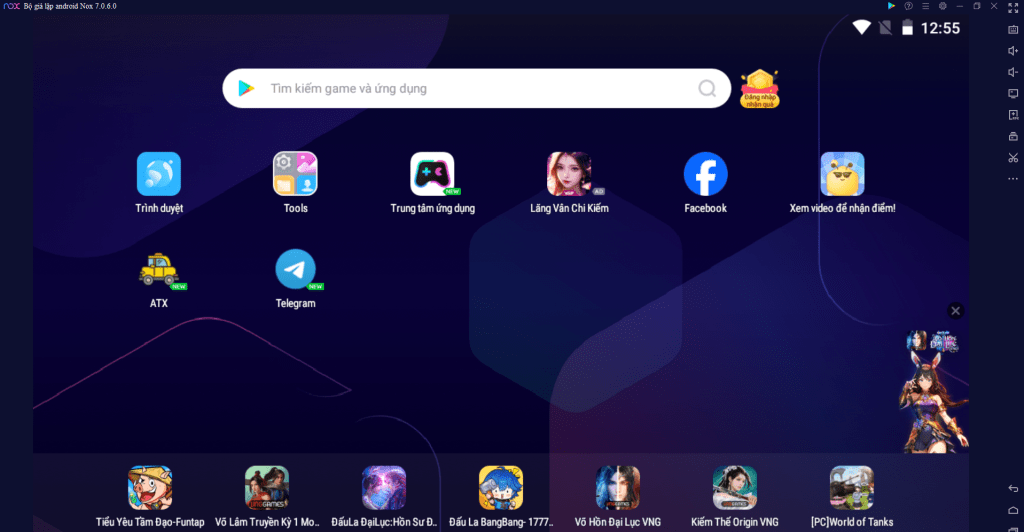
2.2.5. Install application under test into NoxPlayer
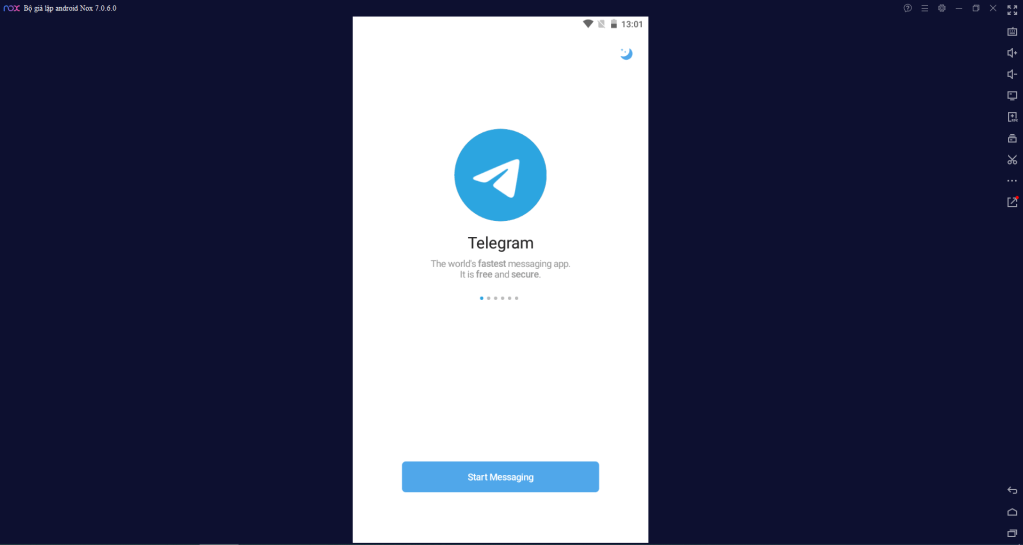
In this article, we’ll use Telegram as the application under test. We can drag and drop the apk file to install it on NoxPlayer.
After installing, Telegram icon is displayed on NoxPlayer.
2.2.6. Open Telegram app on NoxPlayer and go to login form
2.2.7. Record automation steps
Open WEditor to click Dump Hierarchy button after that click on any field on it, python code will be automatically generated on Coding table.

3. Advantages and disadvantages of WEditor vs Appium
| Advantages | Disadvantages |
| Simplicity and Ease of Use: – WEditor is lightweight and straightforward, designed for quick inspections and element viewing, making it easier to set up and use compared to Appium. – It is more user-friendly for basic tasks like element inspection, making it suitable for beginners or testers focusing solely on UI element identification. | Limited Automation Capabilities: While WEditor is useful for UI inspection, it lacks the full automation capabilities that Appium offers. Appium supports end-to-end testing, including interacting with UI elements, verifying application behavior, and cross-platform testing (iOS and Android) |
| Faster Setup: WEditor requires minimal setup compared to Appium, which requires installing dependencies like Node.js, Appium server, and setting up Android or iOS environments. | Cross-Platform Testing: Appium supports both Android and iOS, allowing for a single codebase to run tests on both platforms. WEditor is primarily limited to Android devices, making it less versatile for cross-platform testing. |
| Resource Efficiency: WEditor is less resource-intensive, running directly within a web interface and requiring fewer system resources. Appium, on the other hand, can be heavy due to its reliance on multiple components. | Extensibility and Integration: Appium offers extensive integration with various testing frameworks and integration (CI) tools like Jenkins. WEditor lacks such extensive integration options. |
| Focus on UI Element Inspection: WEditor specializes in UI element inspection, which is often the preliminary step in writing automation scripts. For testers who only need to inspect elements, WEditor is quicker and more efficient | Community Support and Ecosystem: Appium has a large and active community, along with comprehensive documentation, plugins, and third-party libraries. WEditor has limited community support and fewer resources available for troubleshooting and extending its capabilities. |
| Advanced Testing Features: Appium supports complex testing scenarios, including parallel execution, touch actions, and gesture automation. WEditor is limited in scope and does not offer these advanced features, making it less suitable for comprehensive automation needs. |
Conclusion
WEditor is best for quick UI element inspections, lightweight tasks, and scenarios where minimal setup and resource usage are essential. It’s useful in the early stages of test creation or for quick debugging. However, it cannot replace the comprehensive capabilities of Appium when it comes to mobile automation testing.
Reference: