


Today, if any Software Engineer wants to start their journey in the field of AI/ML, their first step will be, “I want to try this ML model”. However, how would an engineer take that journey from getting their hand-on on a ML Model to “Here’s an endpoint to call the ML model”? Moreover, how can the engineer convert the journey into a well documented and repeatable process?
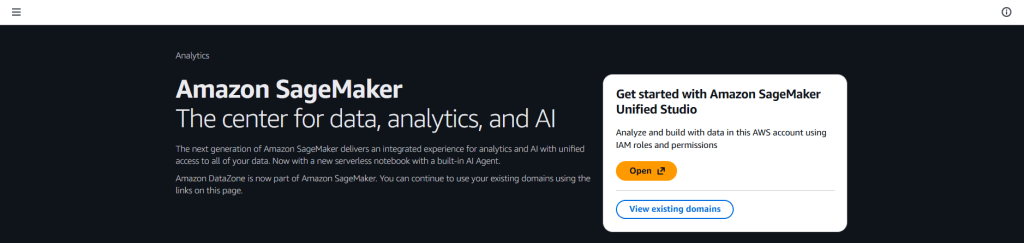
Amazon SageMaker is AWS’s end‑to‑end platform for machine learning where we can explore data, build and fine‑tune models, deploy real‑time endpoints, and monitor them, all from one place. Amazon SageMaker Unified Studio is a web‑based IDE that brings together notebooks, model registries, pipelines, and AI/ML features all in one place.
In this blog post, we’ll go through:
- An introduction to
Amazon SageMakerand itsUnified Studio - Difference between
Amazon SageMakerandAmazon Bedrock - And, a real example using Amazon SageMaker AI/ML to try PyTorch SSD (
Single Shot MultiBox Detector) for object detection.
Key Differences between Amazon SageMaker and Amazon Bedrock
| Category | Amazon SageMaker | Amazon Bedrock |
|---|---|---|
| Primary Purpose | Full end‑to‑end machine learning platform for data prep, training, tuning, deployment, and monitoring | Generative AI service providing serverless access to Large Language Models (LLMs) |
| Deployment Model | EC2 backed (CPU/GPU) scaling and cluster management | 100% Serverless, i.e., no cluster/compute management required |
| Development Environment | Unified Studio allowing access to JupyterLab notebooks, SDK, and APIs | API‑only |
| Pricing | EC2 based pricing, i.e., pay as per compute power utilization (or allocation) | Serverless pricing, i.e., pay-per-inference or pay-per-model |
| Best-Suited For | Data scientists/ML engineers building custom ML pipelines and training jobs | Developers building generative AI apps without training infrastructure |
Why Amazon SageMaker Unified Studio?
Think Amazon SageMaker Unified Studio as your “command center”. Here we can spin up notebooks, view endpoints, manage data and artifacts, and collaborate with other team(s).
AI/ML accelerates experimentation by giving us pretrained foundation models and classical ML algorithms we can deploy or fine‑tune with a few clicks. It also offers example notebooks we can open directly in the studio to learn by doing. At last we can prototype in a notebook first, then deploy to an HTTPS endpoint for real‑time inference, without leaving the studio.
Jumping to AI/ML Hand-On Walthrough
The goal here is simple, run a PyTorch SSD (Single Shot MultiBox Detector) example for object detection in an image.
Step 1: Launch the Studio
- Open Amazon SageMaker Unified Studio
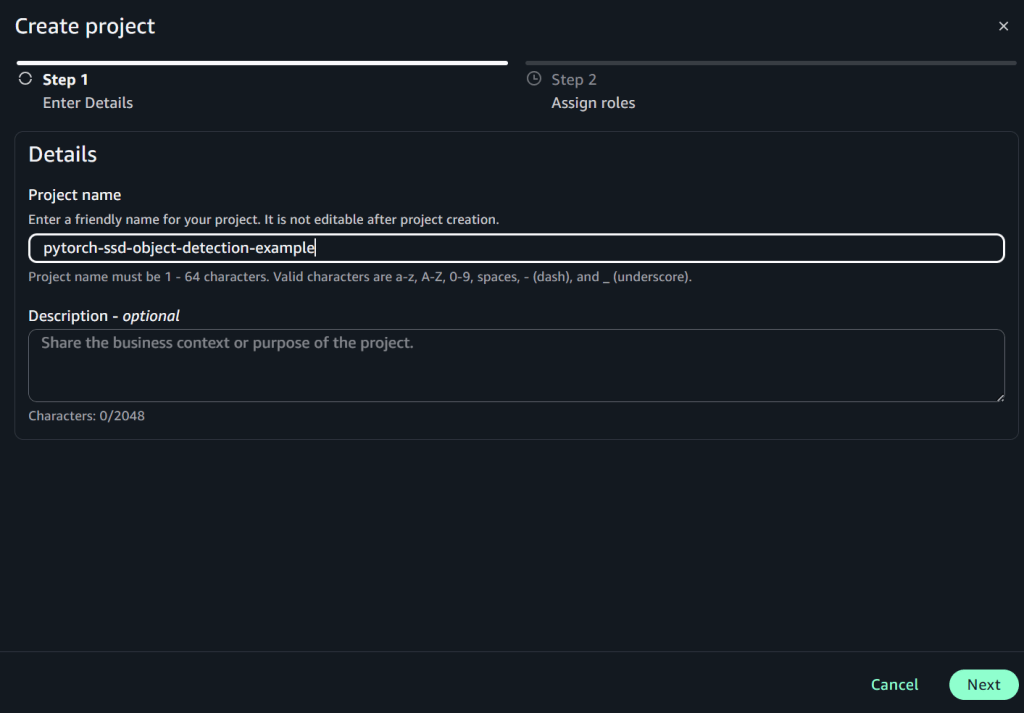
- Create a project named
pytorch-ssd-object-detection-example
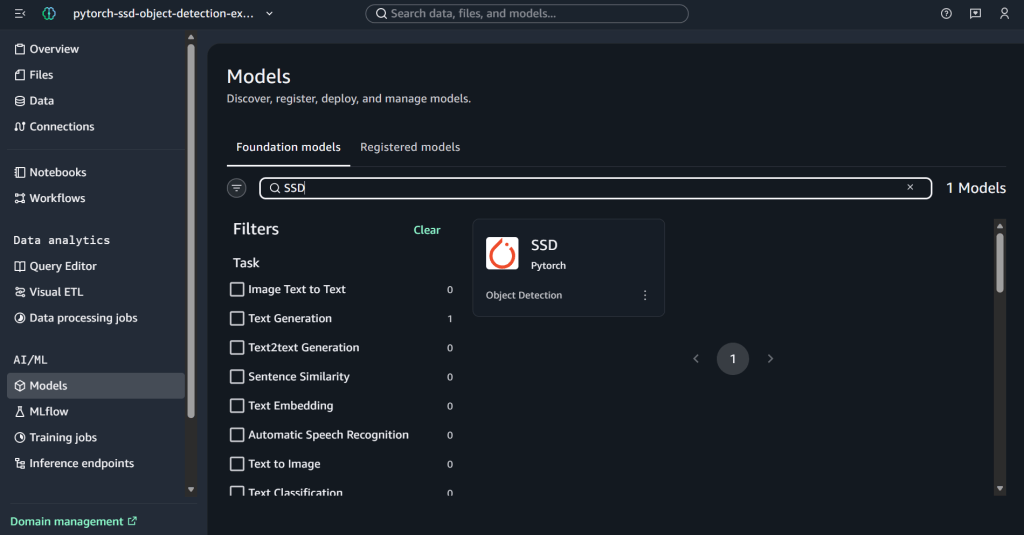
- Select Models from AI/ML section from the left panel and search for Pytorch SSD model.
Step 2: Open the Model Notebook
After selecting the PyTorch SSD model, we should see 2 options:
- Open Notebook: Opens a sample notebook with code cells that download assets, create predictors, and run the model on sample data
- Deploy: Pushes the model straight to an endpoint with defaults. It is preferred only when we’re done with prototyping and ready to deploy the model in production
Since, we’ll be only experimenting with the model, for learning purposes. Hence, we’ll pick Open Notebook option.

Step 3: Run the Notebook (in JupyterLab)
Once the sample notebook, containing the Pytorch SSD object detection example, is available in JupyterLab, we can perform the following tasks:
- Install
ipywidgets v7.0.0

- Set up and authenticate the use of AWS services to host the model on Amazon SageMaker

- Run the inference on the pre-trained model

- Retrieve the artifacts and deploy the endpoint

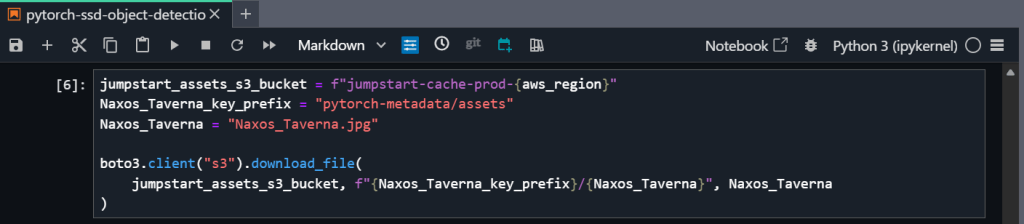
- Download a sample image for inference (from S3)
- Query the endpoint and parse the response

- At last, display model predictions

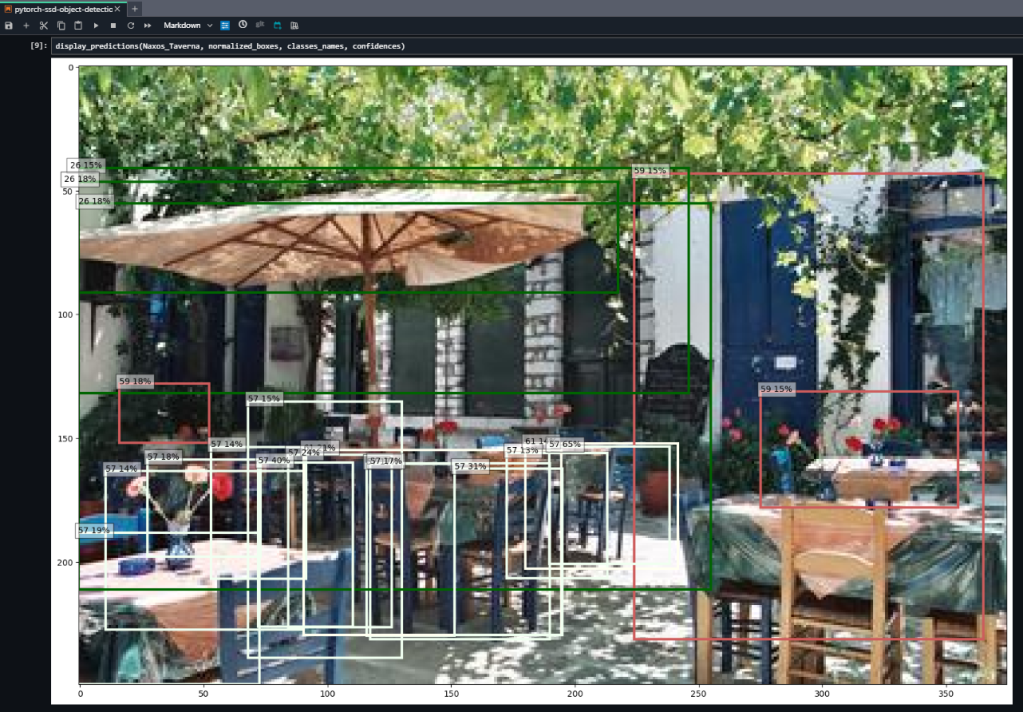
In the result, we can clearly see the model’s prediction(s) and annotated object(s) with the confidence percentage.
Step 4: Cleanup Model Deployment
To save the cost, it is very important to delete the model deployment (endpoint) once it is no longer required. For deleting the model deployment and its related resources, we need to delete the SageMaker endpoint.

What additional steps can we take?
Till now we saw how to run inference on a pre-trained model. However, there are many other steps we can take. For example,
- Fine‑tune the model with our own image(s).
- Tune the parameters like instance size (and others) to balance the cost & performance.
- Wrap the endpoint (of the deployed model) with a simple API or integrate with our application.
In-Summary
Now, we have seen that how Amazon SageMaker’s AI/ML feature helps software engineers turn the first step – “I want to try this model” to the final step – “I can call an endpoint to invoke the model” by bringing everything (IDE, models, deployment, and MLOps) into a single space. Even with a few UI quirks, the workflow is fast once we know the moves, i.e., launch, configure, run, deploy, test, clean up. For more updates on AI services offered by AWS, stay tuned 🙂