


Hello Readers!! We are again back with an exciting topic i.e. Getting started with Github Copilot. We will get to know all about power of github copilot. How we can get started with github copilot. It is a super revolutionary tool that is making our work easier. It’s an AI assistant for coding, developed by github itself. It is available as an extension in your code editor or IDE. It is an integrated development environment like Visual Studio Code, IntelliJ or any kind of IDEs. Here we integrate it and helps you write the code within the editor similar to ChatGPT.
When using chatgpt we have to switch from our code editor to the browser to type in your request and chatgpt gives you some code with explanations. But here in the case of Github Copiloy, we have that AI tool integrated within the editor. So, here you don’t have to leave the editor to get the code or replies.
How it works?
Now, as we now are aware that what is it. Now, let’s discuss how it works actually.
It is powered by a generative AI model developed by Github, OpenAI and microsoft. GitHub Copilot actually takes your existing code whatever you have written and writing as a context to answer your questions. It basically gathers context from:
- Current open file in which you are writing code.
- Other open tabs in the IDE.
- Repository URLs or file paths.
- File names and their types.
GitHiub Copilot is trained on billions of lines of code in public repositories. Trained on all programming languages. Accordingly, it gives suggestions for your code and replies.
Different ways of Interaction with GitHub Copilot:
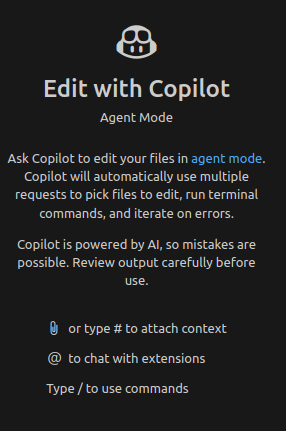
- Copilot Chat – It replies to your request. You can ask to explain code, improve existing code, generate tests etc.
- Autocomplete code suggestions – When you type your code in IDE, it gives you code suggestions itself. It actually gives you kind of auto complete suggestion by trying to predict what you are going to write. Code suggestion gets presented to accept or reject. It constructs a prompt from your text.
How to setup GitHub Copilot?
Following are the prerequisites for setting up GitHub Copilot:
- A GitHub account
- An active GitHub Copilot subscription (you can start a free trial)
- Visual Studio Code installed (https://code.visualstudio.com)
1. Enable Copilot in Your GitHub Account
- Go to: https://github.com/features/copilot
- Click Start free trial or Subscribe.
- Follow the steps to complete the subscription setup.
2. Install GitHub Copilot Extension in VS Code
- Open VS Code.
- Go to the Extensions sidebar (
Ctrl+Shift+XorCmd+Shift+Xon Mac). - Search for “GitHub Copilot”.
- Click Install on the GitHub Copilot extension.

3. Sign In with GitHub
- After installing, you’ll be prompted to sign in to GitHub.
- Click on the sign-in button and authorize VS Code to access your GitHub account.
- You may be redirected to a browser to authenticate.

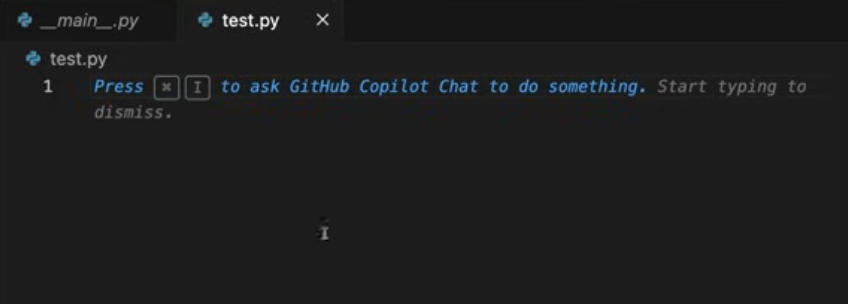
4. Start Using Copilot
- Open a code file.
- Start typing — Copilot will suggest code as you go.
- Press
Tabto accept a suggestion orEscto dismiss.
5. Customize Copilot Settings
You can configure Copilot behavior according to your preference:
File>Preferences>Settings> Search for “Copilot”- Choose options like enabling/disabling on specific languages, controlling auto-suggestions, etc.
Customize the settings according to your need.
Conclusion:
Thanks for being with me till the end. In this blog, we have seen how to get started with GitHub Copilot. It provides an aid for a developer in writing code. Finally makes our work easier and simpler, saves time by providing suggestions and replies. Explore it, I am sure you really going to enjoy it very much. If this blog helped you somewhere do like and share this blog with the needful.
HAPPY READING!!!