


In the previous blog, I’ve shared with you about the overview about Playwright MCP Server as well as how to set up and use it with Github Copilot on VS Code. Currently, with Playwright MCP Server, we have a lot of tools which support us to automate the test cases quickly. However, based on my experience, we’ll still need more tools to implement test script more efficiently. In this article, I’ll share some quick steps to adding more tools into Playwright MCP Server.
1. Clone Playwright MCP Server source code
You can easily find the source code from the following repository: https://github.com/microsoft/playwright-mcp
Then you can install the dependencies packages by running “npm i” command.
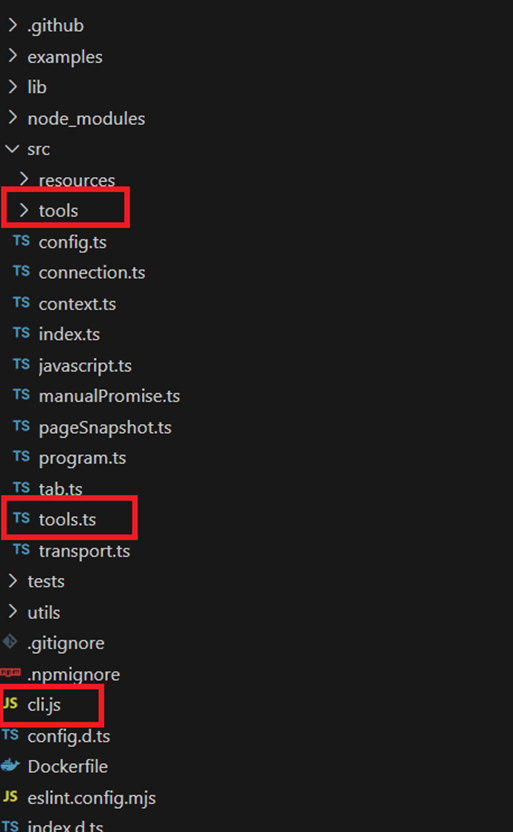
Please pay attention to the highlighted files and folders.
2. Implement a new tool for Playwright MCP Server
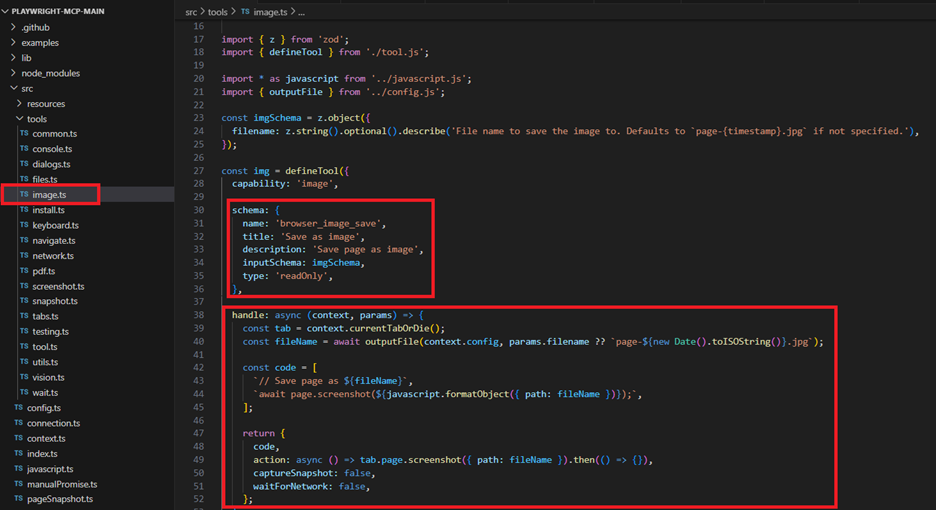
- Create new ts file in tools folder
- Refer the syntax from the other files to add the new tools
- Ensure “schema”, “handle” section is implemented
- params: will be the parameter we input from Github Copilot chat
- action: will be the Playwright script executed while using Playwright MCP Server to automate the test step
- code: will be the script Playwright script generated
3. Add the created tool into list tools of Playwright MCP Server
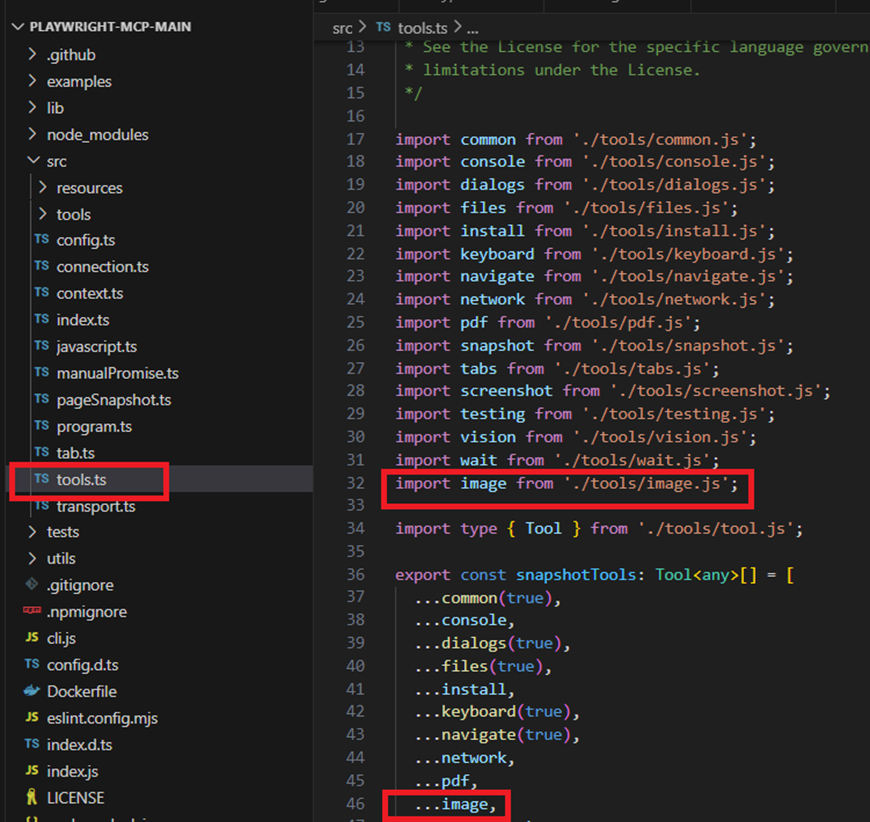
- Open “tools.ts” file
- Import “image” from previous file
- Add “image” into list tool.
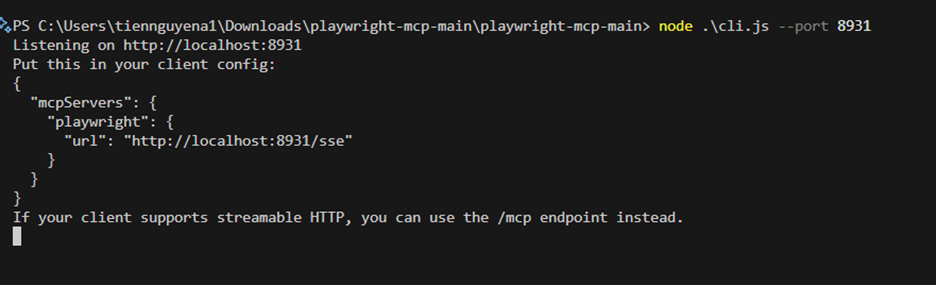
4. Start the customized Playwright MCP Server
- Run “npm run build” to compile script
- Run “node .\cli.js –port 8931” to start MCP Server at local
5. Update Playwright MCP Server configuration

- Open the mcp.json file
- Update the configuration
- Restart the server
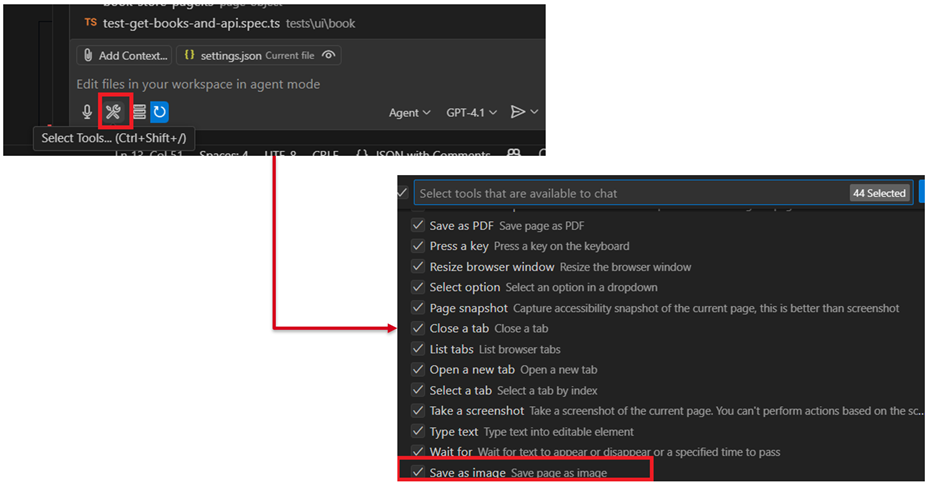
6. Validate adding tool successfully
After restarting the Playwright MCP Server, we can easily check whethe the new tool appears.
Conclusion
In the new era of AI, we need to know not only how to use it but also how to implement/customize the AI tool so that we can use it more efficiently in our daily task. Hope that you can find interesting in my blog related to customizing Playwright MCP Server.