


Hello Readers!! We are again back with an exciting azure service i.e. Azure Kubernetes Service. So, In this blog we will take a deep dive into Azure Kubernetes Service (AKS) and explore how to set it up step by step. Whether you are new to Kubernetes or looking to expand your cloud infrastructure skills, this tutorial will guide you through the entire process.
Let’s get started!!
What is Azure Kubernetes Service?
AKS (Azure Kubernetes Service) is a managed Kubernetes service provided by Microsoft Azure. So, it simplifies deploying, managing, and operating Kubernetes clusters without having to manage the Kubernetes control plane or infrastructure manually.
Some use-cases of AKS:
Here are some use-cases of Azure Kubernetes Service:
- Host and scale containerized microservices using Kubernetes.
- Automate application deployments via CI/CD pipelines.
- Run machine learning and big data workloads efficiently.
- Deploy highly available web and API applications with auto-scaling.
- Manage hybrid or multi-cloud Kubernetes clusters with Azure Arc.
How to setup Azure Kubernetes Service Cluster:
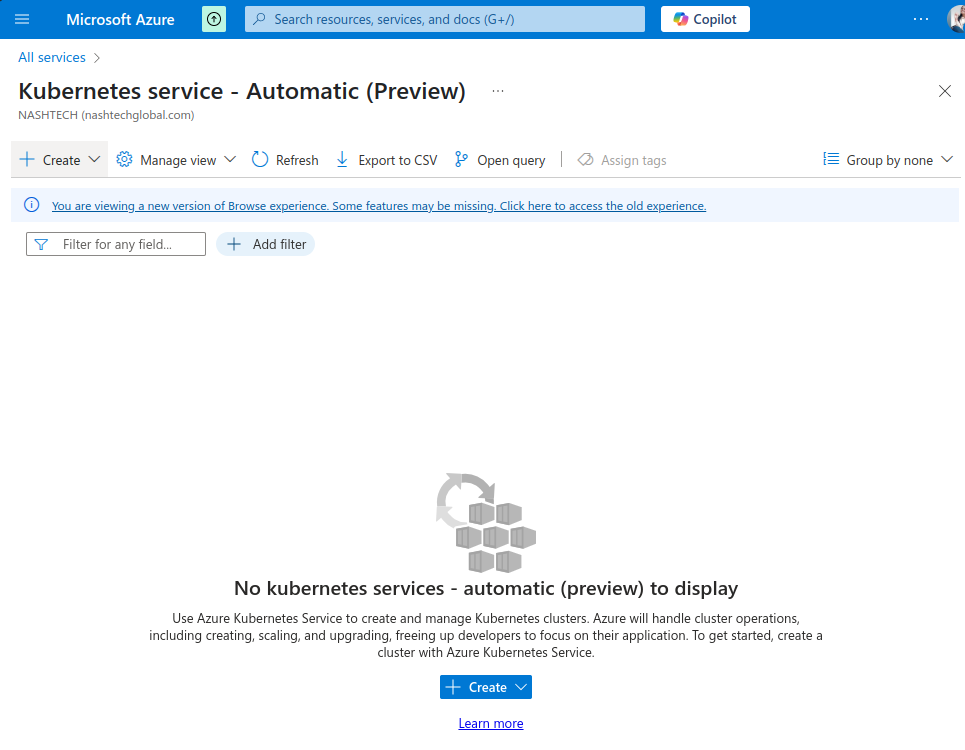
- Login to Azure Subscription. Search for Kubernetes service.
Click on create.
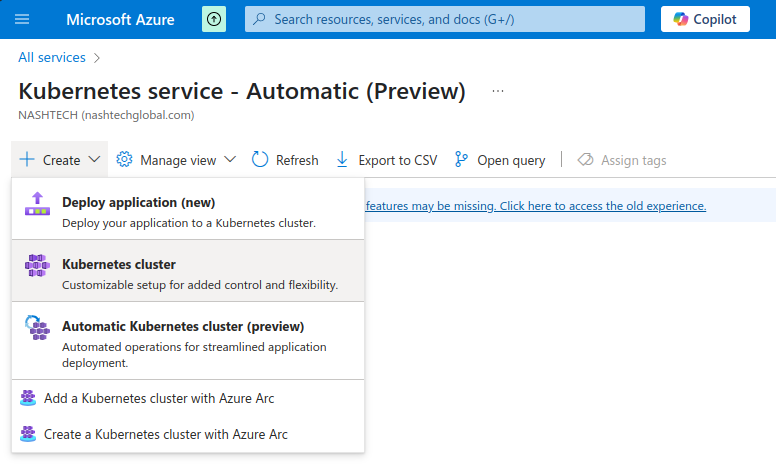
2. Click on create kubernetes cluster.
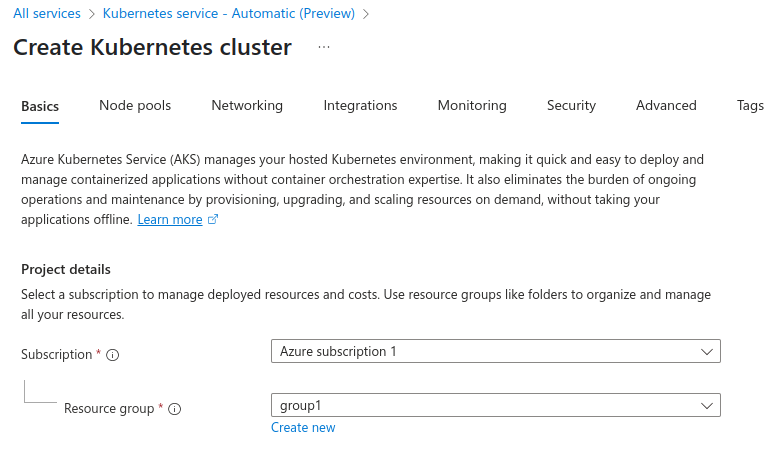
3. We have to provide here all the information for creating AKS. Select azure subscription and resource group.
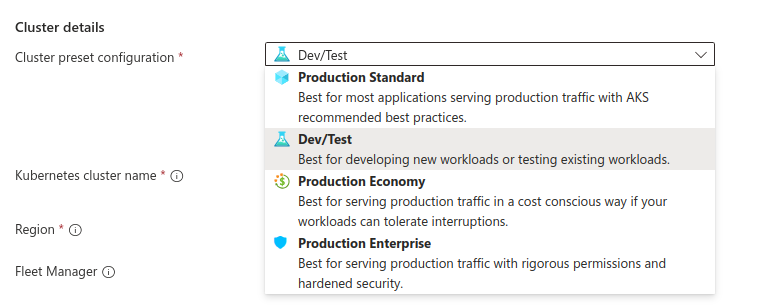
So, choose one of the preset configuration mentioned.
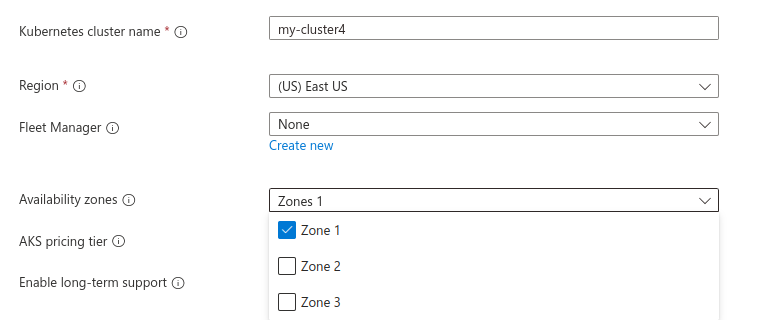
4. Give a name to your cluster. Choose region where cluster will be created. Therefore for high availability of cluster, select all the three zones in which it will get deployed. Depends on your requirement choose this as well.
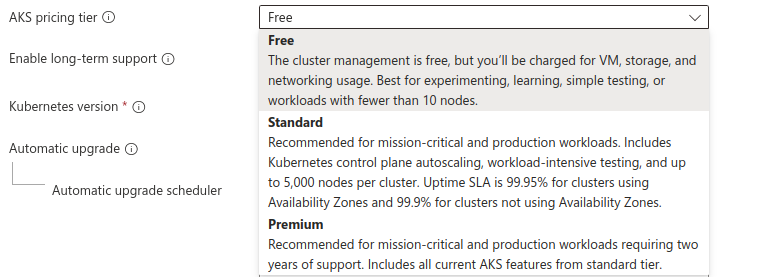
Choose AKS pricing tier i.e. Free, Standard & Premium.
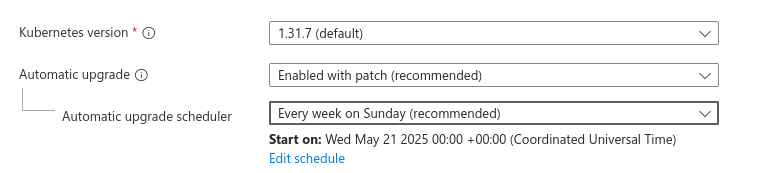
5. Select kubernetes version. We are taking here default one. We can also configure kubernetes cluster upgrade.
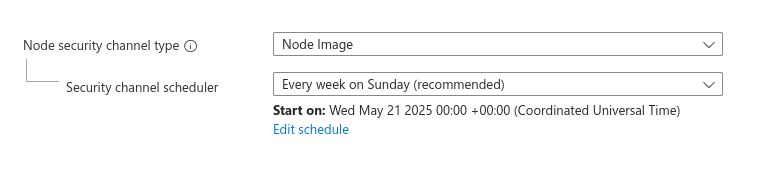
Choose node security channel type.
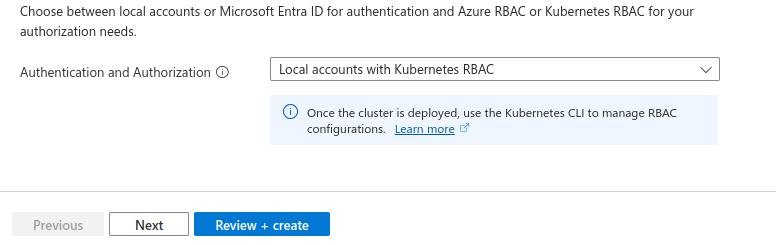
6. Now, choose between local accounts or Microsoft Entra ID for authentication and Azure RBAC or Kubernetes RBAC for your authorization needs
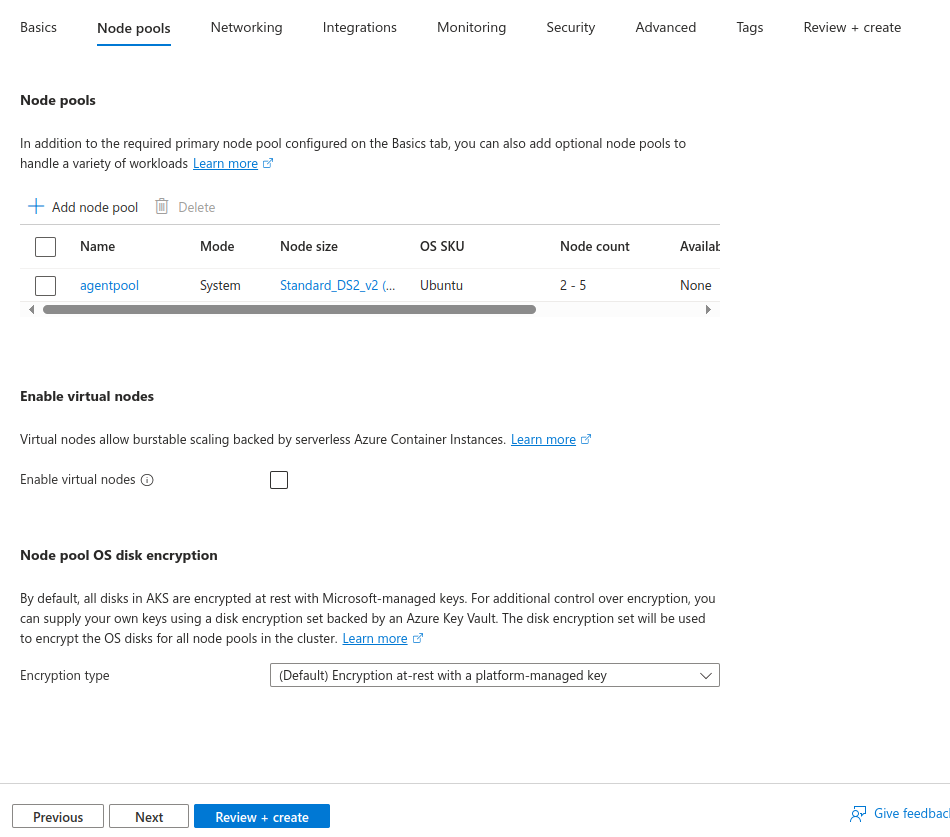
Click on Next. Now, let’s configure cluster node pools here. In AKS, a node pool is a group of virtual machines (nodes) with the same configuration (VM size, OS, etc.) that run your containerized workloads.
7. Now, configure networking for our EKS cluster. If we want this cluster to be a private cluster then we can enable it from here.
We can enable a private cluster to restrict worker node to API access, enhancing your Kubernetes workload’s security and isolation.
Also choose container networking and network policy.
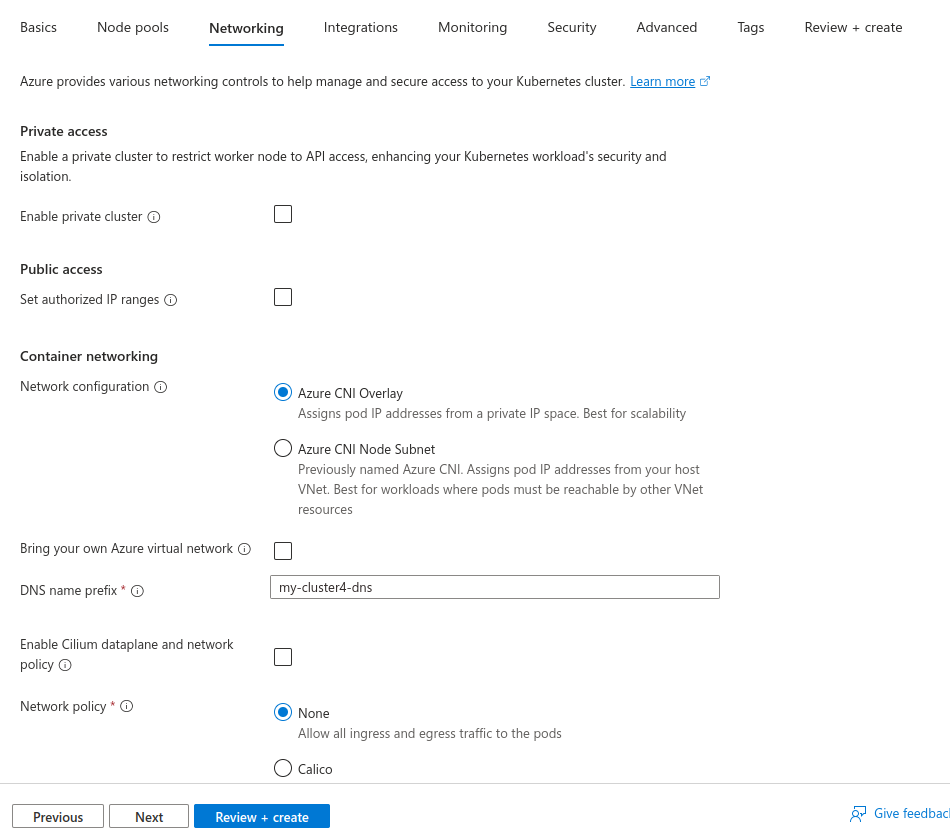
After doing all these, move to next.
8. Here we can connect our AKS cluster to an Azure Container Registry to enable seamless deployments from a private image registry.
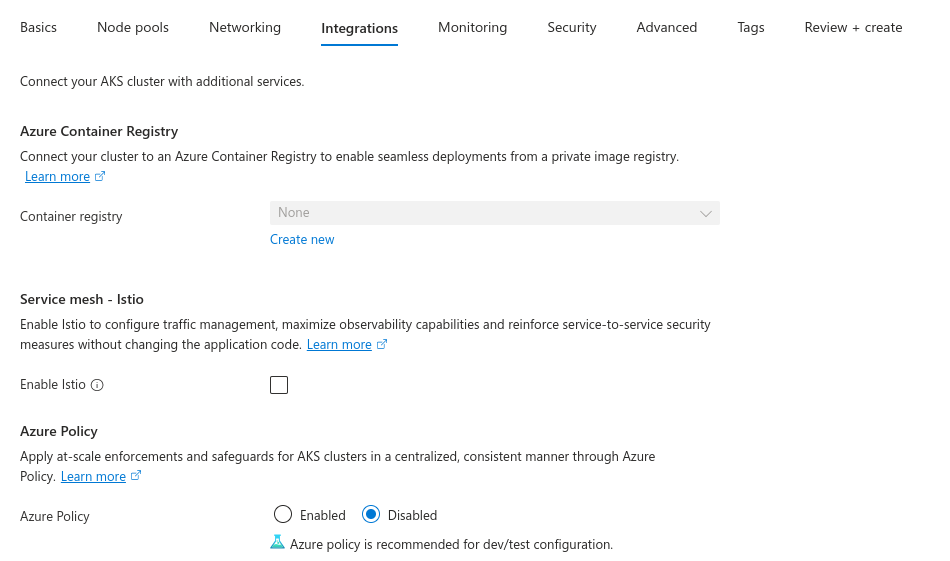
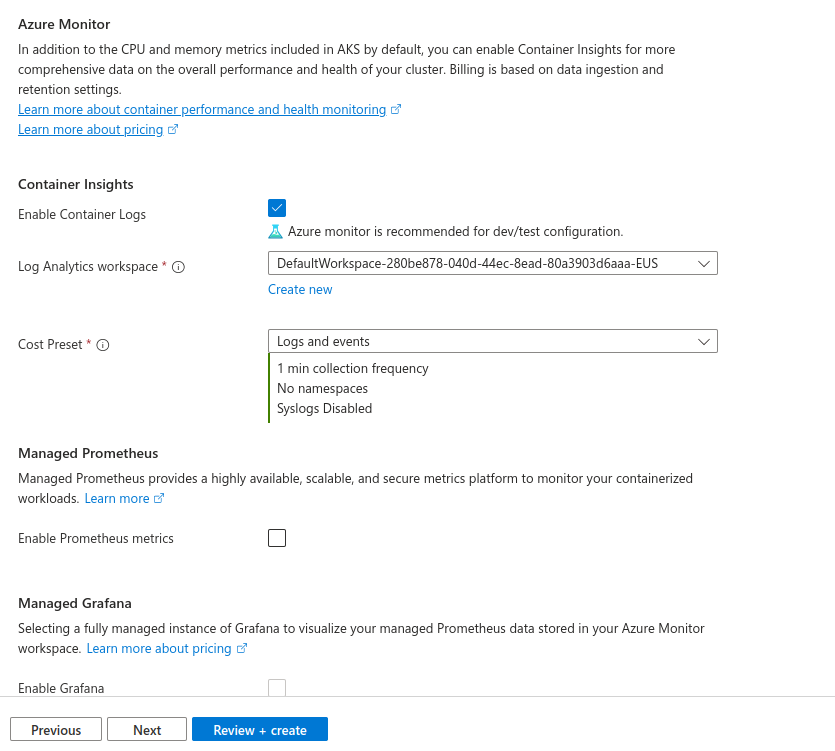
So, for monitoring of our AKS cluster, we can utilise and configure here Azure Monitor. Easily enable it for container logs. We also have here options for configuring Prometheus and Grafana for monitoring cluster.
9. After doing all the configuration. Click on Review + Create.
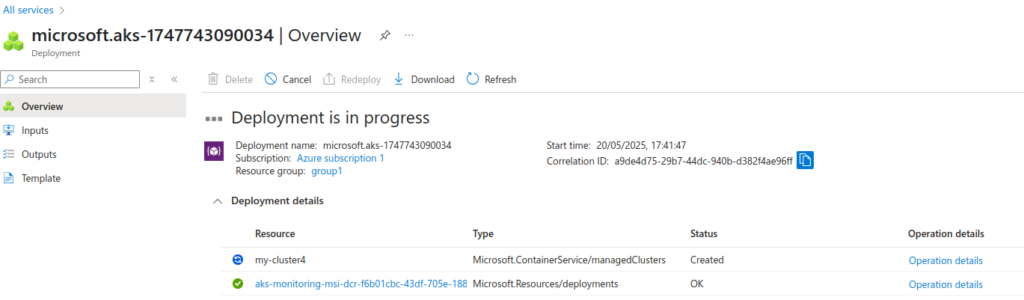
So, after validation, deployment is in progress now. Therefore, it will take few minutes.
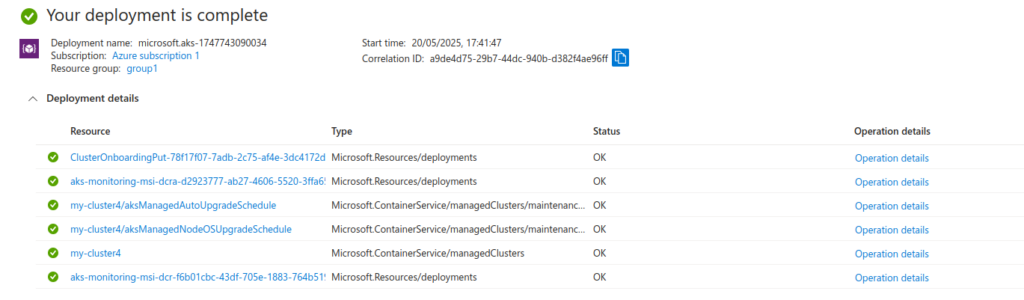
After some time, the deployment is complete.
Therefore here is my cluster created successfully.
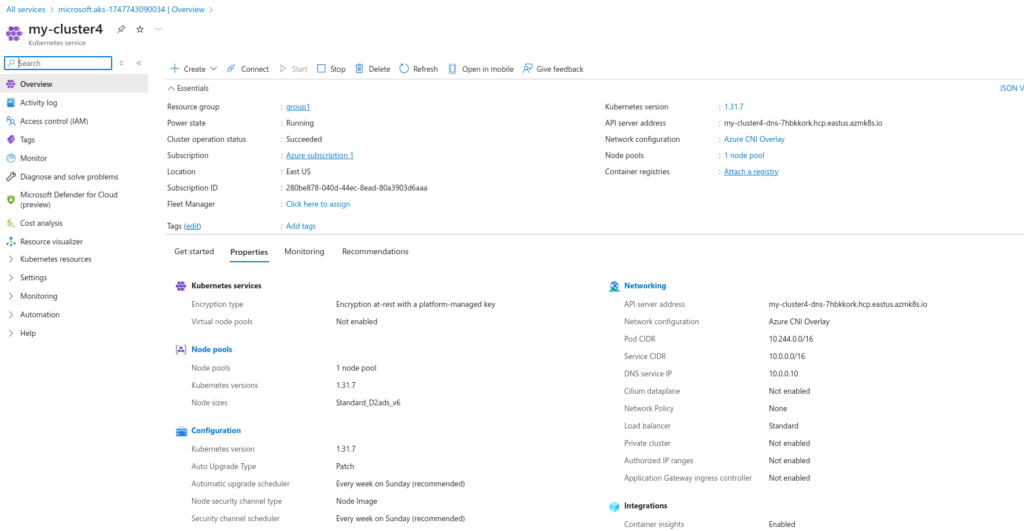
So, we can see its number of pods from here.

We can easily connect to our AKS cluster using cloudshell.
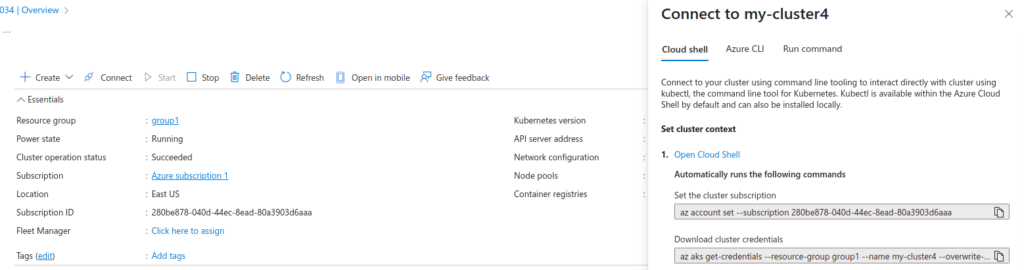
10. So, we are connecting to our AKS cluster using cloudshell.


So, we are all done now!!!
Conclusion
Thanks for being with me till end. So, In this blog we have learnt all about Microsoft Azure Kubernetes Cluster Service. How we can utilize it and setup azure kubernetes cluster. Therefore it’s quite really interesting and easy to explore. If this blog helped you somewhere do like and share this blog with the needful.
HAPPY READING!!!