


sIn today’s era, organizations are increasingly turning to cloud-native technologies to improve agility and scale their operations. Kubernetes has emerged as a leading platform for container orchestration, offering a powerful framework for deploying and managing applications in dynamic environments. When combined with cloud services like Microsoft Azure, Kubernetes becomes even more robust, enabling seamless integration with a wide range of cloud-native tools and services. Let us see how we can use power of Kubernetes and Azure by setting up Otomi, a self-hosted Platform as a Service (PaaS).
Prerequisites
When installing the Otomi using the charts, you should have these binaries already present-
Kubernetes (Vanilla)
The supported versions are – 1.25 and above
Azure (AKS)
To set up Otomi on an AKS cluster, utilize the Azure provider. It facilitates the installation process by establishing optimized storage classes. Also offering the choice of integrating with the Application Gateway Ingress Controller add-on for enhanced functionality.
Now let’s move on to installation of Otomi on AKS using an Azure public DNS zone
First, you need to login to the Aure
# Sign in to CLI
az login
# Get the list of subscriptions
az account list
# Set subscription
az account set –subscription=<subscription_id>
Create an AKS
# Set Resource Group Name
RGNAME=rg-otomi
# Set Region (Location) or any other location
LOCATION=eastus
# Create Resource Group
az group create -n $RGNAME -l $LOCATION
# Set Cluster name
CLUSTER_NAME=test_otomi
The command to create the cluster-
# Create AKS cluster
az aks create –name $CLUSTER_NAME \
–resource-group $RGNAME \
–location $LOCATION \
–zones 1 2 \
–vm-set-type VirtualMachineScaleSets \
–nodepool-name otomipool \
–node-count 3 \
–node-vm-size Standard_F8s_v2 \
–kubernetes-version 1.27.3 \
–enable-cluster-autoscaler \
–min-count 1 \
–max-count 6 \
–max-pods 100 \
–network-plugin azure \
–network-policy calico \
–outbound-type loadBalancer \
–generate-ssh-keys
You can either create the cluster manually or using the above command
Now, once the cluster is created, you need to update the Kubernetes config file. Using the following command-
az aks get-credentials -n $CLUSTER_NAME -g $RGNAME
# Configure DNS
Create resource group
$ az group create –name “MyDnsResourceGroup” –location $LOCATION
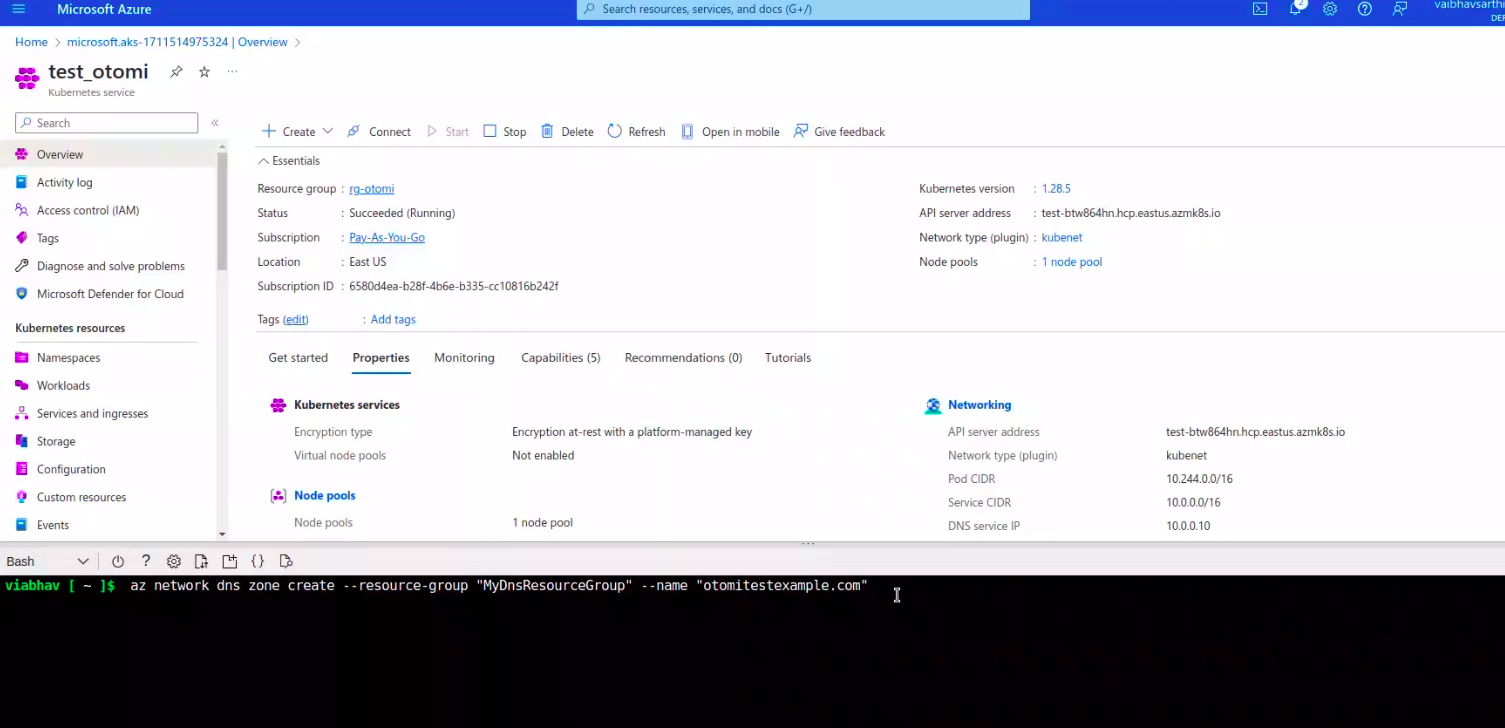
Now create a DNS for example.com
$ az network dns zone create –resource-group “MyDnsResourceGroup” –name “example.com”
Generate a Service Principal with at least DNS Zone Contributor or Contributor permissions for the DNS zone(s), along with Reader access to the resource group encompassing the Azure DNS zone
# name of the service principal
$ DNS_NEW_SP_NAME=”ExternalDnsServicePrincipal”
# name of resource group where dns zone is hosted
$ AZ_DNS_ZONE_RESOURCE_GROUP=”MyDnsResourceGroup”
# DNS zone name like example.com or sub.example.com
$ AZ_DNS_ZONE=”example.com”
# Create the service principal
$ DNS_SP=$(az ad sp create-for-rbac –name $DNS_NEW_SP_NAME)
#Assign Service Principal ID
$ DNS_SP_APP_ID=$(echo $DNS_SP | jq -r ‘.appId’)
$ DNS_SP_PASSWORD=$(echo $DNS_SP | jq -r ‘.password’)
Now grant access to DNS zone for the service principal.
# fetch DNS id used to grant access to the service principal
DNS_ID=$(az network dns zone show –name $AZ_DNS_ZONE –resource-group $AZ_DNS_ZONE_RESOURCE_GROUP –query “id” –output tsv)
Role Assignment
# 1. as a reader to the resource group
$ az role assignment create –role “Reader” –assignee $DNS_SP_APP_ID –scope $DNS_ID
# 2. as a contributor to DNS Zone itself
$ az role assignment create –role “Contributor” –assignee $DNS_SP_APP_ID –scope $DNS_ID
Now once all the above steps are you need to create and update the values.yaml file to use for helm
Helm
tee values.yaml<<EOF
cluster:
name: test_otomi
provider: azure
domainSuffix: azure.example.com
otomi:
hasExternalDNS: true
dns:
domainFilters:
– example.com
provider:
azure:
resourceGroup: $AZURE_DNS_ZONE_RESOURCE_GROUP
aadClientId: $DNS_SP_APP_ID
aadClientSecret: $DNS_SP_PASSWORD
tenantId: “$(az account show –query tenantId -o tsv)”
subscriptionId: “$(az account show –query id -o tsv)”
apps:
cert-manager:
issuer: letsencrypt
stage: production
email: admin@example.com
EOF
Update the domainSuffix, domainFilters and email.
The next steps will be continued in the next blog. Thanks for reading.