


Introduction
In the previous post: Profanity Check Source Code with Gitleaks, Why Not?, we took a look at how we can utilize Gitleaks for things like content filtering but the setup only works in the local environment and is easy to bypass, In this article, we’ll take a quick tour of how we can enforce the check before code is merged to the main or master branch.
Setting Up Azure CI Pipeline
To follow this demo, you need to have an Azure DevOps organization, but How to register it is very easy and out of scope of this demo.
Sign in to your Azure DevOps org and create a new project ex: Practical.CleanArchitecture

Select Repos in the Navigation pane, in Import a repository section select Import button.
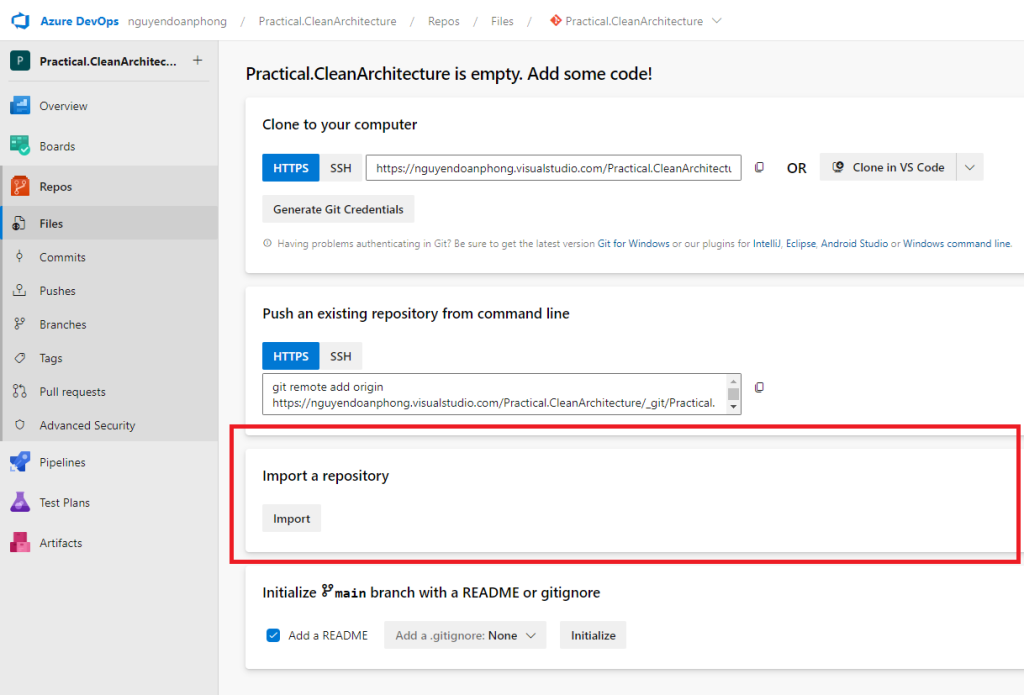
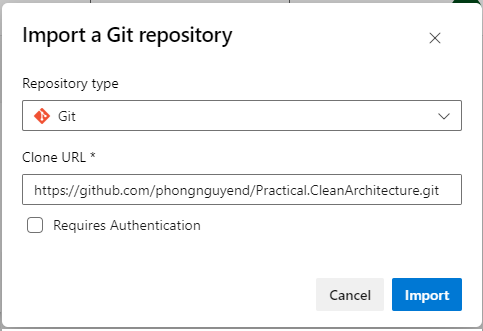
Copy and paste this clone URL: https://github.com/phongnguyend/Practical.CleanArchitecture.git and then hit the Import button.
Wait for it to import successfully, go to the root of the Repo, and create a file named gitleaks.toml to store the Gitleaks configuration in the master branch.
Edit the file with the content as below:
title = "gitleaks config"

[allowlist]
description = "global allow lists"
paths = ['''gitleaks.toml''']

[[rules]]
	id = "BadWords"
	description = "Bad Words"
	regex = '''.*the\s+(hell|heck).*'''
Click the Commit button to save the changes.
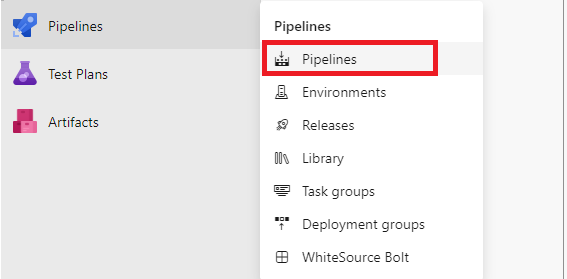
Select Pipelines -> Pipelines to create a new yaml pipeline named azure-pipelines.gitleaks.yml.
Copy and paste the below code into the yml file created above.
trigger:
- master

pool:
  vmImage: ubuntu-latest

steps:
- script: |
      docker pull zricethezav/gitleaks:latest
      docker run -v $(Build.SourcesDirectory):/path zricethezav/gitleaks:latest detect --source="/path" --config="/path/gitleaks.toml" --verbose --no-git
  displayName: 'Gitleaks'
Save the yml file and rename the pipeline to Gitleaks as below:

Now that we have the Gitleaks pipeline created, let’s configure the master branch policy to apply the Gitleaks validation for any pull request to the master branch.
Configuring Pull Request Build Validation
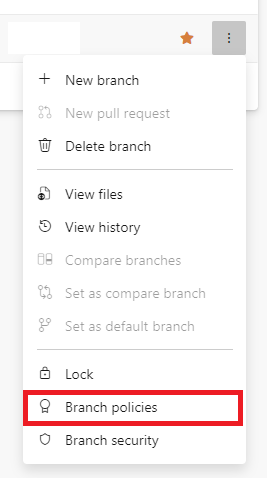
In the Navigation pane, select Repos -> Branches and choose to configure the Branch policies for the master branch.
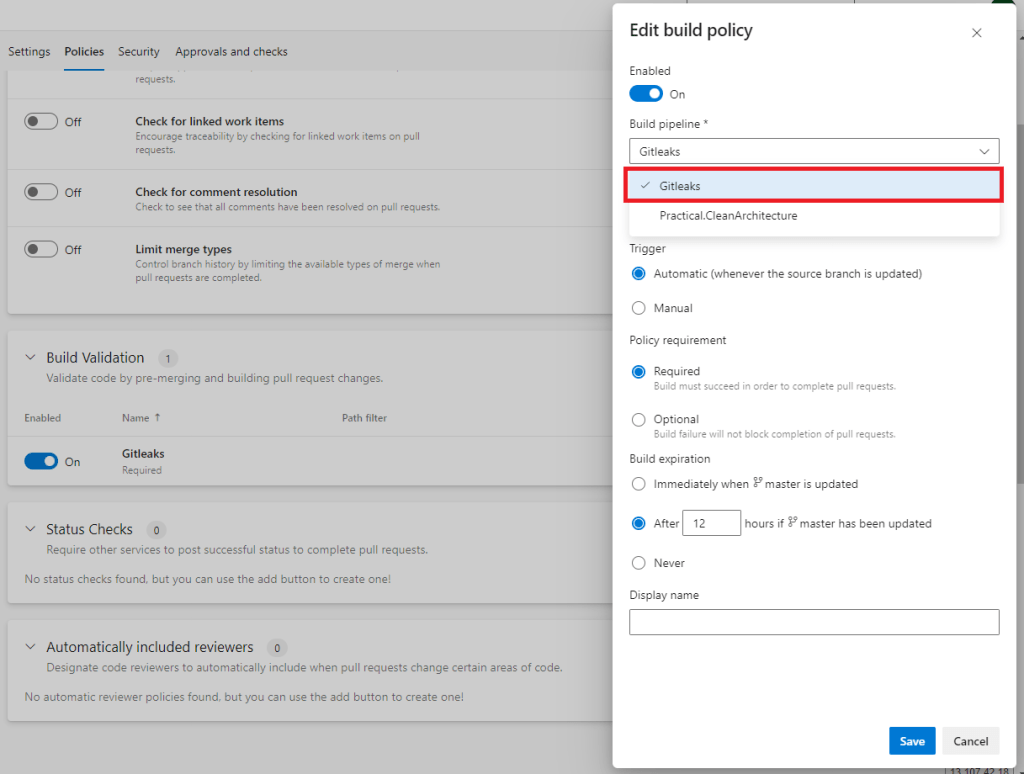
In the Build Validation section, let’s add and choose Gitleaks in the Build pipeline dropdown, then click Save.
Testing Things Out
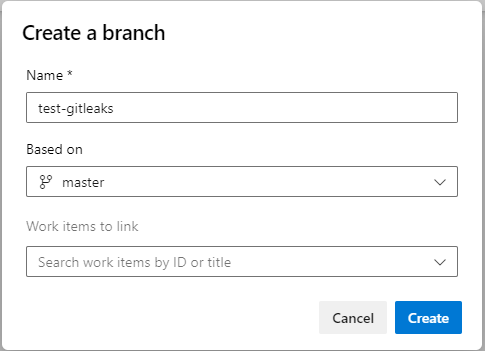
Let’s create a new branch named: test-gitleaks
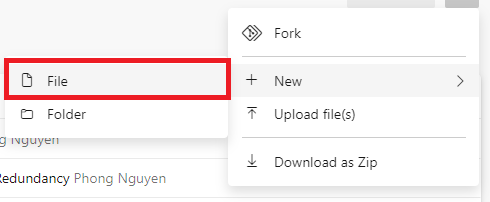
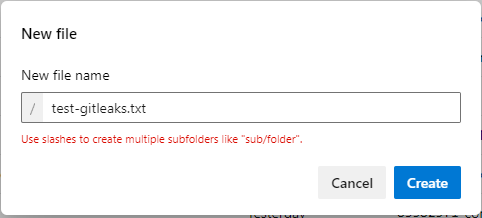
Check out (switch) to the test-gitleaks branch, create a new file named: test-gitleaks.txt
Populate a sentence that contains a bad word, ex:

Next, create a pull request to merge the changes from the test-gitleaks branch to the master branch.
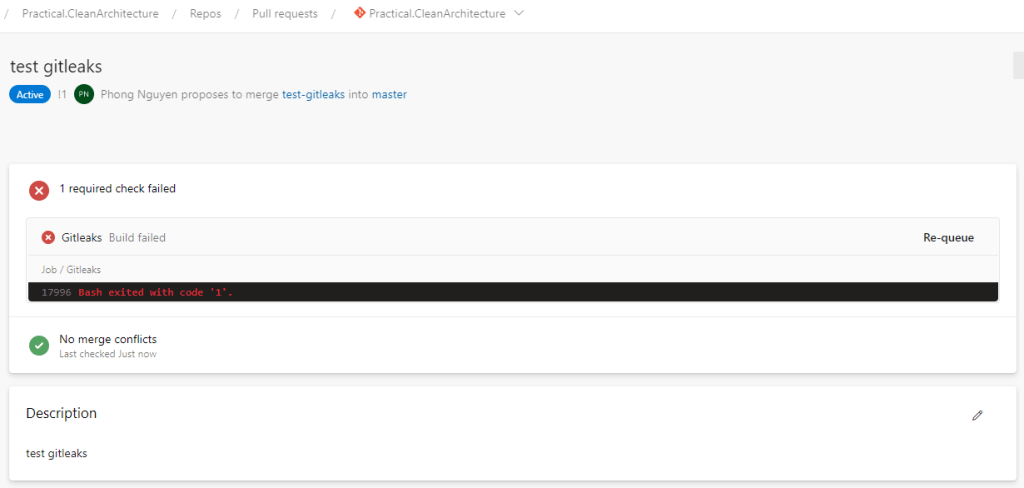
Now you see that the Gitleaks validation kicked in and failed, let’s examine why by clicking to navigate to the pipeline run details page.


As you can see, Gitleaks identified there’s something that violates the BadWords rule we defined.
Back to the Repo, let’s update the test-gitleaks.txt file as below:

Commit the changes and check the pull request again, wait for the Gitleaks validation build to finish and you should see the pull request now is ready to be completed.

Wrapping Up
Gitleaks is known as a great tool for secretes scanning, because of understanding how it works, we can now unlock another potential use case of using it. This kind of thing also isn’t limited to Gitleaks, so always thinking out of the box will help us a lot.