


Hello Readers!! We are again back with an exciting topic. In this blog we will see how to setup a fully automated CD pipeline with ArgoCD for K8s. As we are now aware that what is argocd and how it works. This is a gitops tool that is gaining popularity in the devops world. It is a continuous delivery tool uses git as single source of truth. It ensures that it is the actual infrasturcture is always is in sync with what is defined in the git repository.
Steps to setup:
- Install ArgoCD in K8s cluster
- Configure ArgoCD with “Application” CRD
- Test by updating deployment.yaml file. If ArgoCD detect and applies the changes automatically.
Installation:
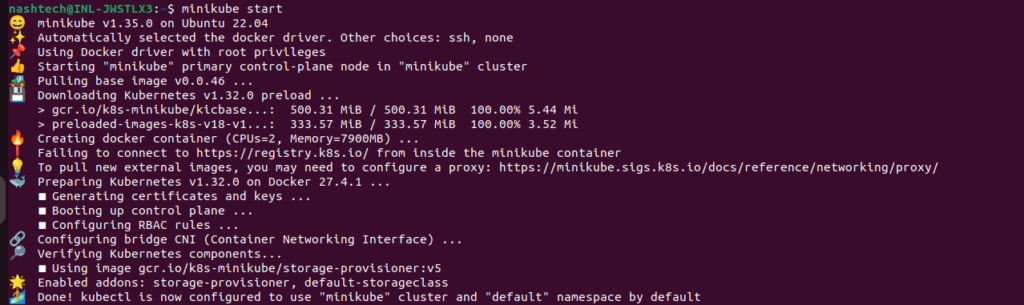
Here, we have minikube cluster, so, I will install it in that cluster. If you don’t have minikube, and want to install it, then follow this guide – https://minikube.sigs.k8s.io/docs/start/?arch=%2Flinux%2Fx86-64%2Fstable%2Fbinary+download
Here my minikube cluster is up and running as you can see.
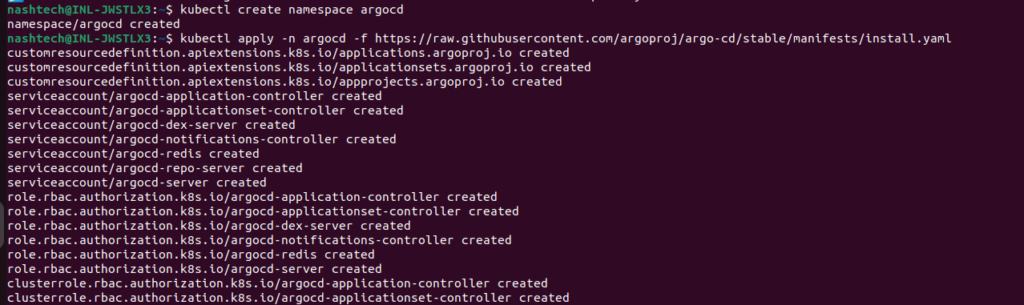
For installing it in minikube now, foolow this – https://argo-cd.readthedocs.io/en/stable/getting_started/
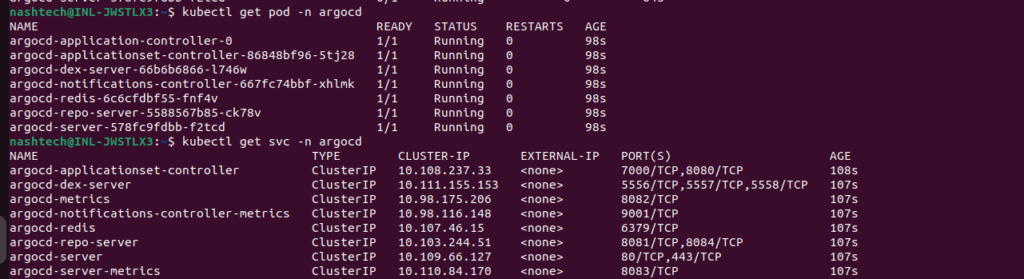
Lets see the pods and services which are up and running now.
For accessing its web UI, we need to do port forward here.

Now, we can access its UI from here –
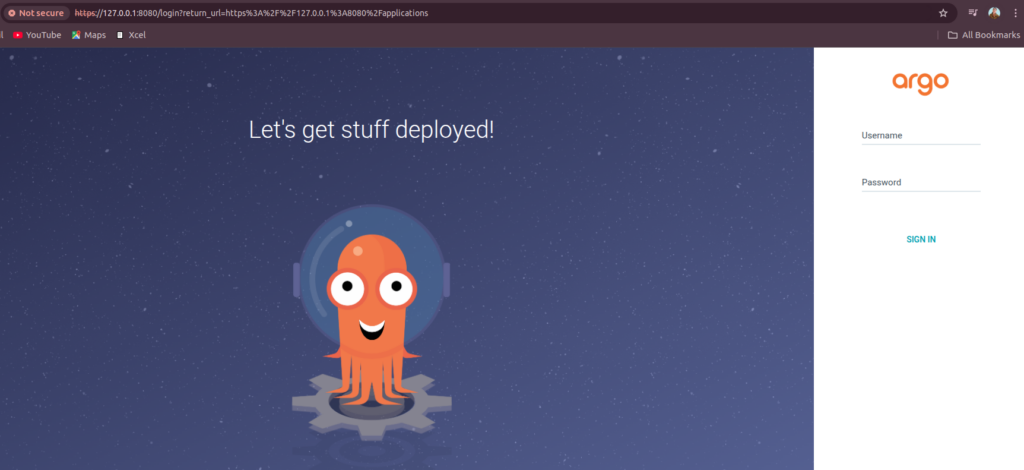
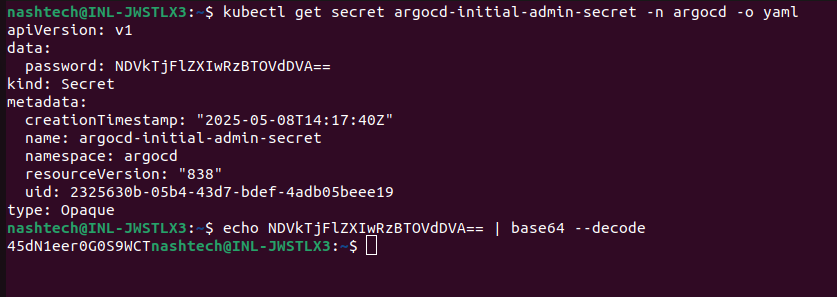
To login here, Username is admin and extract password from below.
Yeahhh!! We are now loggedin in ArgoCD.
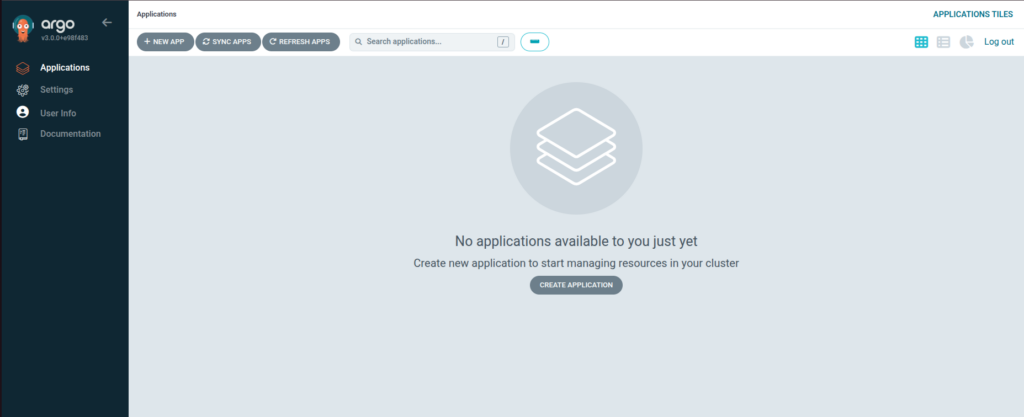
It is now totally empty as we havn’t deployed anything. Now we have to configure applications here.
Configure ArgoCD:
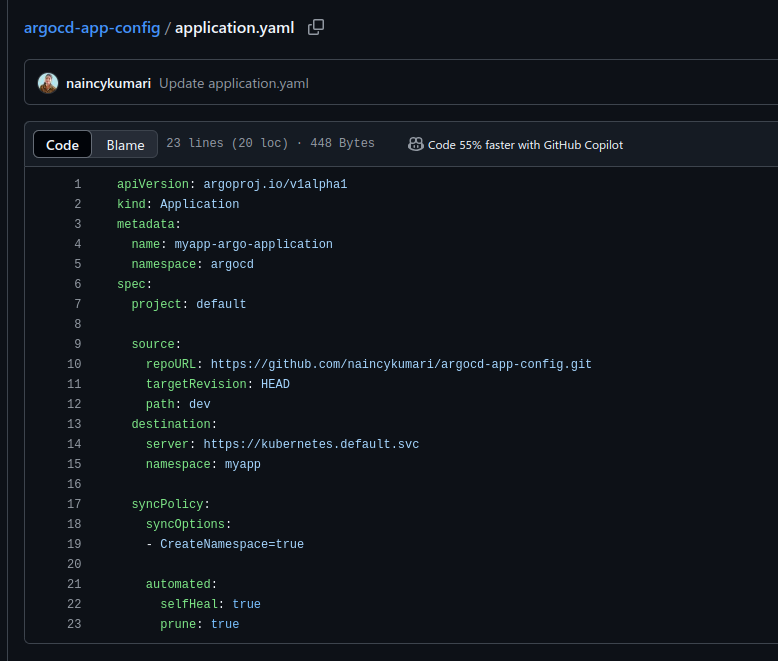
Here is my git repository to configure ArgoCD and the application.
https://github.com/naincykumari/argocd-app-config.git
Here is the file application.yaml –
ArgoCD polls git repository every 3 minutes. It will check whether something has changed and then pull and apply those changes in the cluster. If you don’t want this delay, we can configure a git webhook integration between git repository and ArgoCD. So, we have this option as well.
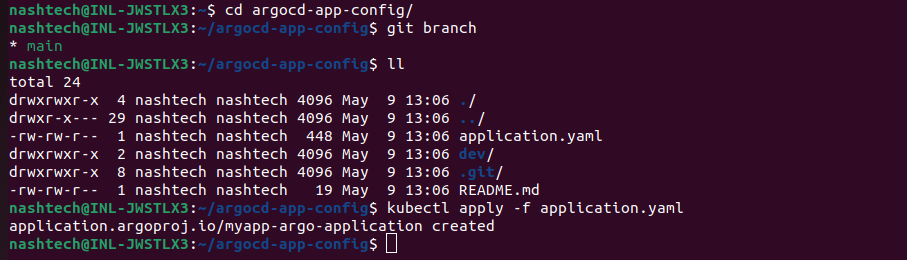
Now, clone the git repository.

After cloning, deploy the application using kubectl to ArgoCD.
We can see now application deployed in ArgoCD.
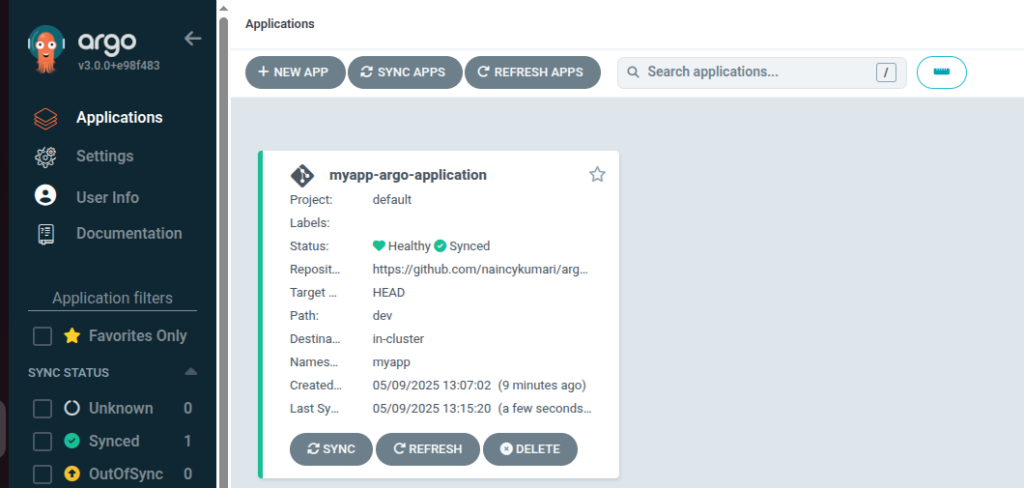
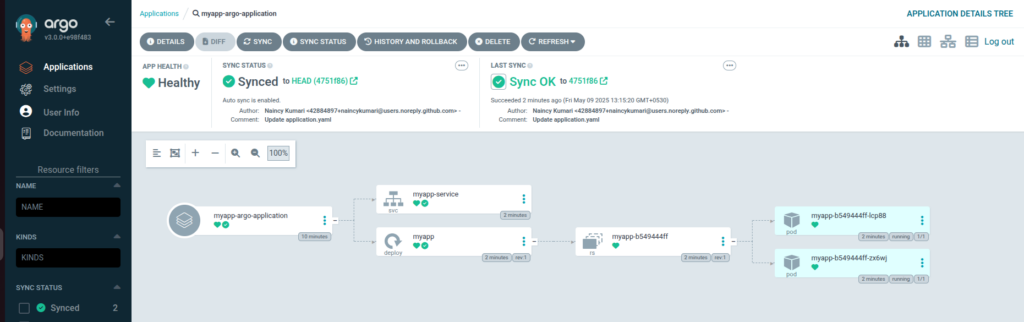
Here we can see all the components that got deployed and the details of successful sync when you will go under the application.
Test automatic sync:
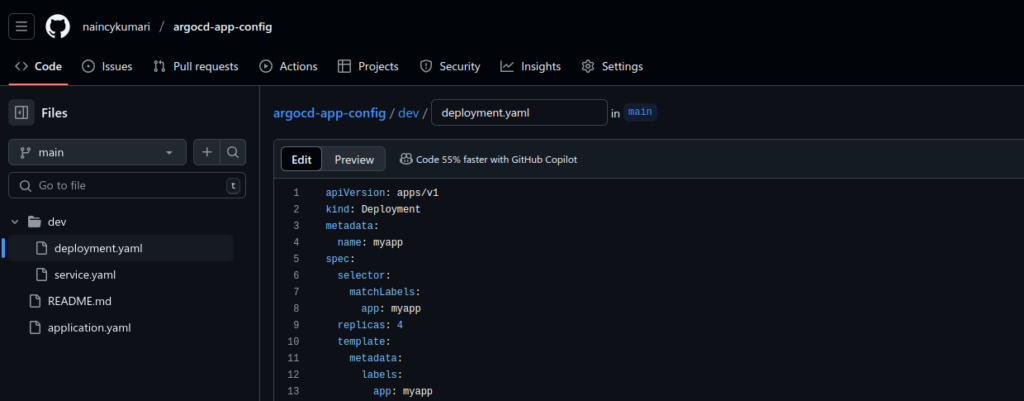
Now, let’s test automatic sync by updating something in the configuration. We are going to update the number of replicas to 4 in deployment.yaml file.
It catched the changes that we did in the git repository and it automatically deployed those changes. Now, here in the dashboard we can see the number of replicas got changed to 4.
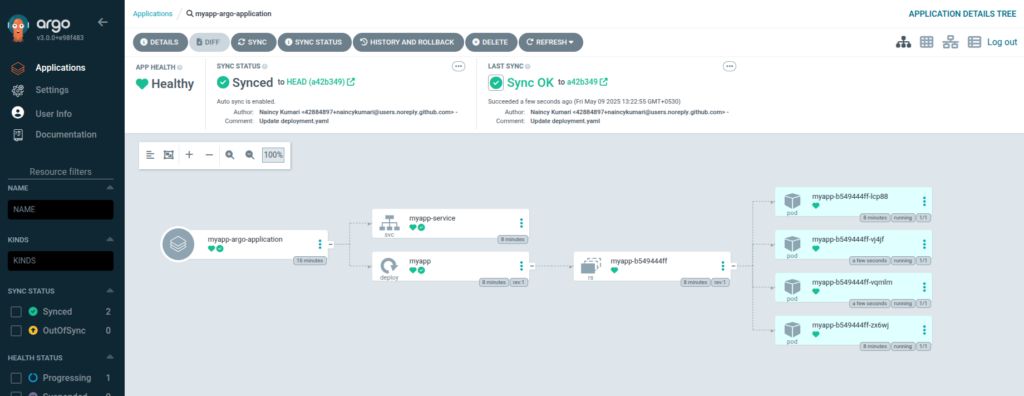
This is how it automatically synced those changes and our test is successfull.
We are all done now!!
Conclusion:
Thanks for being with me till end. In this blog we have learnt all about ArgoCD. We have seen how we can setup a fully automated CD pipeline with it for K8s. It’s quite really interesting and easy to explore. I hope you enjoyed this blog too much. If this blog helped you somewhere do like and share this blog with the needful.
HAPPY READING!!!