In today’s fast-paced digital landscape, ensuring that your messaging infrastructure performs optimally is crucial. Azure Service Bus, a robust messaging service from Microsoft Azure, is pivotal for building scalable and reliable applications. However, to guarantee its efficiency under load, it’s essential to conduct thorough performance testing.
In this blog, we will explore how to leverage Apache JMeter, a popular open-source tool, to performance test Azure Service Bus. JMeter’s flexibility and powerful features make it an ideal choice for simulating various load scenarios and assessing the performance of your messaging system. We will walk you through the process of setting up JMeter, creating test plans, and analyzing the results to ensure your Azure Service Bus can handle the demands of your applications.
Whether you’re a developer, QC engineer, or system administrator, understanding how to effectively performance test Azure Service Bus with JMeter will help you identify bottlenecks, optimize configurations, and ultimately deliver a more reliable and scalable service. Let’s dive into the practical steps of making this happen.
Install Apache JMeter
Installation Java
To successfully run JMeter, your computing environment must meet the following minimum requirements:
Java Version: JMeter is compatible with Java 8 and higher. For optimal security and performance, we strongly recommend installing the latest minor version available within your major Java version.
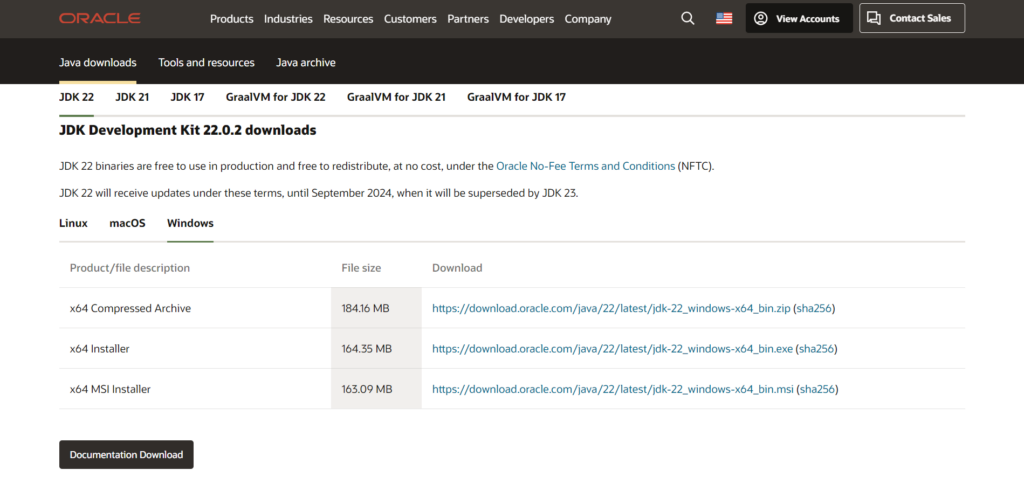
You can download the latest version of Java from the Oracle website.
In this topic, we will use the JDK (Java Development Kit) for Windows operating systems. You can download it by following this link
After downloading and installing, you should restart your Windows system.
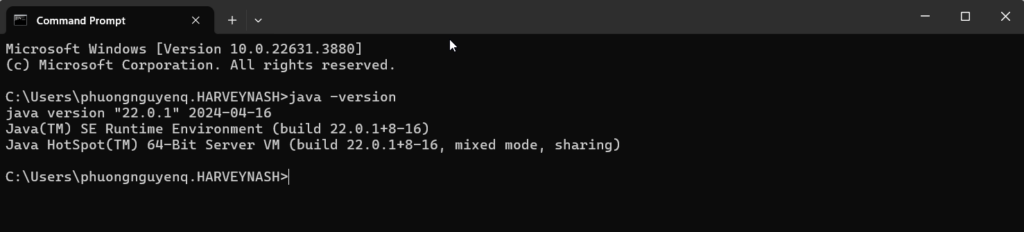
To verify that Java is properly installed on your system, please follow these steps:
- Open Command Prompt
- Type this command: java -version
If you see the output shown below, Java is correctly installed on your system.
Installation JMeter
You can download the latest version of JMeter from the official Apache JMeter website.
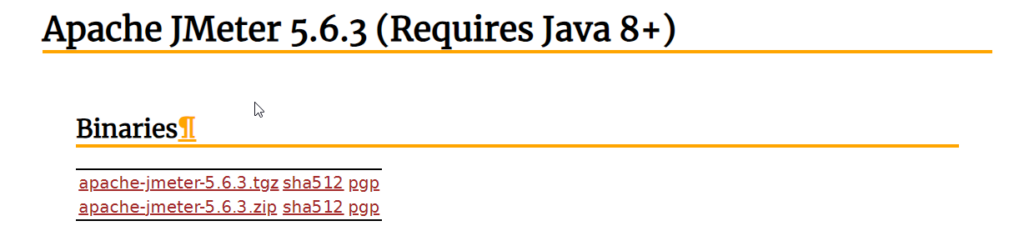
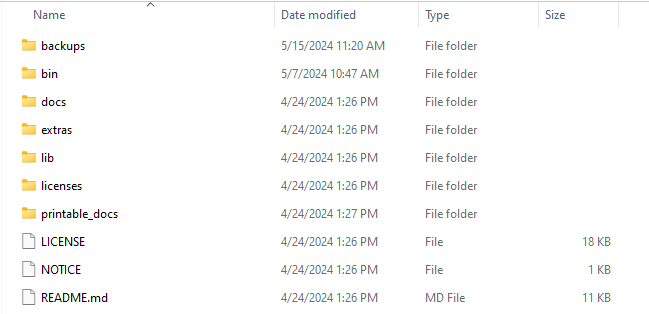
After downloading, you will find a ZIP file. Unzip the file to extract its contents. The folder structure will appear as shown below:
Open the “bin” folder and double-click on jmeter.bat. The default JMeter screen will appear as shown in the image below.

Install JMeter plugin for Azure Service Bus
To send messages to Azure Service Bus, you need to install the Azure Service Bus Sampler plugin for Apache JMeter.
- Download the latest plugins (jmeter-plugins-azure-servicebus-{version}.jar)
- Copy the downloaded jar file to $JMETER_HOME/lib/ext
- Start or restart JMeter
Create Thread Group
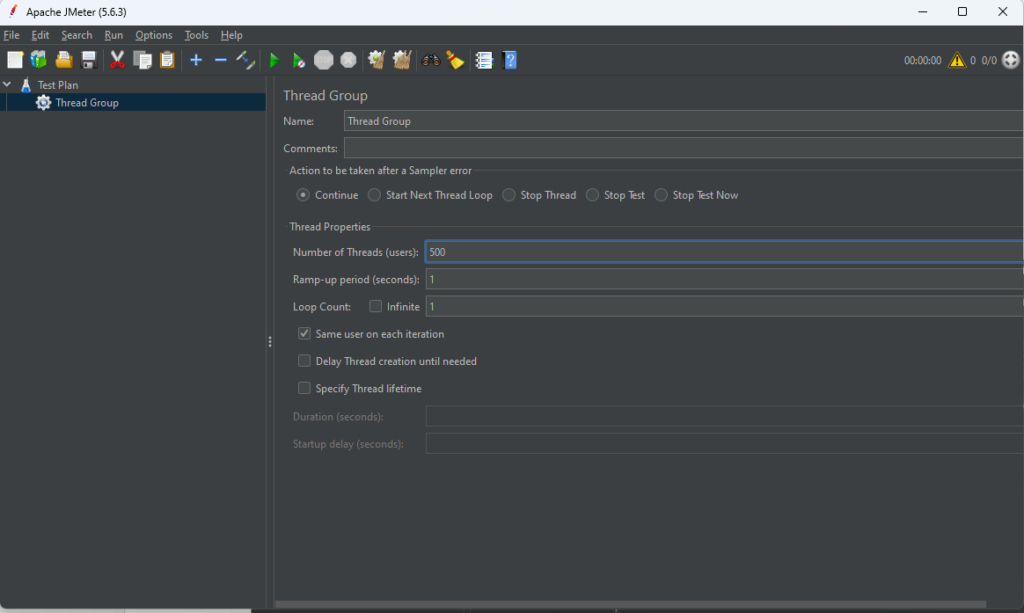
In the JMeter GUI, start by right-clicking on “Test Plan” and selecting “Add” > “Threads (Users)” > “Thread Group.” This action will create a new Thread Group, which serves as the foundation for your test plan.
Here, you can configure the number of virtual users (threads) to simulate, along with other settings such as ramp-up time and loop count, to define how the load is applied during the test.
e.g. Number of Thread = 500 (users) and Ram-up period = 1 (second), JMeter will take 1 second to get all 500 users up and running.
Add an Azure Service Bus Sampler
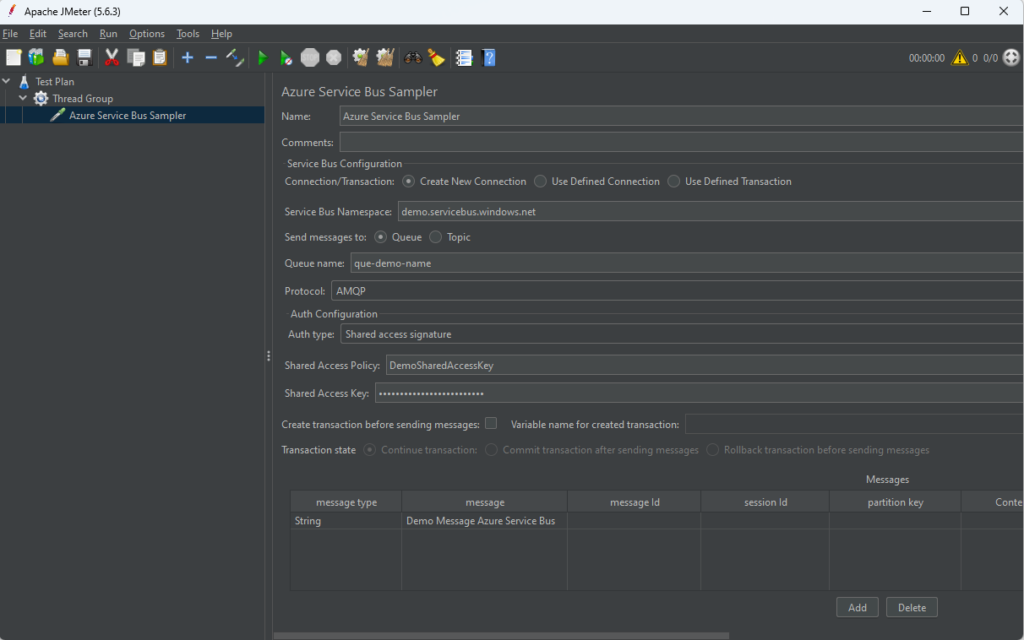
Right-click on the Thread Group, then select Add > Sampler > Azure Service Bus Sampler. This action will add the Azure Service Bus Sampler to your test plan, allowing you to configure and send messages to Azure Service Bus as part of your performance testing.

Configure the Azure Service Bus Sampler to send messages to your Azure Service Bus by setting the appropriate parameters. This involves specifying the necessary connection details, such as your Azure Service Bus namespace, queue or topic name, and authentication credentials. By accurately setting these parameters, you ensure that the sampler can successfully send messages and facilitate effective performance testing of your Azure messaging infrastructure.
- Connection/Transaction: Select “Create New Connection” at this time.
- Service Bus Namespace: Azure Service Bus namespace for the messages destination. (e.g. demo.servicebus.windows.net)
- Send messages to: Select whether to send messages to the Queue or Topic.
- Queue Name / Topic Name: Queue or Topic name for the messages destination.
- Protocol: Select a protocol from “AMQP” or “AMQP over Web Sockets”.
- Auth type: Select “Shared access signature”at this time.
- Shared Access Policy: The policy name, as set in the Service Bus namespace or Service Bus shared access policy.
- Shared Access Key: Key for the target shared access policy.
- Create transaction before sending messages: “OFF” at this time.
- Messages: select Add to add message to be sent.
- message type: Select “String” at this time.
- message: Message to be sent. (e.g. “Demo Message Azure Service Bus”)
- message Id, session Id, partition key: Parameters to be specified in the message. Not specified at this time.
Add listeners to see the results of the execution
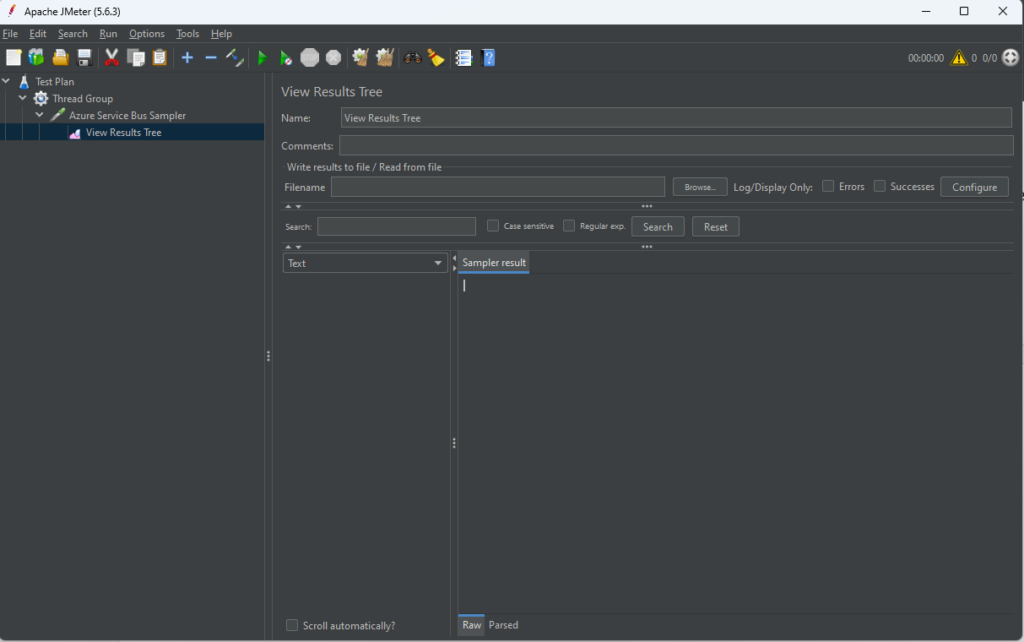
Add a “View Results Tree” listener to your Test Plan or Thread Group to monitor and analyze the outcomes of your test executions. To do this, right-click on the Test Plan or Thread Group, then navigate to Add > Listener > View Results Tree. This listener provides a detailed view of each request and response, allowing you to inspect the results and troubleshoot any issues effectively.
Run the test
To start the test, click Run > Start. Once the test begins, select the HTTP Request sampler from the results to review the details of each request and response. This will allow you to analyze the performance and behavior of your test scenarios effectively.
Conclusion
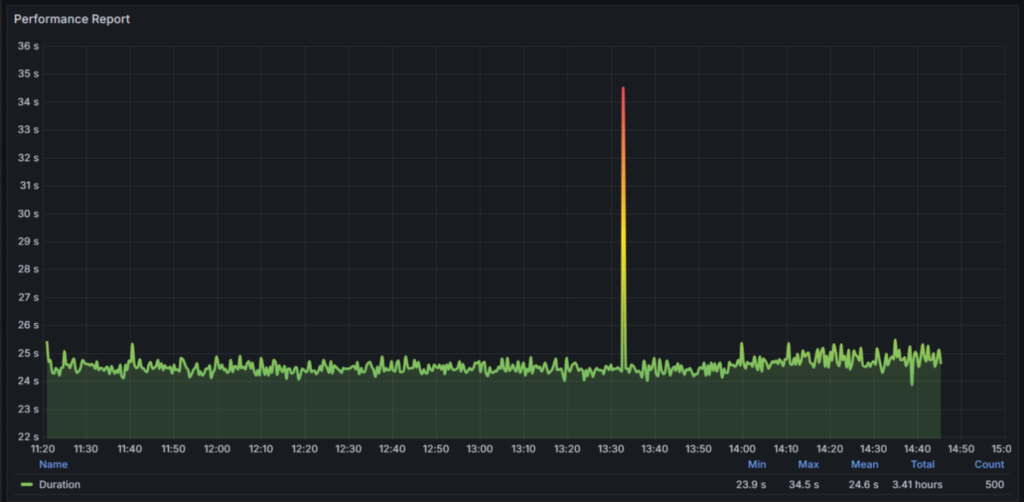
This topic covers the basic method for sending multiple messages to Azure Service Bus using Apache JMeter. In a subsequent topic, we will delve into the detailed steps for visualizing Azure Service Bus data in Grafana. This integration enables you to effectively monitor and analyze the performance and health of your messaging service. By setting up comprehensive dashboards, you can gain real-time insights into your Azure Service Bus metrics and logs, aiding in the management and optimization of your messaging infrastructure.