


Angular is a TypeScript-based framework that is primarily used for building the frontend of the web applications and Spring boot is a Java-based framework used for building the backend of the web applications. Combining these two frameworks together, a powerful full-stack web application can be created. To create a very simple app using Angular and Spring boot, we will leverage the power of Spring Boot to create a get API endpoint. and Angular will consume that API and present it on UI. Simple.
Building the Back-end
Prerequisite
- Java Development Kit
- Maven
- IDE (Preferably IntelliJ)
Creating the spring boot project
- Go to Spring Initializr site.
- Project: Maven
- Language: Java
- Name: springDemo
- Add dependency: Spring Web
- Click Generate
- Extract the downloaded project and open it in IntelliJ IDE.
Creating the Rest API
- Create the controller package inside the com.example.demo package
- Create a Java class, named: MessageController inside the controller package.
- Annotate the class with Rest Controller, so that the method handling this class automatically serializes return objects into HttpResponse.
- Add RequestMapping annotation with the endpoints specified in the brackets, to map requests to controllers’ methods.
- CrossOrigin annotation will specify the origins that are allowed to consume the api. The full URL of the angular app is provided in the brackets, to allow the Angular App to consume the apis of this class.
- We are not using any database and storing the data in memory. Hence, we require the data to exist in the memory whenever the bean of the MessageController is created, we will use the PostConstruct annotation and initialize the list of messages in the initMessages() method.
- At last, we will create a get endpoint which returns the list of the messages stored in the memory.
package com.example.demo.controller;

import jakarta.annotation.PostConstruct;
import org.springframework.web.bind.annotation.*;
import java.util.ArrayList;
import java.util.List;

@RestController
@CrossOrigin(origins = "http://localhost:4200/")
@RequestMapping("/messages/")
public class MessageController {
    private List<String> messages = new ArrayList<>();

    @PostConstruct
    public void initMessages() {
        messages.add("Hello World");
        messages.add("Today is fantastic!");
    }

    @GetMapping
    public List<String> getMessages() {
        return messages;
    }
}
Building the Front-end
Prerequisite
- Node.js
- Angular CLI
- IDE(Preferably VSCode)
Creating the Angular project
- Open the terminal in the same directory path in which your springDemo resides.
- Run the command: ng new angularDemo
- Answer the prompts.
- Open the created project in the VSCode IDE.
Creating the service class
- Add the following in the providers array in the app.config.ts file: provideHttpClient()
- Run the command to create a service class: ng g s message
- Inject the HttpClient service in the MessageService Class
- Create a getMessagesFromApi() method and assign the url of the get endpoint of the spring boot app to a local url variable.
- Use the http get method providing the url, to fetch an Array of Messages, which are of String type.
import { HttpClient } from '@angular/common/http';
import { inject, Injectable } from '@angular/core';

@Injectable({
  providedIn: 'root'
})
export class MessageService {
  http = inject(HttpClient);

  getMessagesFromApi(){
    const url = `http://localhost:8080/messages/`;
    return this.http.get<Array<String>>(url);
  }
}
Modifying the Root Component TS file
- In the AppComponent ts file, inject the created MessageService.
- Create an ngOnInit() lifecycle hook, that will be called after the constructor is called and after the component’s inputs have been initialized.
- Inside the method, call the getMessagesFromApi() from the MessageService.
- Use the pipe function, to print the error message in case of occurence.
- Finally, as the received data from the API is of observable type, we would have to subscribe it and in the subscribe(), populate the Array with the data received from the API.
@Component({
  selector: 'app-root',
  imports: [FormsModule, CommonModule],
  templateUrl: './app.component.html',
  styleUrl: './app.component.css'
})
export class AppComponent {
  title = 'angularDemo';
  messages: Array<String> = [''];
  messageService = inject(MessageService);
  ngOnInit(){
    this.messageService.getMessagesFromApi()
    .pipe(
      catchError((err)=>{
        console.log(err);
        throw err;
      })
    )
    .subscribe((messages)=>{
      this.messages = messages;
    })
  }
}
Modifying the Root Component HTML file
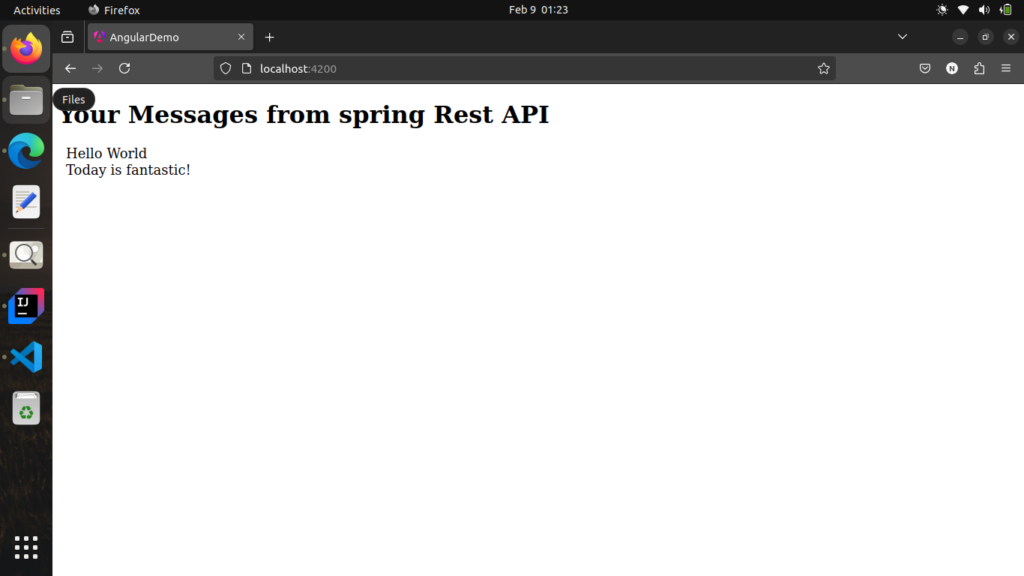
Just Simple, use the structural directive for loop, to iterate through the message array and display the messages one by one on the UI.
<div>
  <h1>Your Messages from spring Rest API</h1>
</div>
<div style="margin-left:10px;">
  <div *ngFor="let message of messages">
    <span style="font-size: 18px;">{{message}}</span>
  </div>
</div>
Start the App
- Run the spring boot application
- Run the command in the angular project directory : ng serve
- Now you access your app on http://localhost:4200/
Conclusion
This was a very basic application, consisting of only one get endpoint. The purpose was to make the integration of both the framework clear and provide a solid foundation in full-stack development. I suggest not to stop here, further expand your app to handle Create, Read, Update, and Delete operations and integrate MySQL, PostgreSQL, or MongoDB using Spring Data JPA. And there is much more to do, so providng some blog’s URLs that can help to enhance the knowledge in this field: