


This blog demo how to use AWS CDK to create an EC2 with an enclave option. After that, we can use an enclave for security. Firstly, clone this repository to start your tutorial.
Read some documents below for information.
- What is AWS Nitro Enclaves? – AWS (amazon.com)
- Confidential Computing In AWS – NashTech Insights (nashtechglobal.com)
Prerequisites before using AWS CDK
- Need Node.js 14.15.0 or later.
- Install TypeScript
npm i -g typescript - Enable & set Identity Management Center for AWS SSO.

- Account have permission to deploy
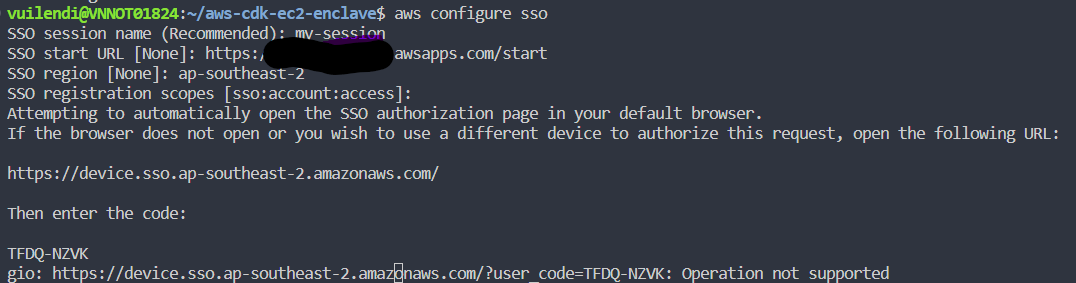
- Using the CLI command to configure the login account

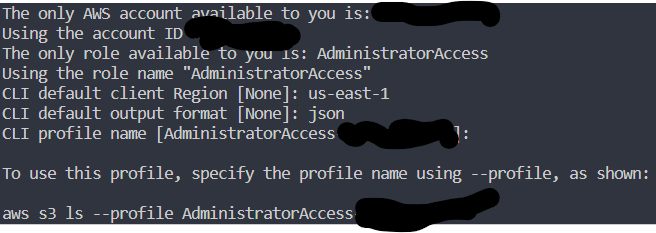
After logging in to the web browser, we continue to input information.
- Replace the key pair with your key pair.


Code – Build and Run
Using CDK to build infra in AWS, we can use three construct levels:
- L1 constructs (low-level construct): we call CFN Resources. These constructs directly represent all resources available in AWS CloudFormation.
- L2 constructs (AWS Resources, but with higher level, intent-based API): AWS constructs offer convenient defaults and reduce the need to know all the details about the AWS resources they represent
- L3 constructs (patterns): These constructs are designed to help you complete common tasks in AWS, often involving multiple kinds of resources.
We should use L2 constructs for ease. But in L2, we currently don’t have an enclave option, so we will combine L1 and L2.
Using AWS CDK – Steps by Steps
(Optional) Build code to check error
npm run buildLogin to AWS Account
aws sso login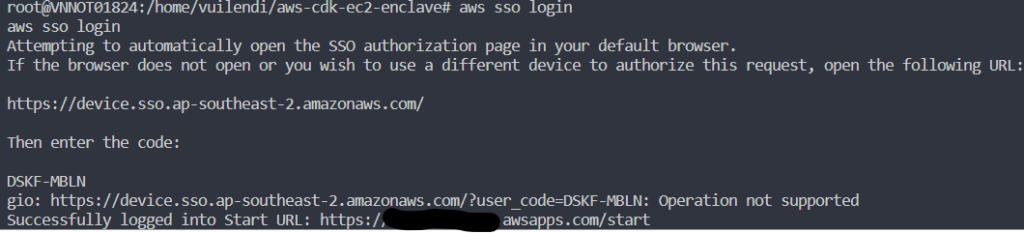
(Optional) Generate AWS CloudFormation template (That will auto-run when we deploy)
cdk synth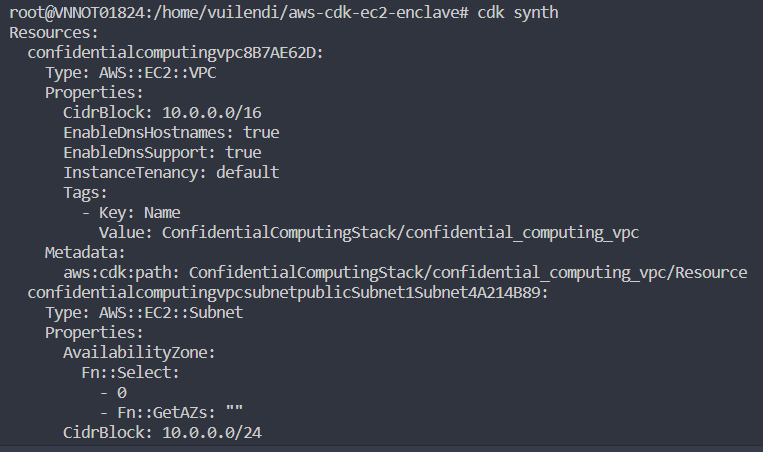
Deploy to AWS
cdk deployCheck CloudFormation Stack
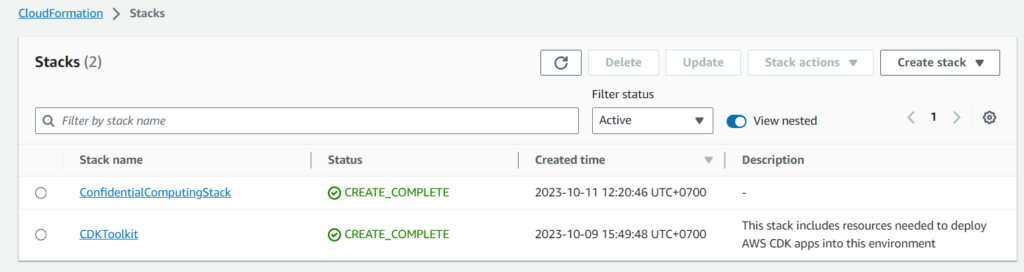
Go to EC2 Instance board
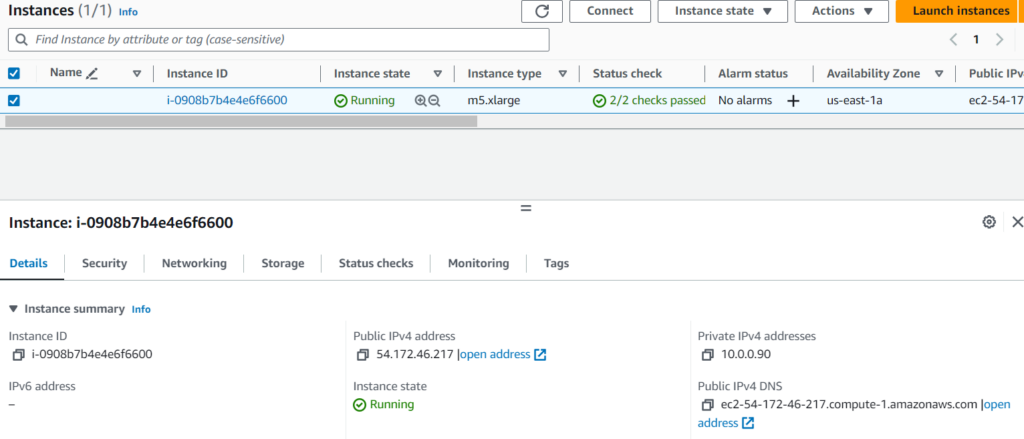
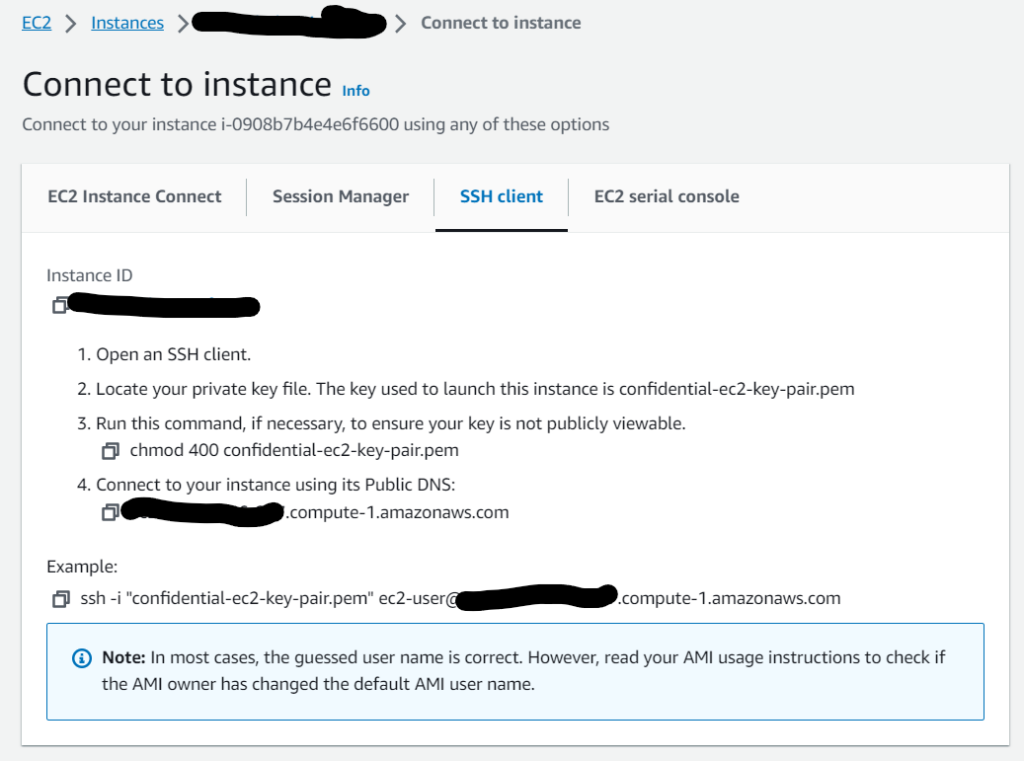
Using SSH to connect to EC2 for testing

Check the log to make sure we finish the building process
sudo su
cd /var/log
tail -n100 cloud-init-output.log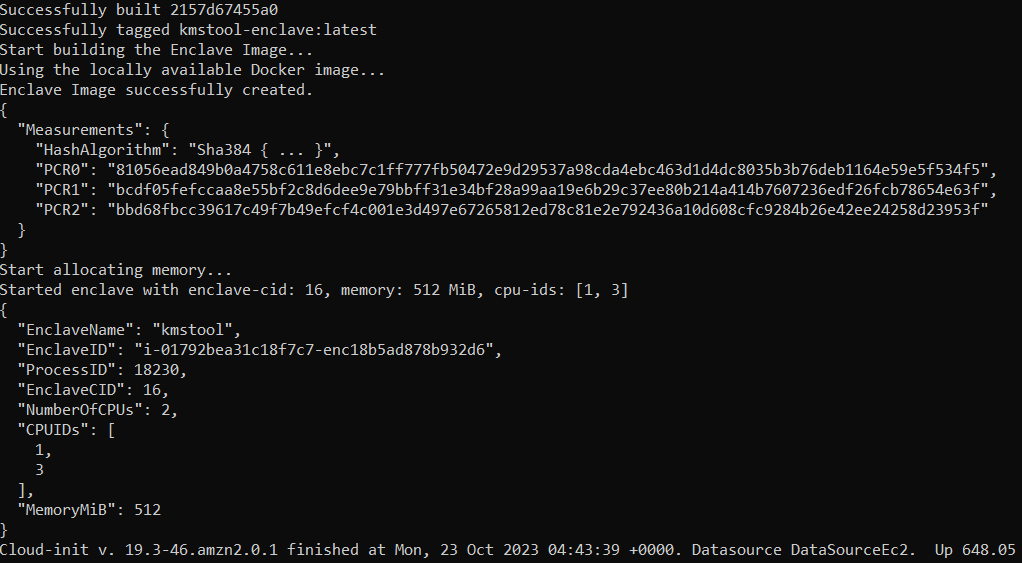
Set configure to run specific region
aws configure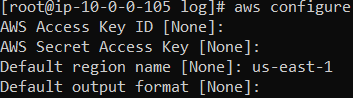
Run command to check enclaves.
nitro-cli describe-enclaves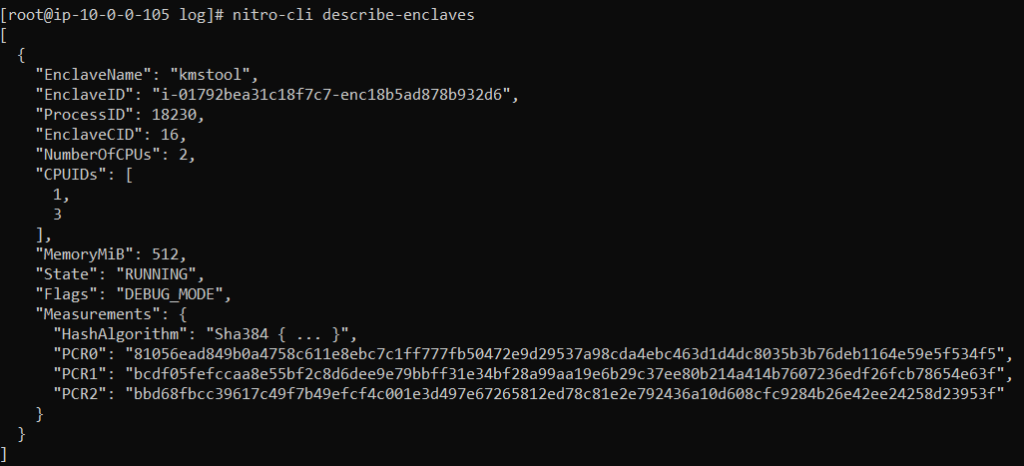
Check the result from the console.
nitro-cli console --enclave-id i-0a8b0095e465ce702-enc18b1d5e61c374bf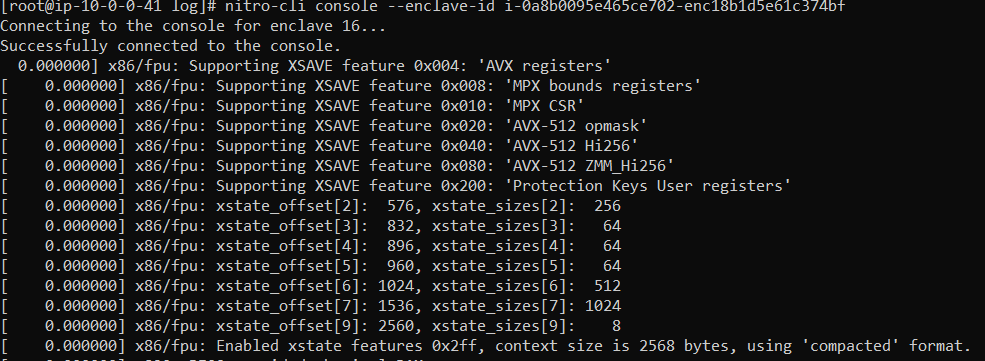
Test with encrypt and decrypt KMS.
After running success, check the EC2 to get information
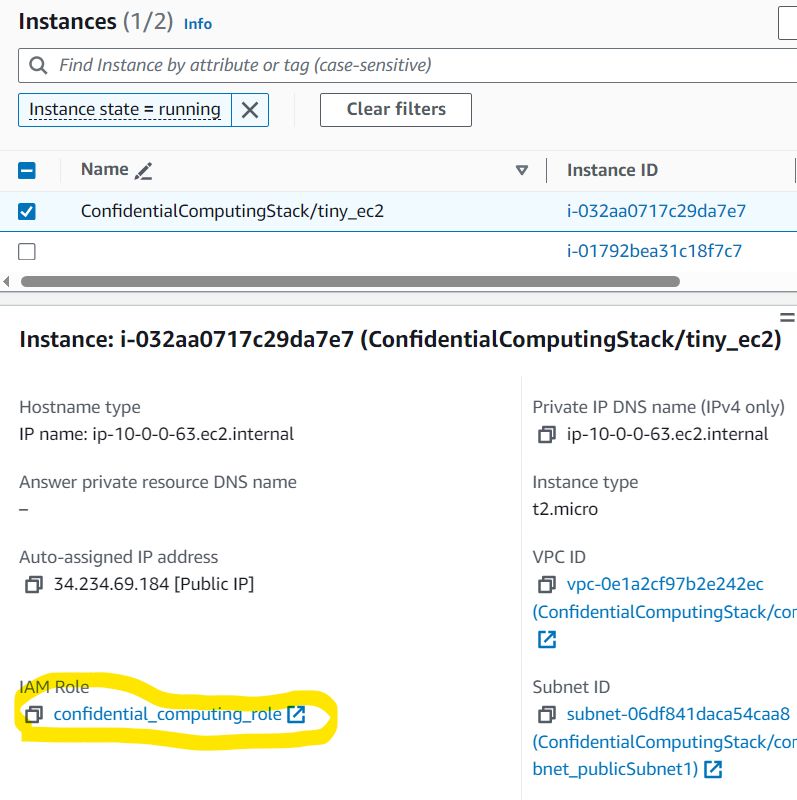
We can see the role of EC2
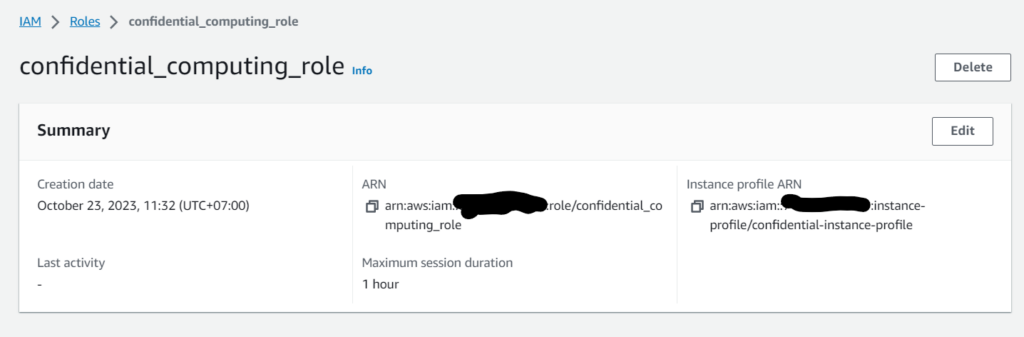
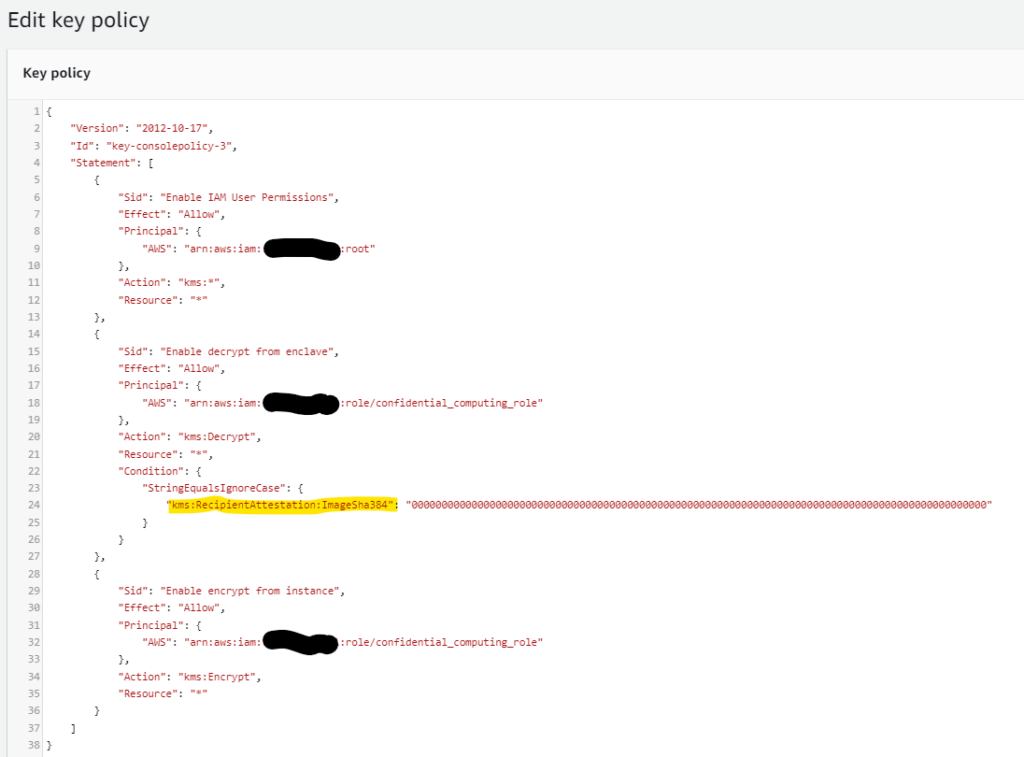
We need to create a KMS key with Key Usage: “Encrypt and decrypt” and set a policy to allow the EC2 role to encrypt data. With the Decrypt function, we only allow in Enclave (In debug mode, we need to set “000…0”. But in production mode, we need to set PCR0 value)
SSH to confidential computing EC2. Run command to encrypt data.
KMS_KEY_ARN="alias/kms-for-enclave-testing"
MESSAGE="Hello everyone"
CIPHERTEXT=$(aws kms encrypt --key-id "$KMS_KEY_ARN" --plaintext "$MESSAGE" --query CiphertextBlob --output text)
echo $CIPHERTEXT
Run the command to decrypt data; we will get AccessDeniedException.
aws kms decrypt --ciphertext-blob fileb://<(echo $CIPHERTEXT | base64 -d) --key-id "$KMS_KEY_ARN"
Open vsock and test with enclave
Now, we open another terminal, connecting to Confidential Computing EC2 again. Run the vsock command to connect to the KMS service.
CMK_REGION=us-east-1 # The region where you created your AWS KMS CMK
vsock-proxy 8000 kms.$CMK_REGION.amazonaws.com 443
Using docker to run kmstool-instance, which will allow kmstool-instance to have the same role as the parent instance.
CMK_REGION=us-east-1 # Must match above
ENCLAVE_CID=$(nitro-cli describe-enclaves | jq -r .[0].EnclaveCID)
# Run docker with network host to allow it to fetch IAM credentials with IMDSv2
docker run --network host -it kmstool-instance /kmstool_instance --cid "$ENCLAVE_CID" --region "$CMK_REGION" "$CIPHERTEXT"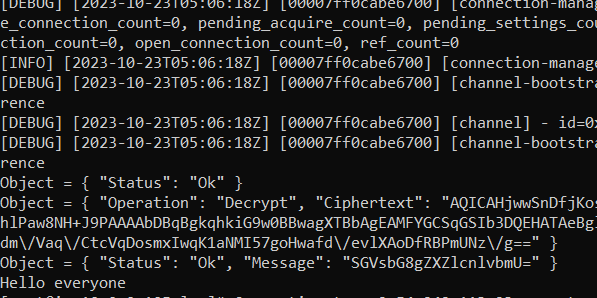
(Optional) Destroy all AWS Resources after testing
cdk destroySummary
After the demo, you can use the enclave to integrate with KMS and secure your encryption. Besides that, you can know how to use CDK to build your EC2.