


While working with CICD, you might have come across agents or runners. They are the servers where our pipeline actually runs. Usually default agents are present in CICD tools and we don’t necessarily have to create or manage them. In some cases, however, we would find a need to create our own agents for customizing the configurations (memory/storage) or installing custom CLIs. In such scenarios, we adopt the feature of adding self-hosted runner. Azure devops provides a flexibility to add self hosted agents. They can be docker containers, VMs or VM scalesets.
In this blog, we will add an Azure virtual machine as a self hosted agent in Azure Devops Pipeline.
- Creating Project
We will create a project – Nash.

Go to settings > Agent Pools > Add pool
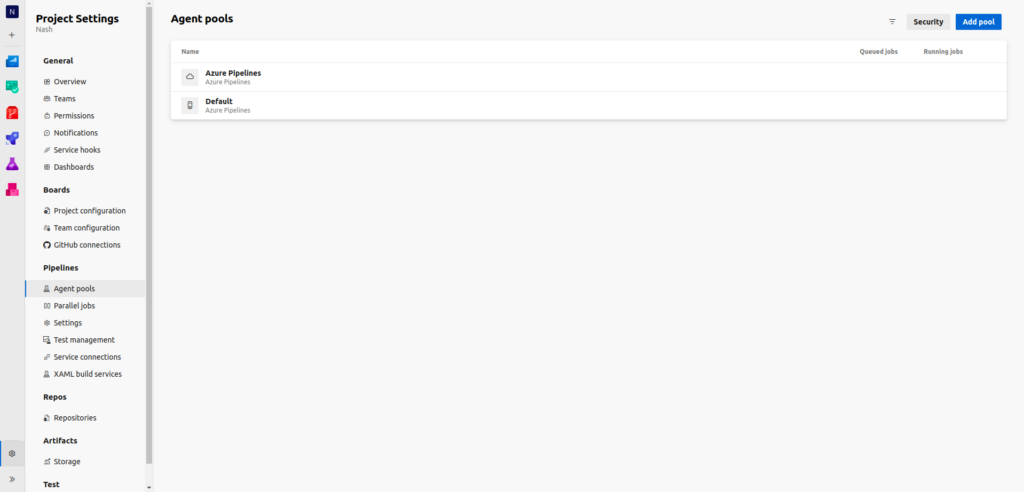
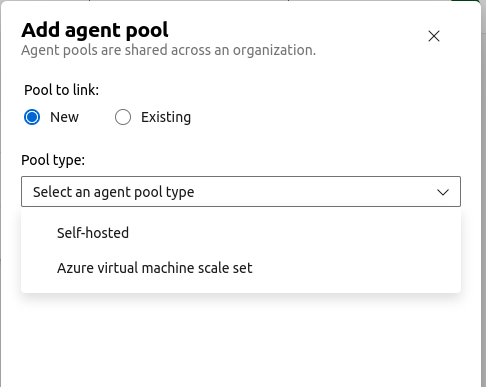
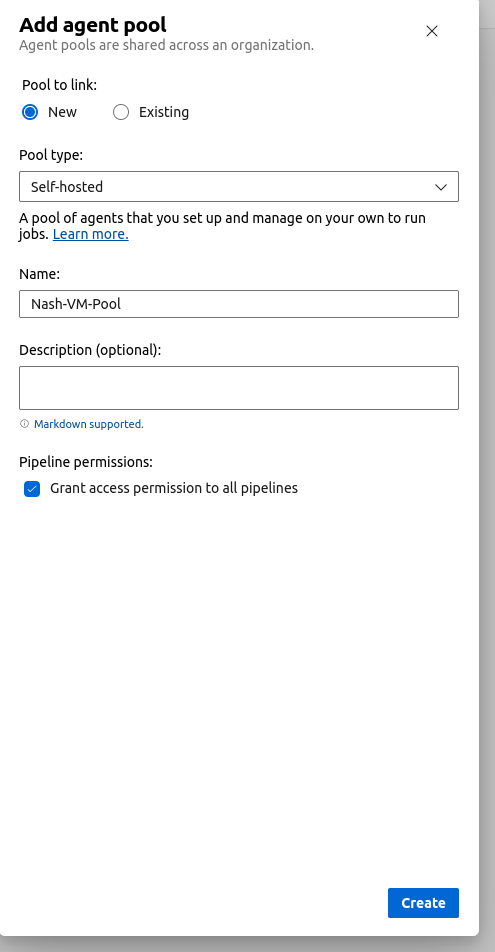
Add agent pool and select the pool type as Self-hosted
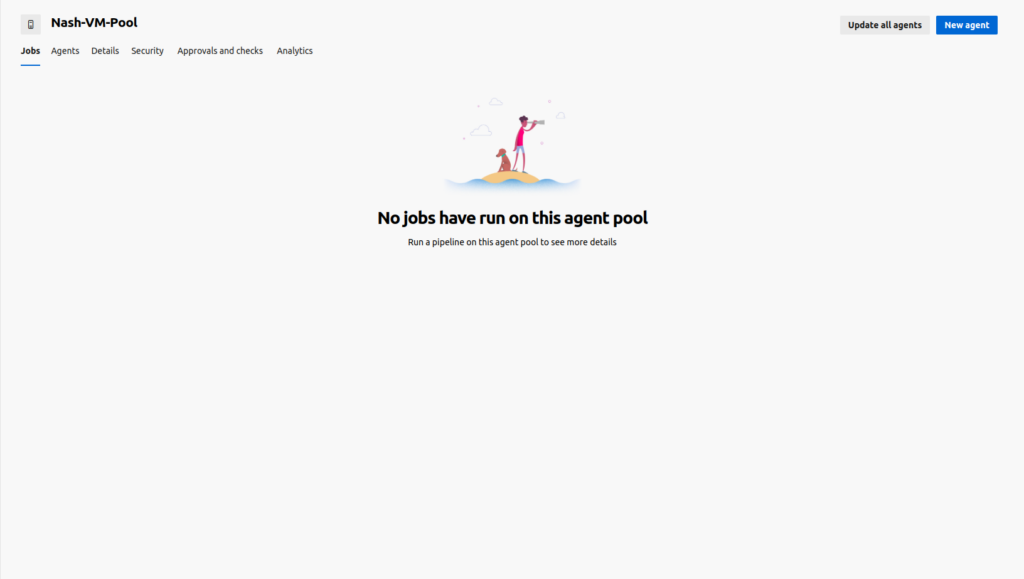
Add a name to the pool: Nash-VM-Pool and check the Pipeline permissions box.
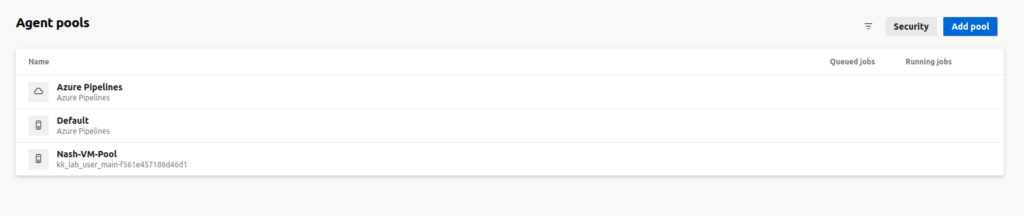
Nash-VM-Pool has been added.
Add a new Agent to the Nash-VM-Pool.
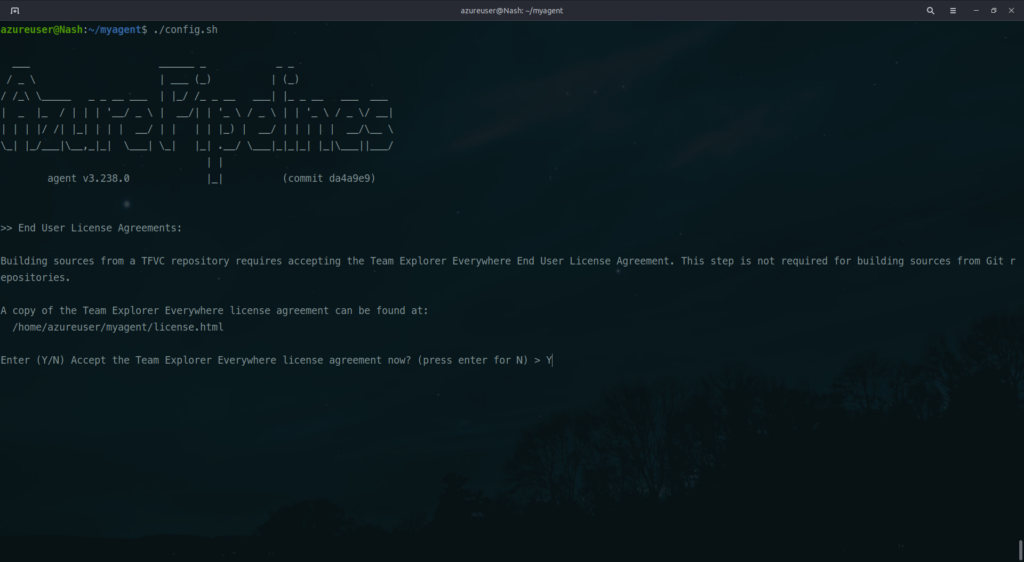
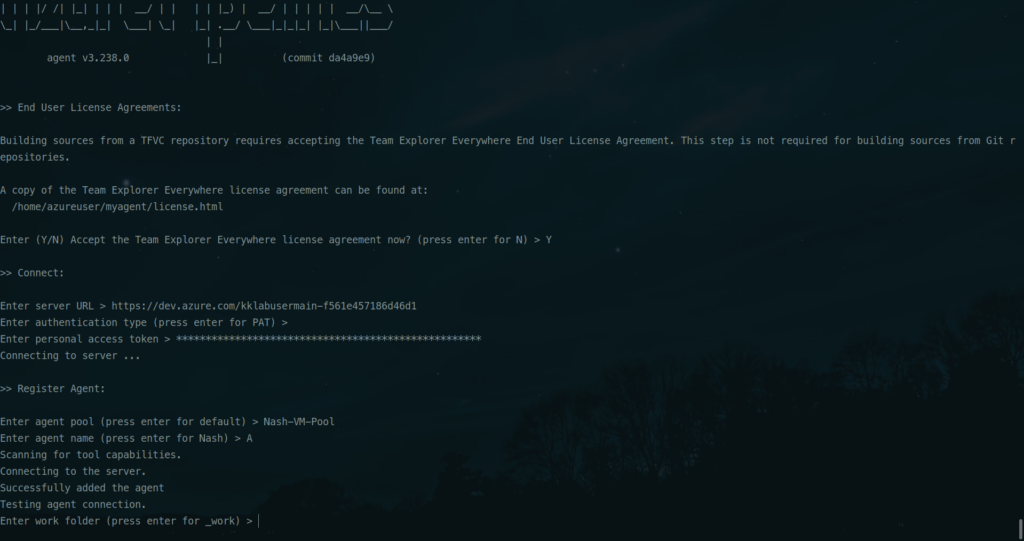
Login to the Virtual machine. Copy the config.sh and run it.
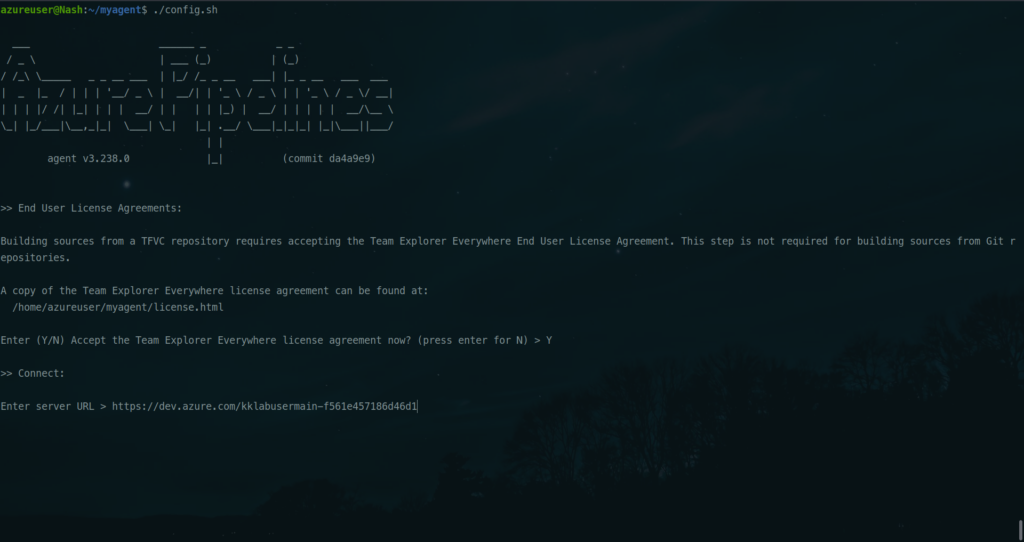
Enter the Server URL.
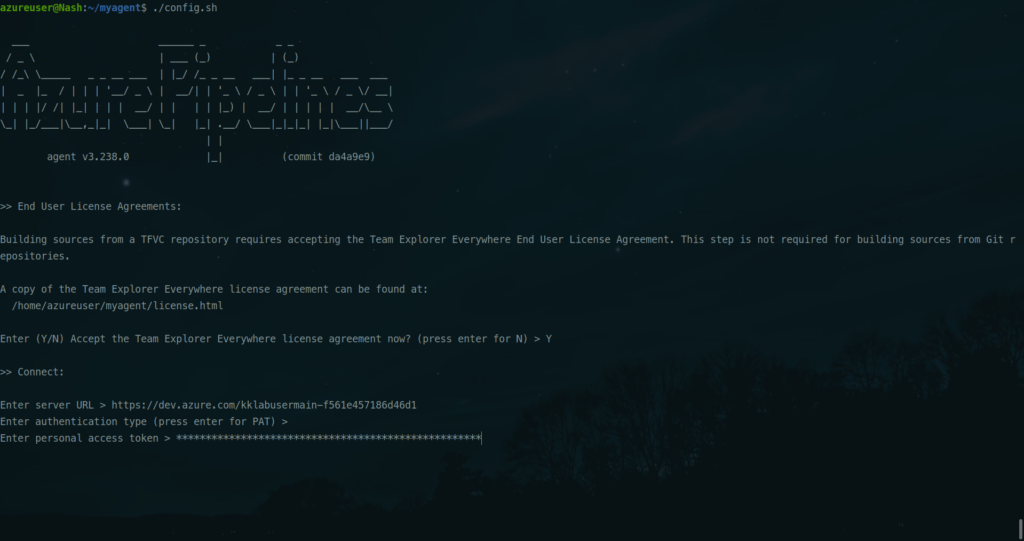
Add a Personal Access token.
Add a work folder if you want to change it.
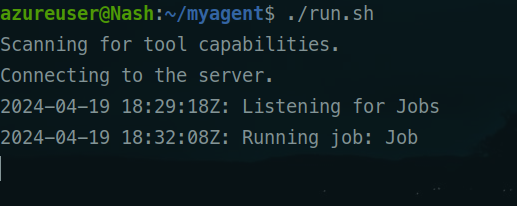
Run run.sh script next.
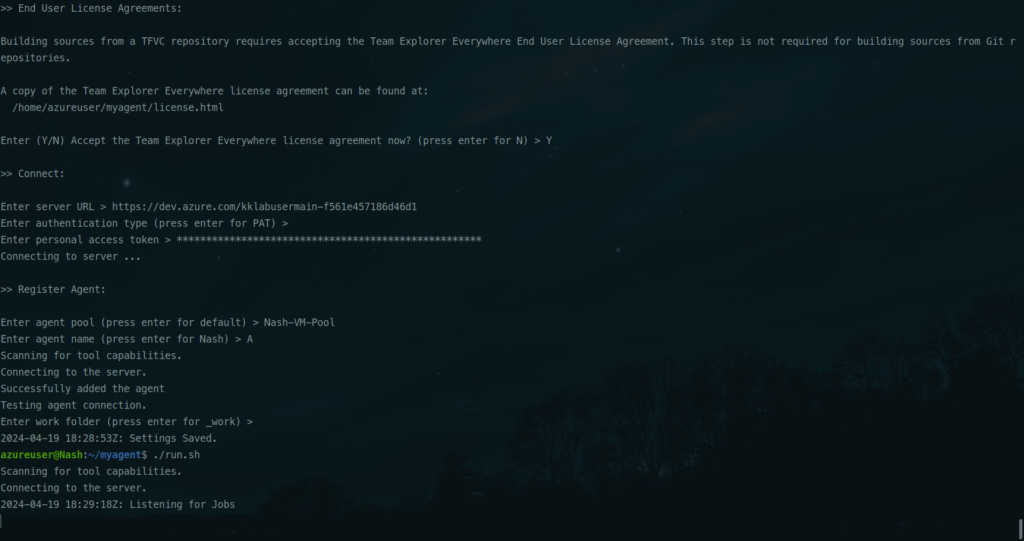
Agent is up and is listening for Jobs. Enable this agent in the pool

Lets write a script that will run on this agent. Mention the pool name for the script to pick the correct agent.

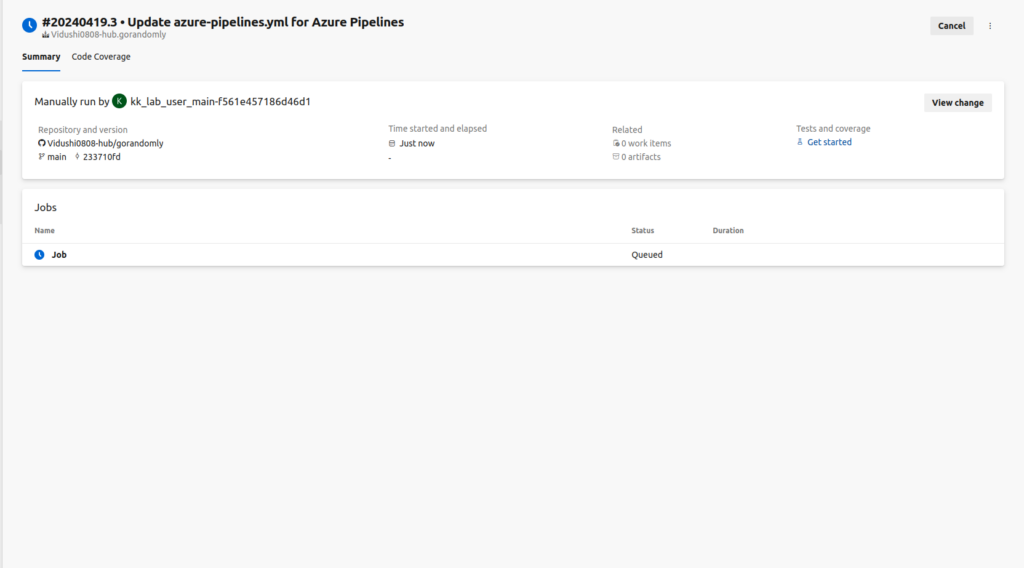
Save and Run.
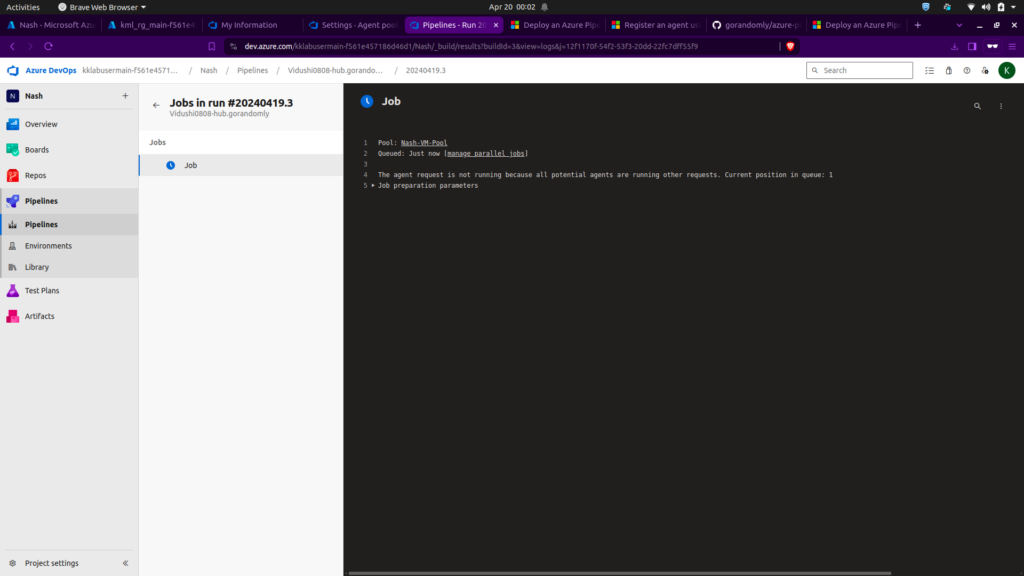
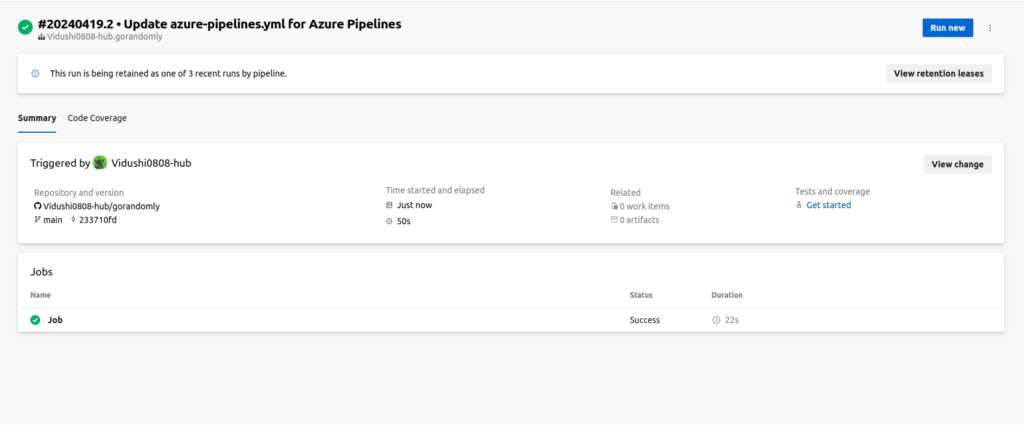
Job is being executed.
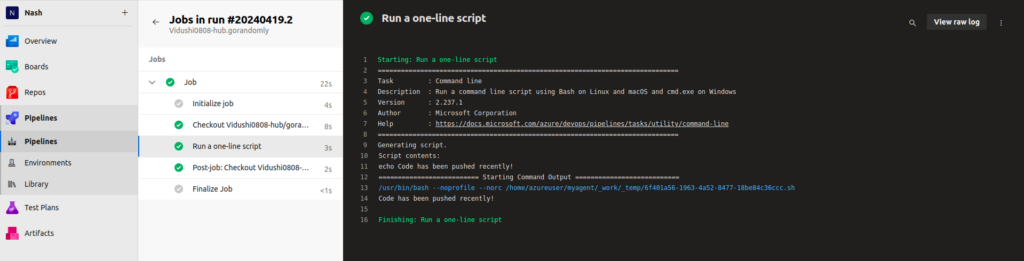
Check the logs of run.sh script.
Job is finished successfully.
You can also view logs from the console.
NashTech Blog
Proudly powered by WordPress