


In our previous blog post, we explored the seamless process of setting up ZeusCloud on your local system, empowering you to take control of your cloud security effortlessly. If you haven’t already gone through the setup process, you can find the detailed guide here. After that in this blog, we connect AWS with ZeusCloud with the help of a user access key.
Now that you’ve successfully deployed ZeusCloud, it’s time to integrate it with your AWS account, ensuring comprehensive security coverage for your cloud infrastructure. In today’s blog post, we’ll delve into the steps required to configure your AWS account with ZeusCloud using a user access key.
Why Integrate ZeusCloud with Your AWS Account?
Before we dive into the configuration process, let’s quickly recap why integrating ZeusCloud with your AWS account is essential:
1. Enhanced Security:
- By connecting ZeusCloud to your AWS account, you enable proactive monitoring and detection of security risks, misconfigurations, and vulnerabilities within your cloud environment.
2. Streamlined Management:
- ZeusCloud provides centralized visibility and control over your AWS resources, allowing you to efficiently manage and address security issues from a single platform.
3. Real-time Insights:
- With ZeusCloud’s continuous monitoring capabilities, you gain real-time insights into the security posture of your AWS infrastructure, enabling timely remediation of potential threats.
Configuring AWS Account with ZeusCloud Using User Access Key
Now, let’s walk through the steps to quickly set up your AWS account in ZeusCloud using a user access key:
Step 1: Obtain User Access Key from AWS IAM
- Log in to your AWS Management Console and navigate to the IAM dashboard.
- Create a new IAM user or select an existing one for integration.
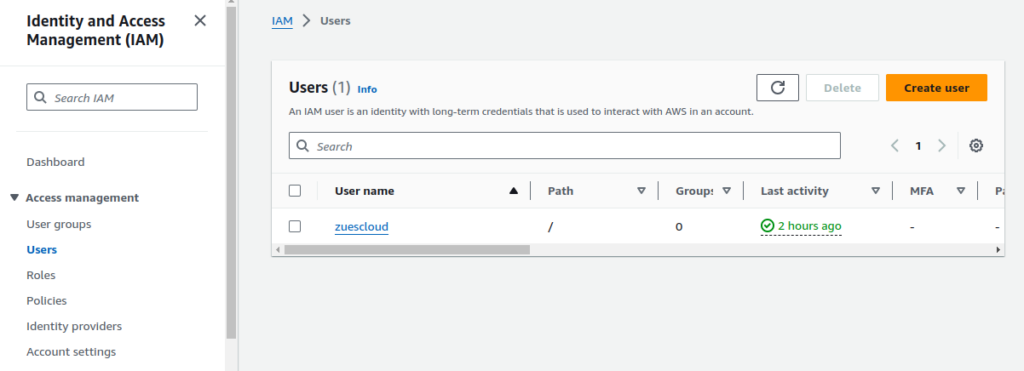
- Create a new IAM user or select an existing one for integration with ZeusCloud.
- you can see that we have created a zuescloud user.
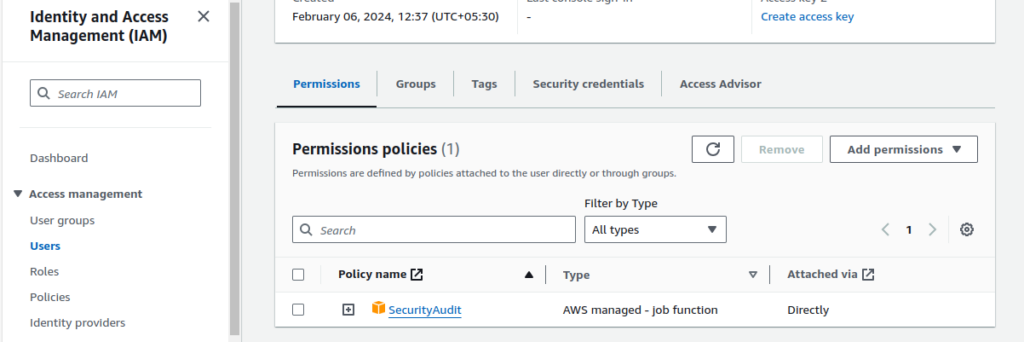
- In this image you can see that we provide a policy to the user which is the SecurityAudit policy

- in upper image it is define that you have to select security credentials
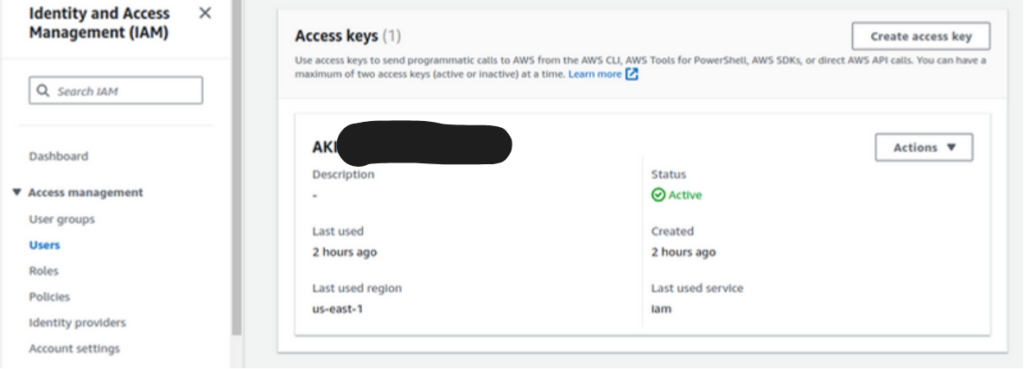
you have to create an access key for the user.
Step 2: Configure ZeusCloud
- To configure ZeusCloud with your local machine. please refer to the detailed instructions provided in my previous blog post [link]. In that post,
Step 3: Connect the AWS Account to ZeusCloud
- In the ZeusCloud user interface, navigate to Settings > Add new account.
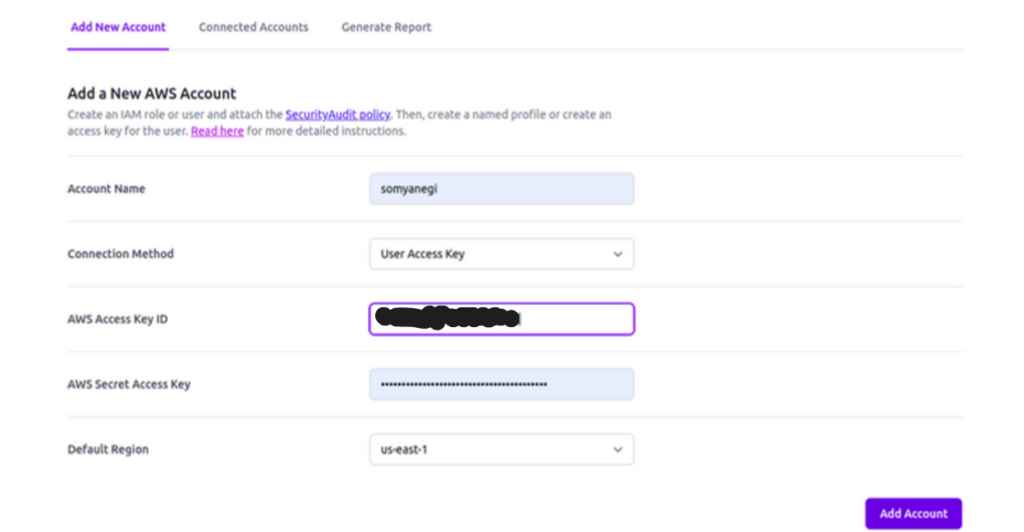
- Enter a unique name for your AWS account in the Account Name field.
- Fill in the Access Key ID and Secret Access Key fields with the corresponding values obtained from the AWS IAM dashboard.
- Click on the Save or Add Account button to establish the connection.
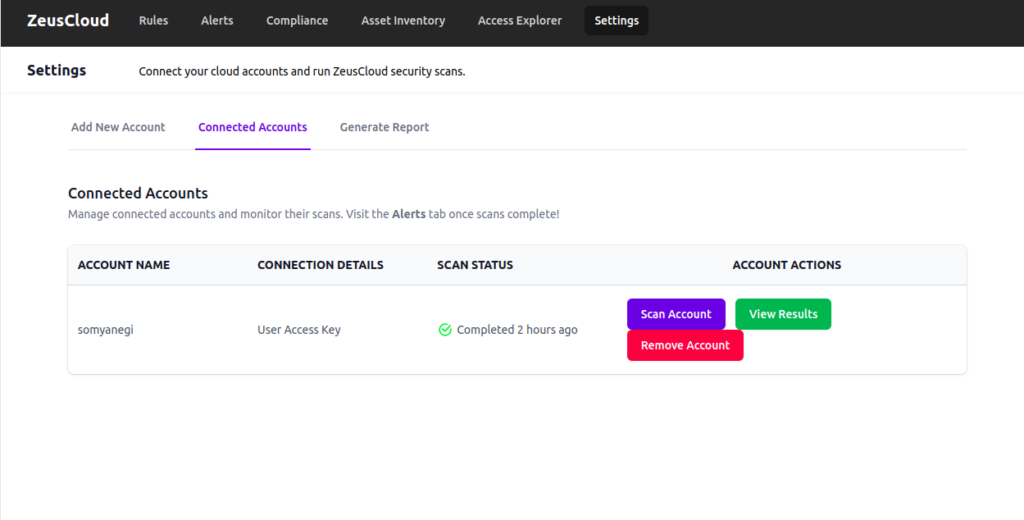
- Click on Scan Account and then you can see your AWS account vulnerability.
Conclusion
Through these straightforward steps, you can seamlessly integrate your AWS account with ZeusCloud using a user access key. With ZeusCloud actively monitoring your AWS infrastructure, you can stay one step ahead of potential security threats, ensuring the safety and integrity of your cloud environment. Take control of your cloud security journey today with ZeusCloud!