


Welcome to the world of Azure Storage Accounts, where your data finds a safe haven in the cloud. Think of it as your virtual closet, neatly organised and guarded by the azure skies above.
In this blog post, we’ll explore the process of creating and configuring containers in storage accounts on Azure according to our needs.
Creating an Azure Storage Account
Open the Azure Portal
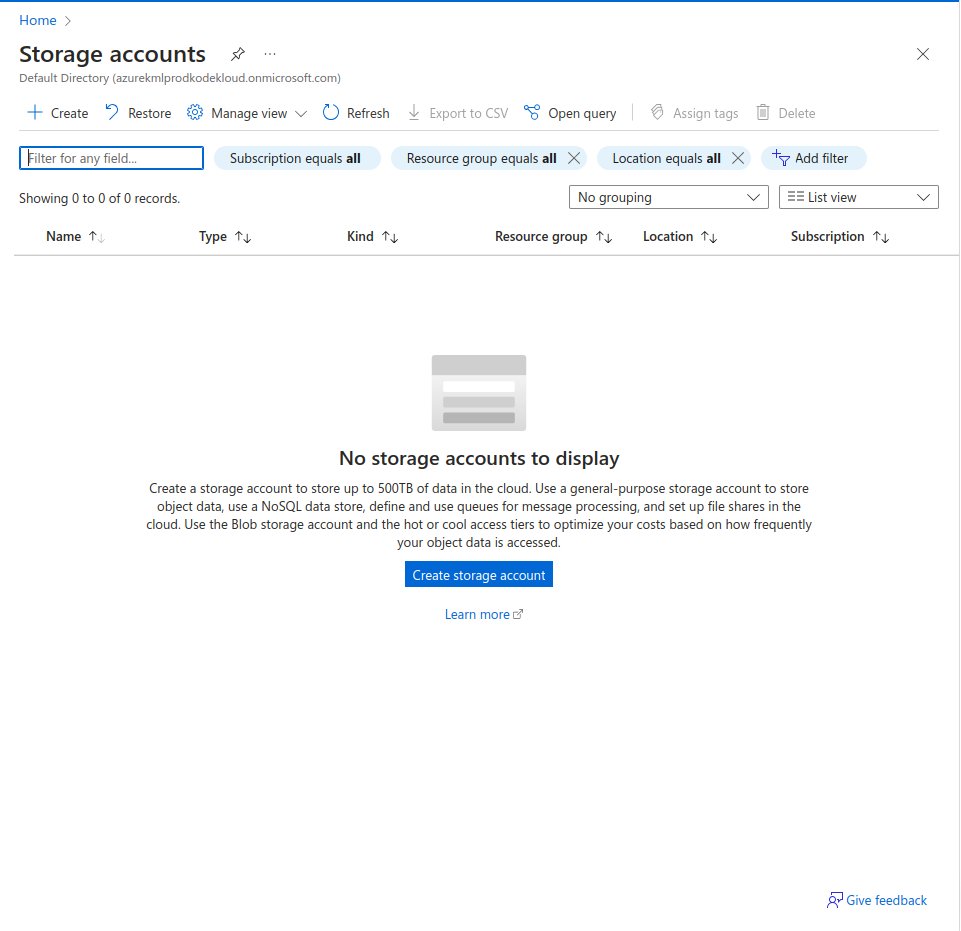
Click on Create Storage account.
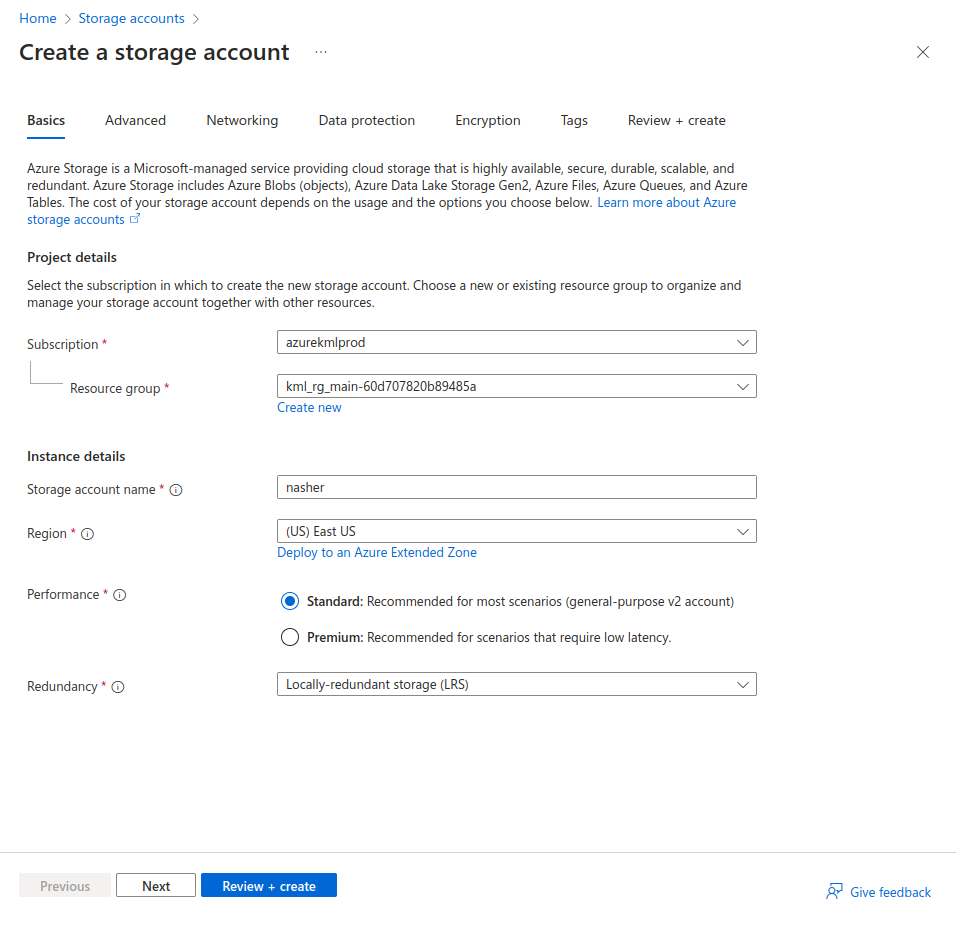
Select the Subscription and Resource Group. Give a name to your storage account and select the region you want to host it into. I have used Redundancy as LRS (Locally Redundant Storage) since its just for demo purposes, however, you have a wide list of options to choose from. For example, Geo-redundant Storage, Read-access geo-redundant storage (RA-GRS) and Zone-redundant storage (ZRS).
Click on Review + Create.
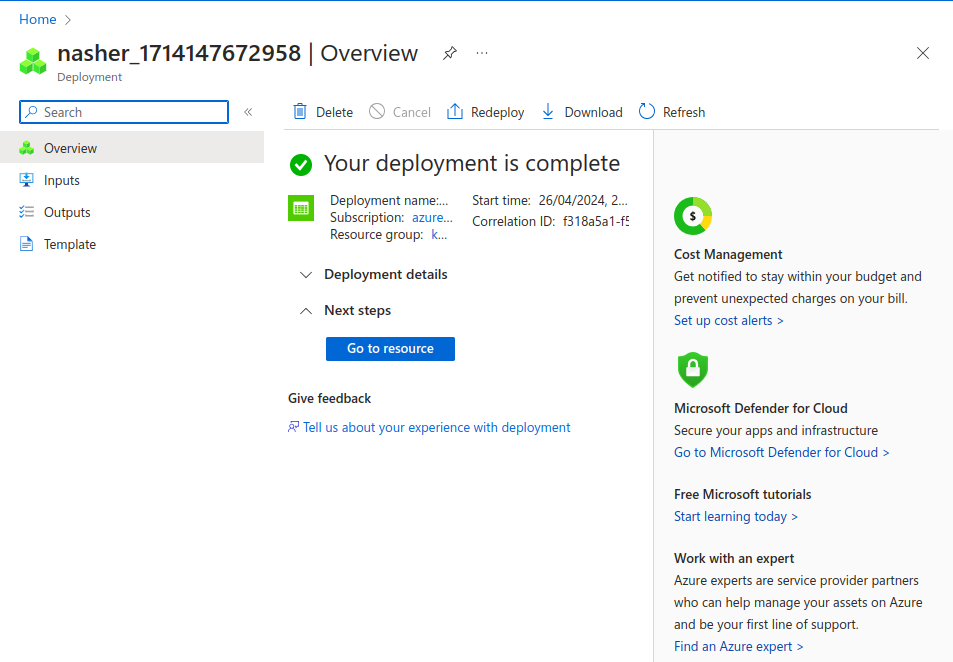 Storage account has been created successfully. You can now create services within your storage account. Click on Go to resource.
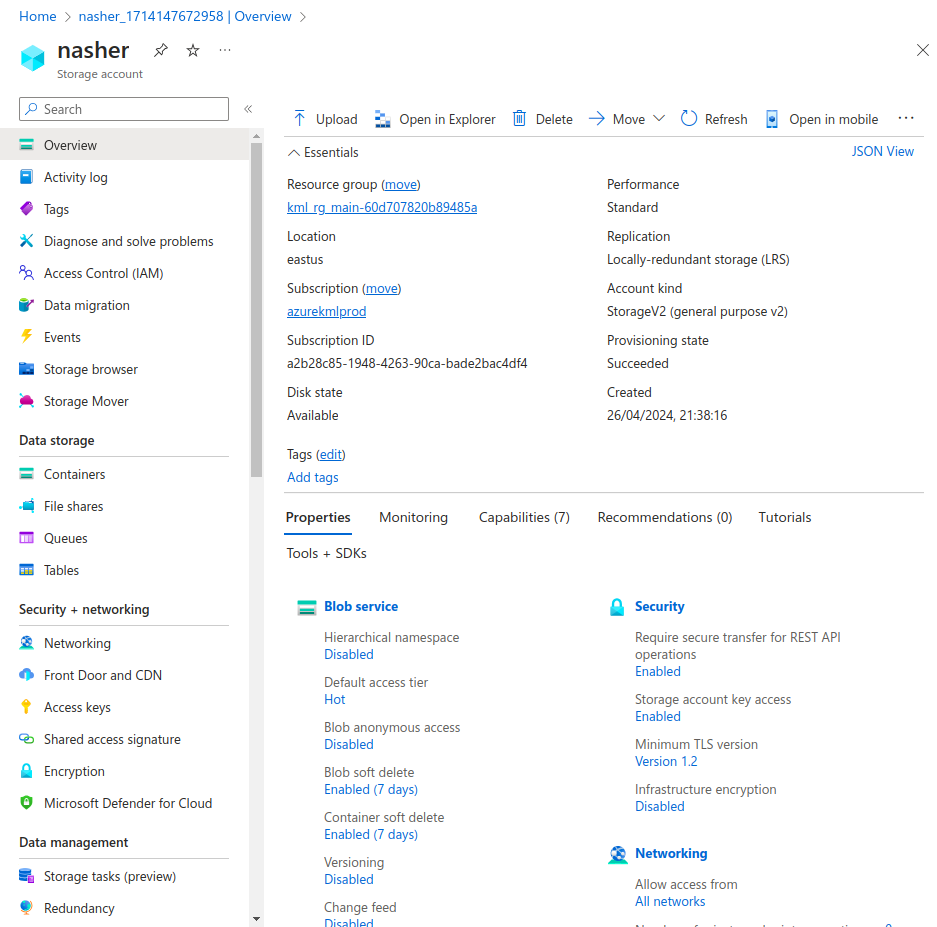
Creating Containers in Storage Accounts
Before creating containers, we will change the configurations of Storage account to allow Blob anonymous access.
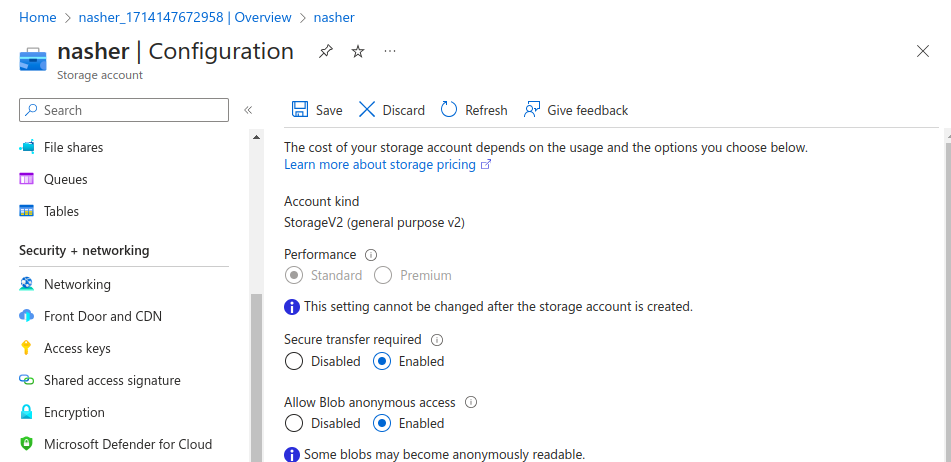
You can select the Enabled option and click on Save.
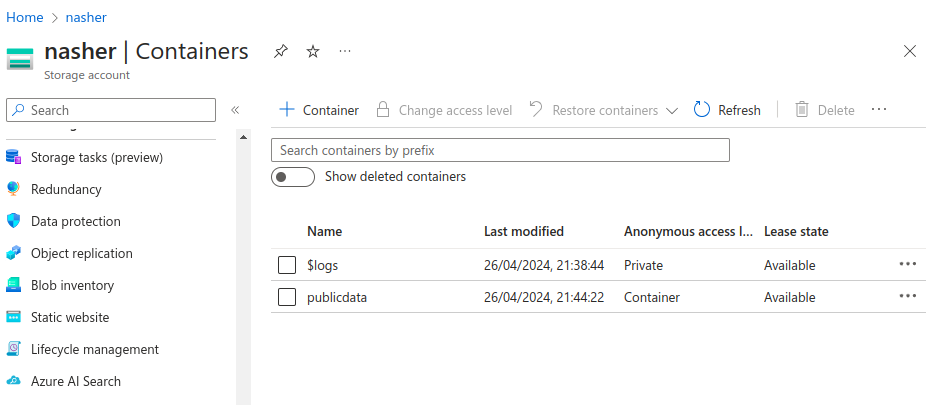
From the left panel, select Containers.
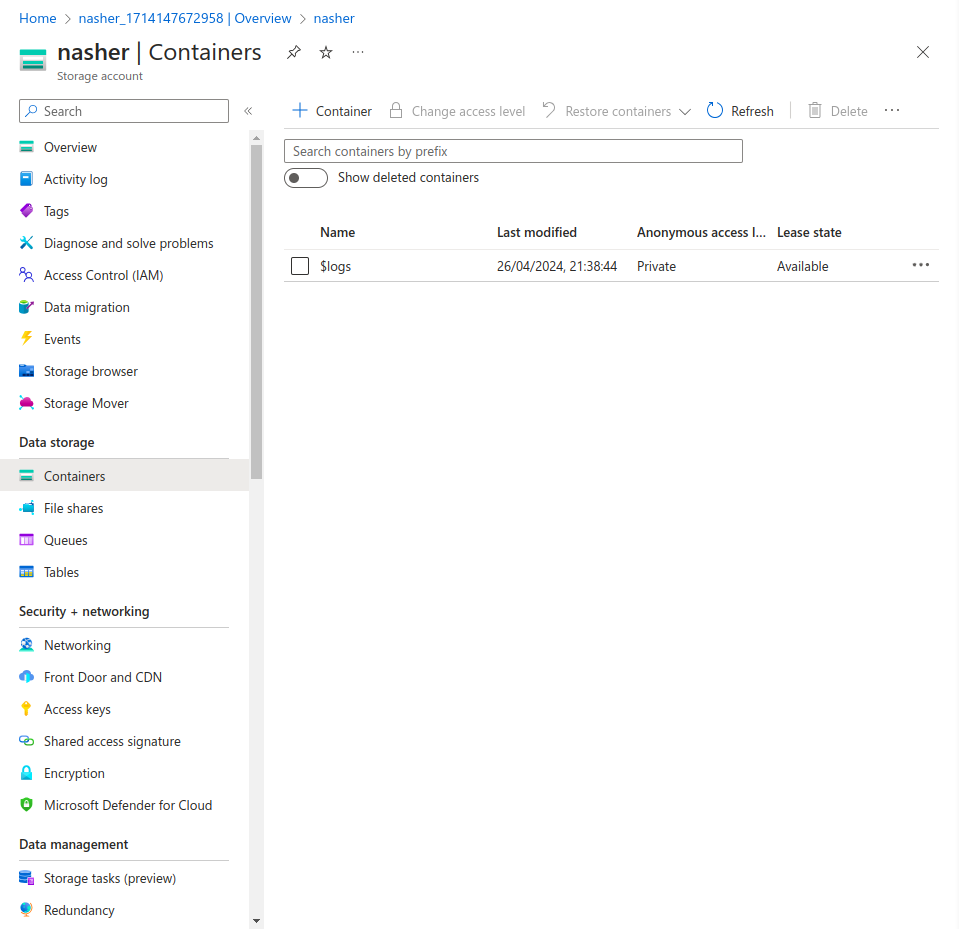
Click on +Container option above.
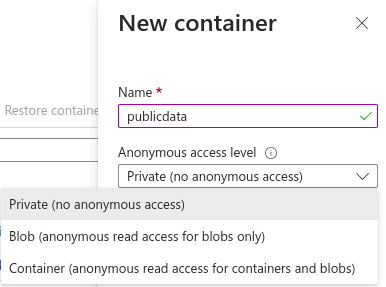
You can select any Anonymous access level depending on the access you want to give to the users.
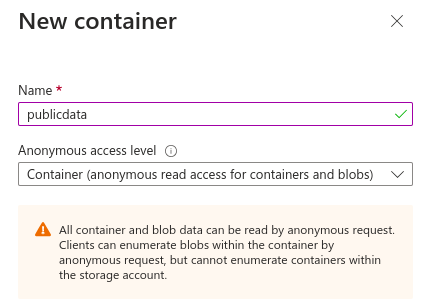
I have selected Container level access, which means all the data can be accessed from my container with the domain link. Click on create.
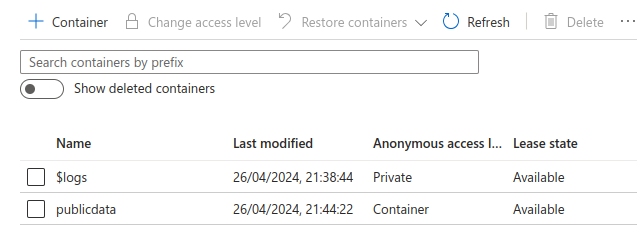
The container “publicdata” has been created successfully. Click on this container and Upload any file from your local machine. I have uploaded an image from my computer.
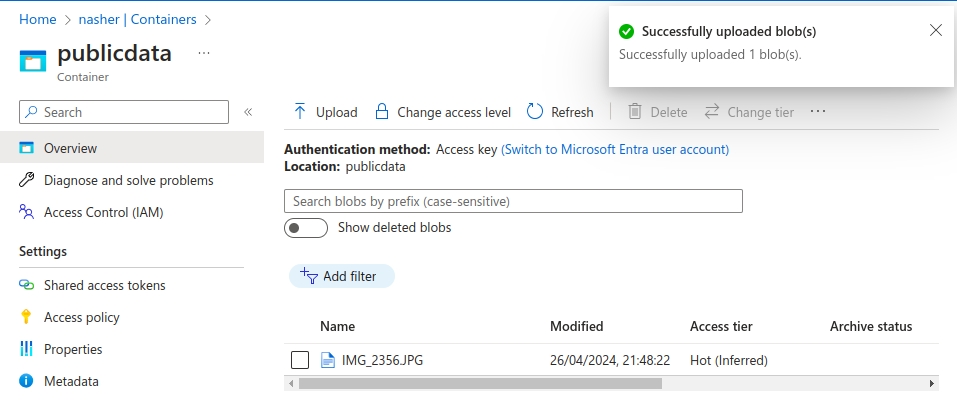
Once the image/file is uploaded, select that file to get the URL.
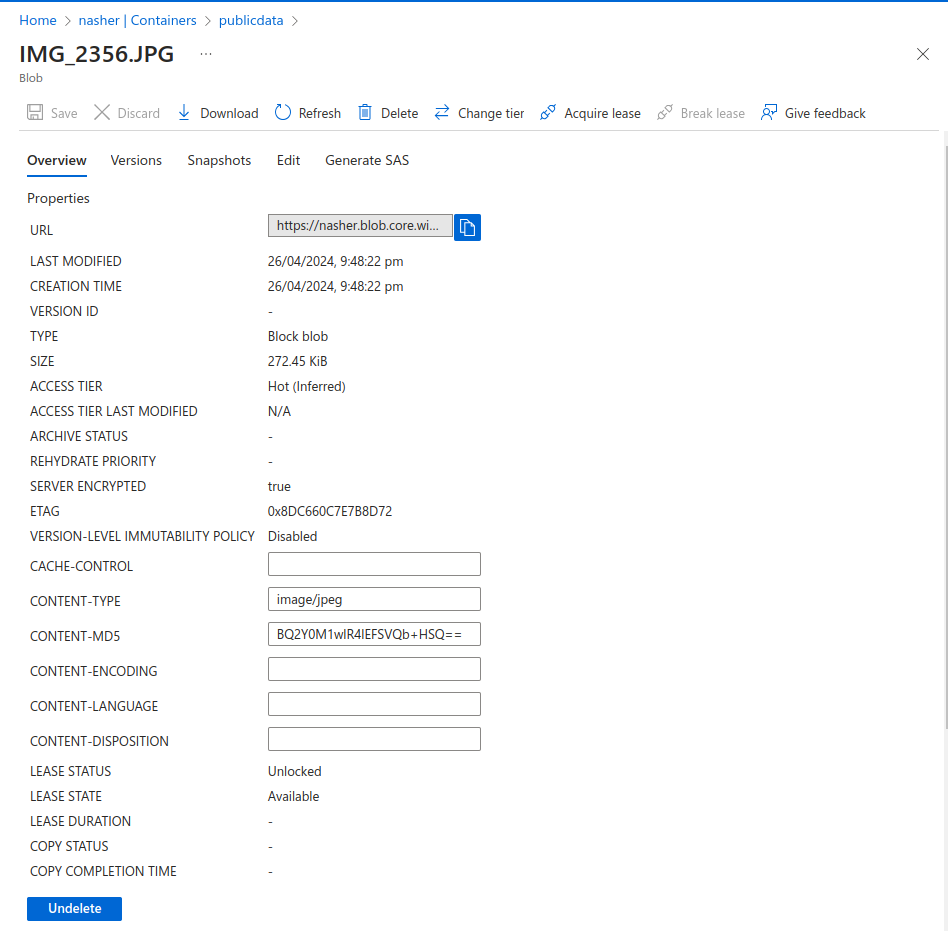
Copy the URL mentioned in the Overview description and open it in a new tab.
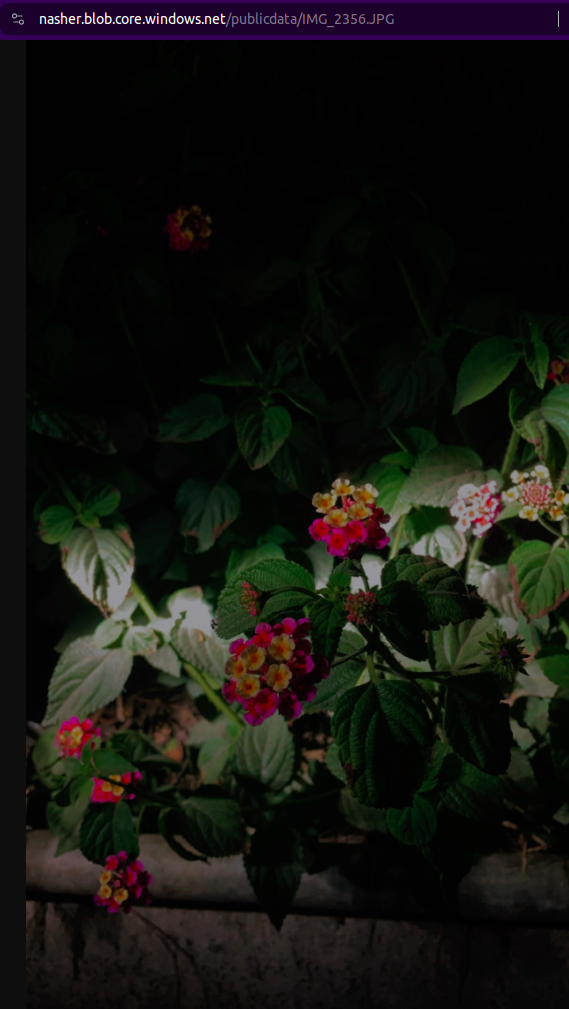
Since we have enabled the container level access, it will be available to anyone who has this URL.
Lifecycle Management of the Containers in Storage Account
Lifecycle management of containers in Azure storage accounts entails establishing guidelines for automated data management within containers. These guidelines encompass defining protocols for actions like relocating or purging data based on factors such as data age or usage patterns. Through the configuration of lifecycle policies, users can effectively regulate storage expenses, uphold data compliance requirements, and streamline data administration over time.
Go to the storage account you want to create the lifecycle policy for.
From the left bar, click on Lifecycle Management.
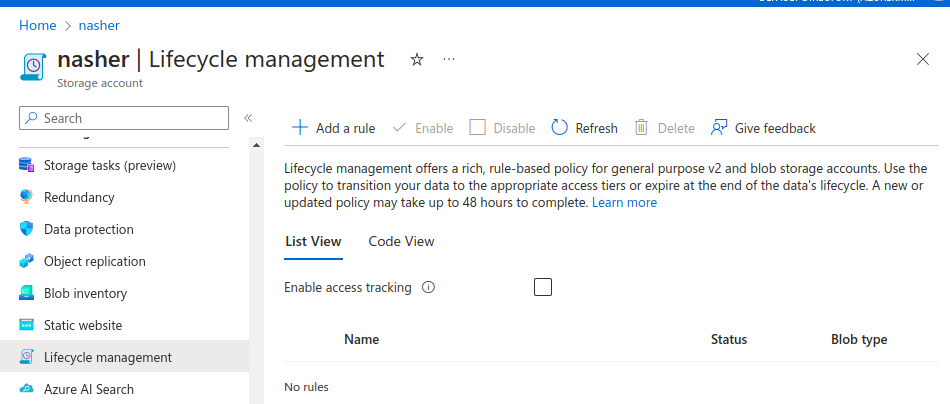
Click on Add a rule.
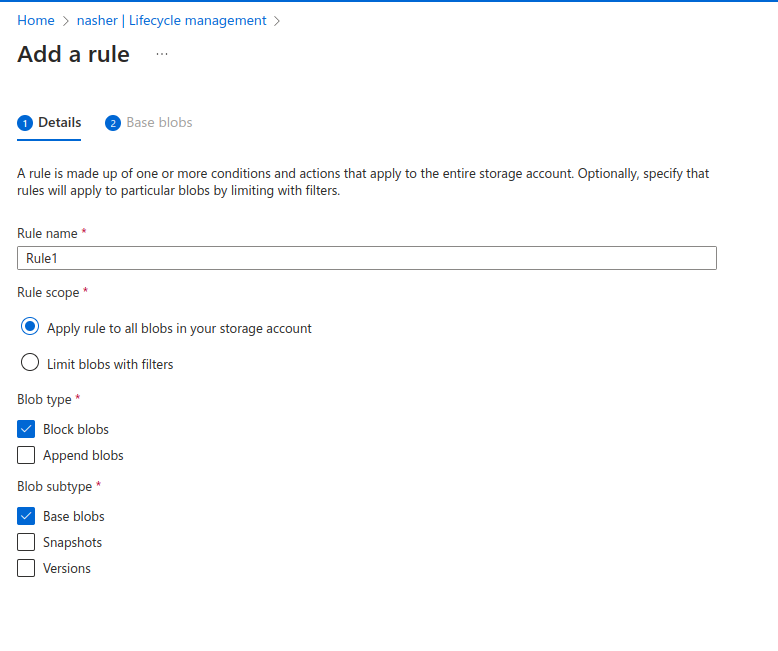
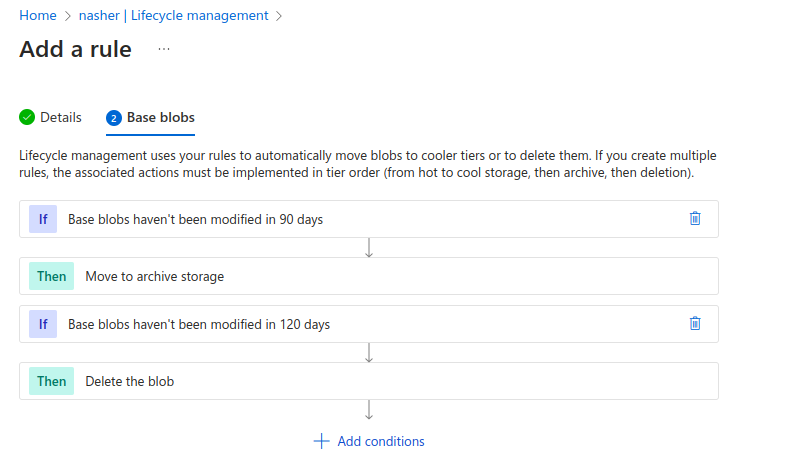
Give the rule a name and select the scope of the rule.
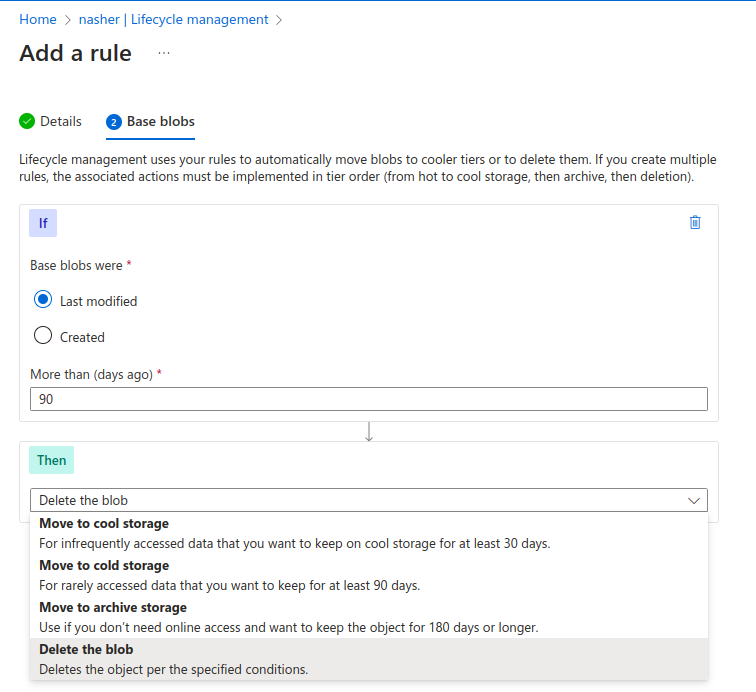
Select the condition on the basis of number of days. For example, I want the blobs to move to archive if they are not modified for more than 90 days and in case they are not modified for 120 days, they should be deleted. You can add multiple conditions.
Click on Create.

The rule has been created now. It will apply to all the blobs in this storage account. We can also make changes to the rule at any time in case our need changes over time.
This is how you can create and configure containers in Storage accounts on Azure cloud. If you have any questions/feedbacks regarding this blog, I am reachable at vidushi.bansal@nashtechglobal.com. You can find more of my blogs here.