


Maintaining a consistent user interface is crucial for any website. Even small differences in layout, spacing, or alignment can affect user experience and cause unexpected visual issues.
During a recent project, I needed to make sure that the UI of a website remained consistent through some updates. As part of this process, I discovered a simple powerful tool that dramatically reduced testing time: PerfectPixel by WellDoneCode.
In this blog, I’ll share how PerfectPixel works, why it’s effective, and how it can help ensure pixel-perfect UI consistency.
The Challenge: Preserving UI Consistency
Even minor changes in templates, front-end code, or rendering logic can result in:
- Misaligned elements
- Incorrect spacing or padding
- Font or color inconsistencies
- Broken layouts on responsive screens
- Drift in component size or placement
- Missing UI elements
Manually checking a website for these issues is time-consuming and prone to human error.
I needed a tool that could:
- Compare UI before and after changes
- Highlight differences visually
- Be fast and intuitive
- Work directly in the browser
- Require minimal setup
That’s when I turned to PerfectPixel.
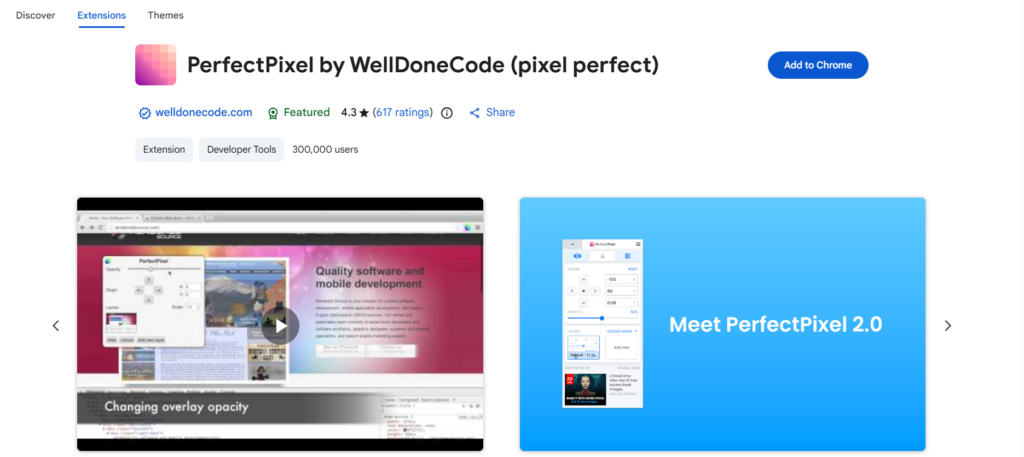
What Is PerfectPixel by WellDoneCode?
PerfectPixel is a Chrome extension for pixel-perfect comparison between a reference design (usually a screenshot) and the live web page.
With PerfectPixel, you can:
- Overlay an image on top of a web page
- Adjust opacity of the overlay
- Move and scale the overlay to align with the page
- Instantly spot misalignments or layout differences
It’s commonly used by designers, but it’s equally powerful for testers performing visual regression checks, whether you’re updating templates, migrating to a new CSS framework, or refactoring a website.
How I Used PerfectPixel: A Sample Case
Here’s an example workflow that demonstrates how you can use PerfectPixel effectively:
Step 1 – Install the Extension
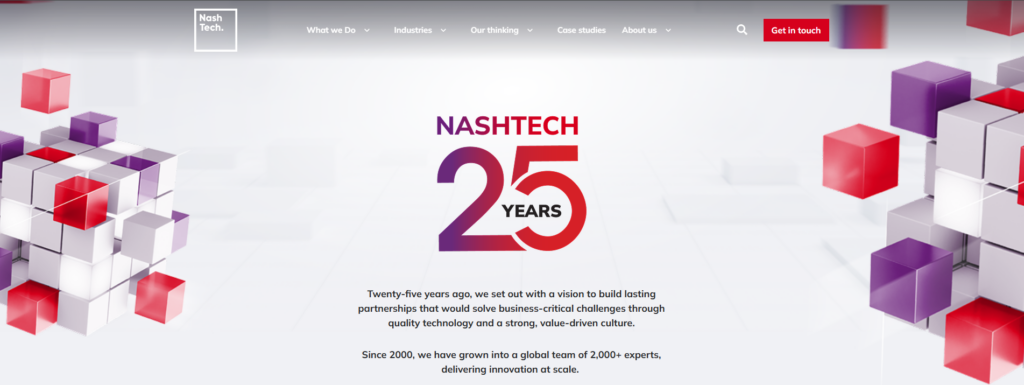
Step 2 – Capture Baseline Screenshots
Before making changes, capture screenshots of key pages and components:
- Homepage and landing pages
- Product/service pages
- Navigation, headers, and footers
- Content blocks and reusable components
- Mobile and tablet breakpoints
Step 3 – Apply Updates & Deploy
Once changes are made whether it’s an upgrade, template refactor, or CSS migration – deploy the updated site to a testing environment.
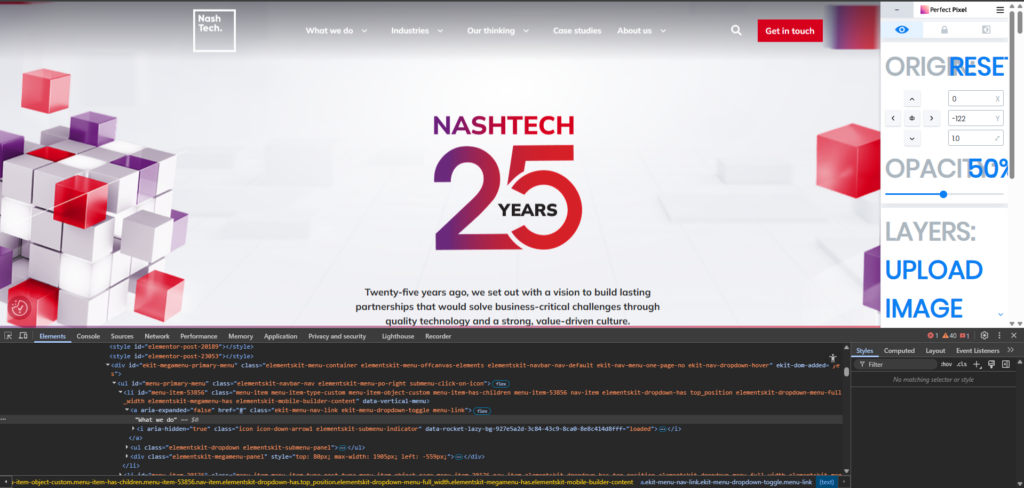
Step 4 – Overlay Baseline Screenshots
With PerfectPixel installed:
- Load the target page
- Upload the baseline screenshot
- Adjust opacity to see both layers
- Align overlay with the live page
At this stage, the baseline screenshot and the current page are perfectly aligned.
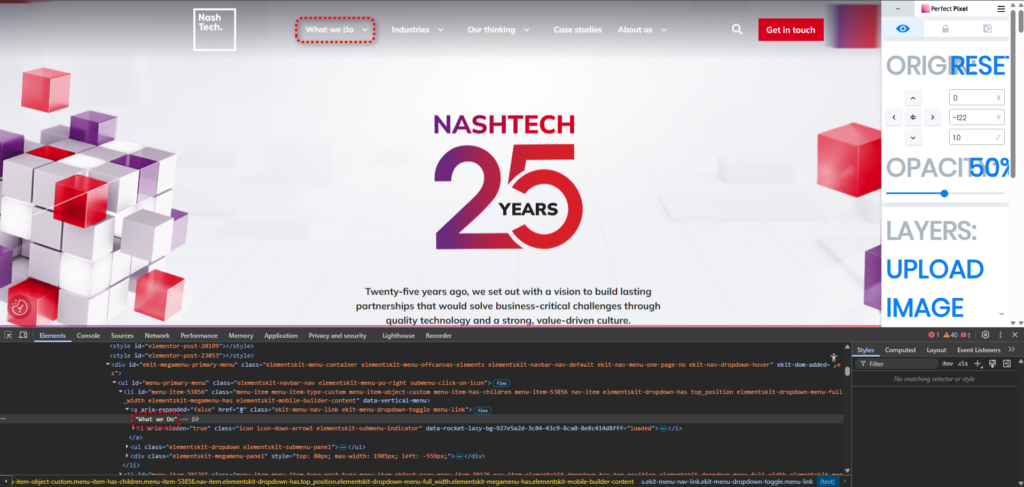
Step 5 – Inspect for Differences
Any discrepancies become immediately obvious, making it easy to capture screenshots and report issues.
To demonstrate how PerfectPixel helps detect UI inconsistencies, I made a small CSS change directly in Chrome’s Inspect Mode. Even a tiny adjustment such as modifying padding, margin, font size, or alignment – immediately shows up in the overlay comparison. This makes it easy to visualize how any update affects the layout.
Why PerfectPixel Works So Well
- Fast and intuitive: Compare entire pages within seconds without tedious manual checks.
- Clear visual feedback: Even 1 – 2 pixel differences are immediately visible.
- No setup required: Unlike automated tools like Percy or Applitools, no coding or pipeline setup is needed.
- Handles content-heavy sites: Perfect for websites with multiple templates and content blocks.
- Reduces testing time significantly: Manual comparison of dozens of UI elements is replaced by a few clicks.
When to Use PerfectPixel
PerfectPixel is ideal for:
- Template updates or refactors
- Front-end migrations or CSS framework changes
- Pixel-perfect design implementation
- Lightweight visual regression testing without automation
Whenever your UI must remain unchanged, PerfectPixel is one of the simplest and most effective solutions.
Final Thoughts
Even small front-end changes can introduce subtle UI inconsistencies that are hard to catch manually. PerfectPixel by WellDoneCode is an incredibly efficient tool for ensuring visual consistency across your website.
With fast validation, clear visual feedback, and zero setup overhead, it’s a must-have tool for designers and testers alike.
Whether you’re updating a CMS, refactoring templates, or implementing a pixel-perfect design, PerfectPixel makes visual testing simple and reliable