


Hello Learners, I am back with another blog. In this blog, we will learn how we can create an image from the docker container. Normally, we create the container using the images but in today’s blog, we will create an image from the container after updating the container. If you like my blogs, you can read more blogs here.
Docker:-
Docker is an open-source platform designed to automate the deployment, scaling, and management of applications using containerization. Containers are lightweight, portable, and self-sufficient units that package an application and its dependencies, including libraries, configurations, and runtime environments, into a single executable package. Docker provides a consistent environment across different stages of the application lifecycle, from development to testing and production. You can also check this link for docker.
Key features of Docker:-
- Isolation: Docker provide isolation, allowing multiple applications to run on the same system with or without interfering with each other.
- Image: An image can be defined as a read-only template containing the application code, runtime, libraries, and all other dependencies required to run an application.
- Container: A container is a runnable instance of an image. container can be created using the image only. It isolates the application and its dependencies from the system and other containers.
- Docker Hub: Docker Hub is a cloud-based registry that stores Docker images. Developers can share and access pre-built images from Docker Hub.
Why we need to create an image from the container:-
Creating Docker images from containers is a crucial process in containerization. It involves capturing a container’s current state, settings and changes into an image file. This is vital for preserving container data when it’s stopped or removed. It also aids reproducibility, allowing developers to recreate consistent testing environments. Troubleshooting benefits from this process too, as saved images can help support teams recreate issues. Images also support stable infrastructure, ensuring containers are based on a known setup. They’re integral to continuous integration and deployment, enabling tested app snapshots. Images can be versioned, shared, and used as deployment foundations. This practice enhances consistency, collaboration, and reliability in modern software development and deployment.
In today’s blog, we’ll see the step-by-step process of creating a custom image from the container.
Create a Images From Container:-
Basically, In this section, we will see how we can create the image from the container. First, we will see how we can achieve the process of creating a custom image at a high level:-
- Create a container from the image.
- Make some changes to it.
- Create an image from that container.
Let’s see an example of it now.
Steps to Image from Container:-
We will use the nginx in this example. We will perform all the operations on it. As we mention the three main steps or processes so we will check them one by one:-
Step 1:-
Create a Container using an Image:-
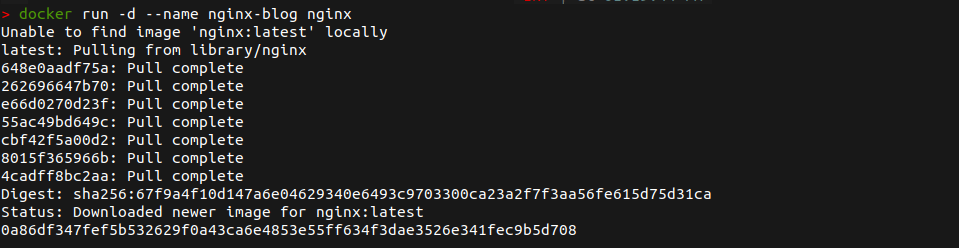
In this first step, we will run the docker container using the docker nginx image. To run the container, you can use the below command:-
docker run -d -p 80:80 --name nginx-blog nginx This command will create an nginx-blog named container with the use of an nginx image and -d is used to run the container in the detachable mode or we can say in the background.
Execution of this command will look like this:-
Now, we will check that the Nginx container is up or not using the below command:-
docker ps
You can see that our nginx-blog named container is running successfully as expected.
Step 2:-
Commit a few changes in the container:-
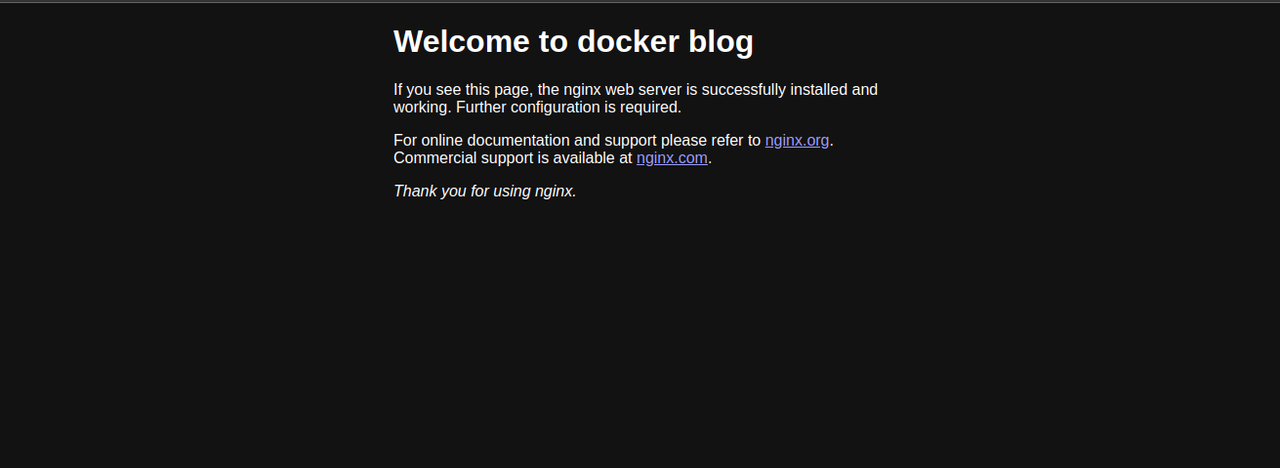
As we run a container using the nginx image and our container name nginx-blog container and in the last step, we also verify the state of the container. Now, we will change the default Welcome page of the Nginx to our choice of String or sentence.
To make the changes in the default nginx page, please follow the below steps to do:-
Step i: Login to the running container
Run the below command to get a shell to your container.
docker exec -it 0a86df347fef /bin/bashThis command will give you an interactive bash shell inside the nginx-blog container and now you are now able to run the commands in it.

Now you can run the commands in it.
Step ii: Check the Nginx configuration file
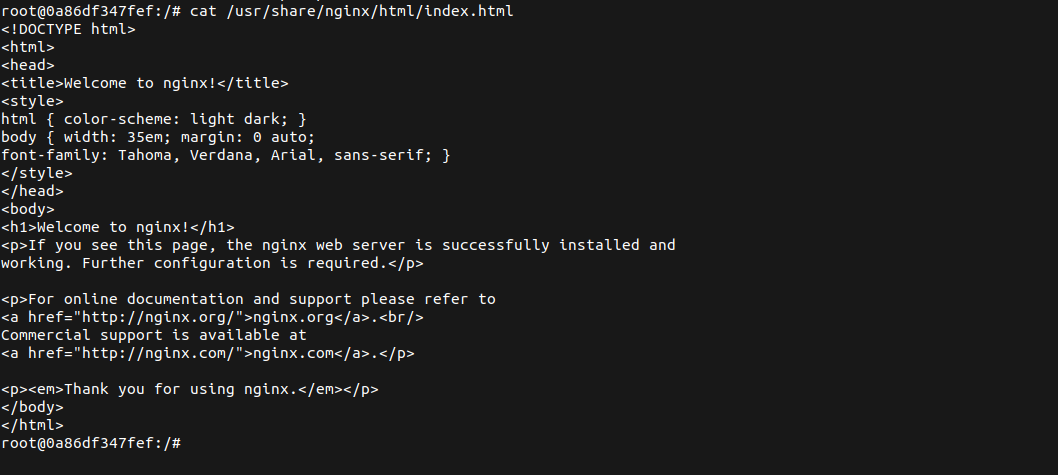
Now, we have an interactive shell and go to the index.html file to edit the default page. The path of the index.html file is: /usr/share/nginx/html/index.html. In the interactive shell, run the below command to check the default file:-
cat /usr/share/nginx/html/index.htmlNow, You will see this file as output:-
You can verify the default page by running the below command or you can use the browser to validate:-
curl http://localhostYou can see the string “Welcome to nginx“. In the next step, we will edit this string.
Step iii: Edit the nginx configuration file – Index.html
Run the below command to open the index.html file and then edit:-
vim /usr/share/nginx/html/index.htmlWhen you run this command then you will see that you do not have Vim editor:-

Just update the container and run the below command to install Vim in your container:-
apt update

apt install vim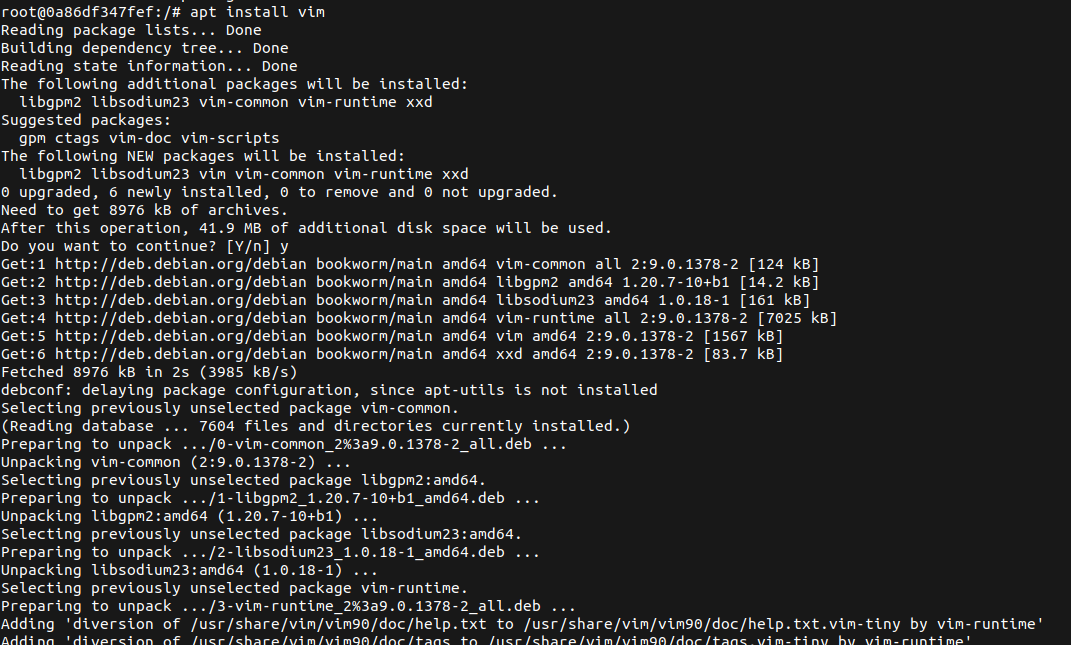
Now again the the vim command to edit the index.html file:-
vim /usr/share/nginx/html/index.htmlAfter running this command, you can press “i” to edit the file:-
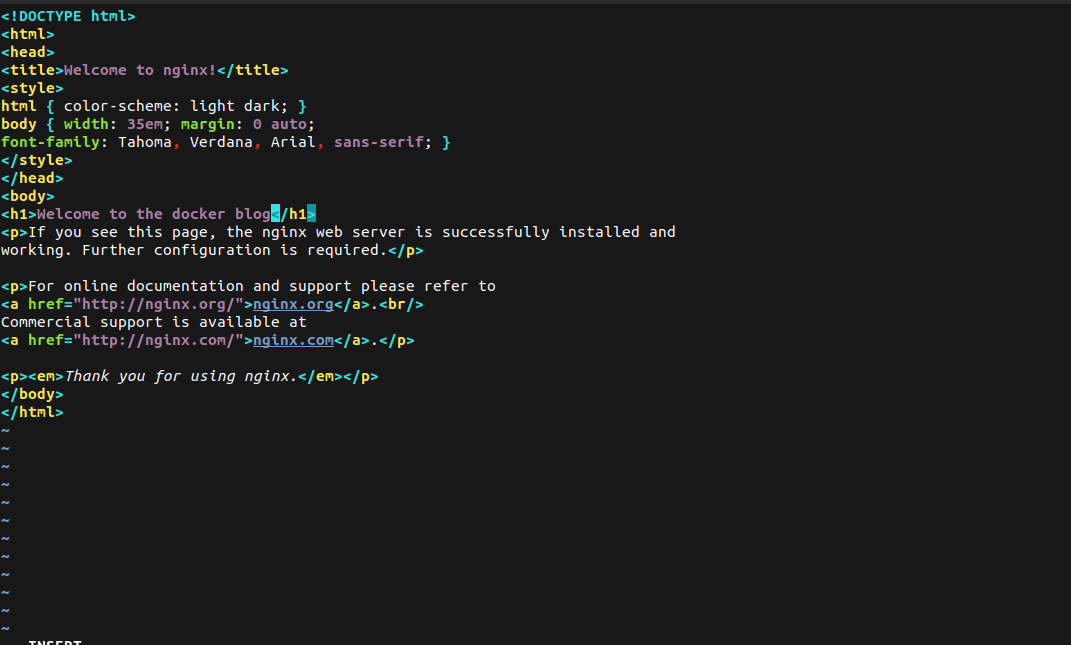
now press ESC and run the below command:-
:wqYou can check the changes using the curl command as we did before or you can check with the browser as below:-
Step iv: Exit the container
We have done with the changes and now we can exit from the container by using this:- CTRL + D or typing exit and then press Enter. You will be returned to your own terminal.
Step 3:-
Commit the changes:-
Once we made the changes to the container then the container is ready to commit all changes and create an image of it. It is quite similar to the git commit. You just need to run the below command:-
docker container commit -a "muzakkirsaifi" -m "Update the default page of nginx" nginx-blog nginx-blog-imagedocker images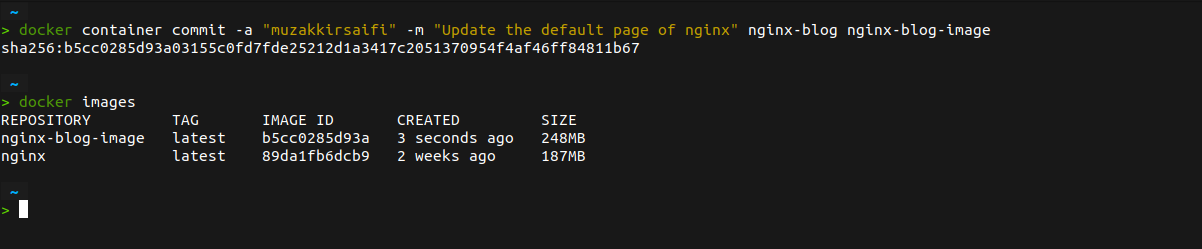
Now, you can see the image is committed and you can use this image to create a new container with the all changes.
docker run -d -p 80:80 --name nginx-blog2 nginx-blog-image:latestYou can hit the localhost on the browser then you will see:-
Conclusion:-
In this blog, We have learned how to create a custom docker image from a container. This method can be used when you want to persist the change in the container and use them as the base for a new container. If you like my blog then you can like this or if want to read more blogs then follow this link.