


Hi Learners, I am back with another blog about the chef. As we have discussed the chef in the last blog and also see an example of how we can install the nginx on the local system and update the html file for the default page. In this blog, we will see how we can run the cookbook’s recipe to another or remote node and how to connect with this node with the chef-server. If you like my blogs, you can read more blogs here.
Installation:-
I have mentioned the steps below. You can follow them and run. You will see that Chef is installed in your system:
Step 1:-
wget https://packages.chef.io/files/stable/chef-workstation/0.4.2/ubuntu/18.04/chef-workstation_0.4.2-1_amd64.deb
Step 2:-
sudo dpkg –i chef-workstation_0.4.2-1_amd64.deb
Step 3:-
Which chef
Chef --versionConnect to the Node:-
Now We will connect our workstation to the node. Actually, a workstation can be a local system or a remote server where we have access to log in and perform actions. Now We need to connect the node with the chef-server. So go to the manage.chef.io website and create an account. You will see a UI like this after creating the account over there:-
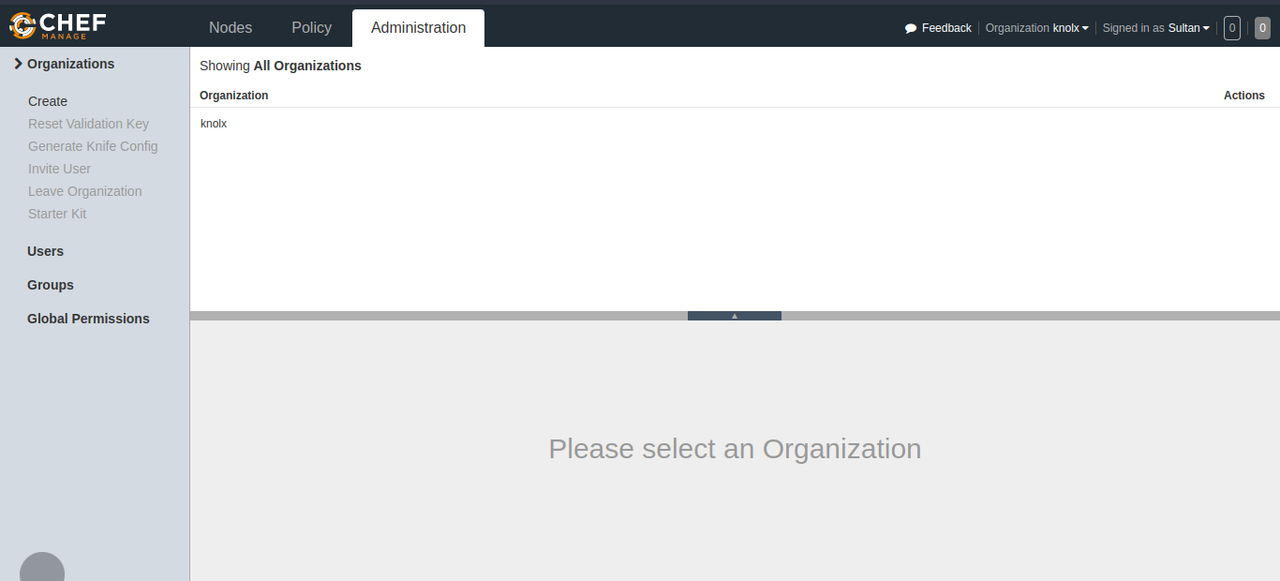
Now select the organization name [ in my case, knolx is the organization] and click on the left side – starter Kit where you will need to download the starter package for the node.
After Download unzip it and check the below file that your chef-server info is exist or not in it:
cat chef-repo/.chef/config.rb

---
# See https://docs.chef.io/workstation/config_rb/ for more information on knife configuration options

current_dir = File.dirname(__FILE__)
log_level                :info
log_location             STDOUT
node_name                "sun_ek"
client_key               "#{current_dir}/su.pem"
chef_server_url          "https://api.chef.io/organizations/knolx"
cookbook_path            ["#{current_dir}/../cookbooks"]
You will see a look like this but with your configuration.
Note:- If you are using a remote server or VM then you can use the SCP command to transfer the starter kit:-
scp -rp -i <pem file> user@ip:pathReplace with your values and run the command to transfer the kit to the VM and also transfer the pem file of the node here.
Run this command to establish the connection between the chef-server and node:-
sudo knife bootstrap <private ip> --ssh-user <user> --sudo -i  < pem file > -N <node-name which you want>

ex-

sudo knife bootstrap 1.2.3.4 --ssh-user azureuser --sudo -i  testing.pem -N first-Node2
Create cookbook and recipe:-
Now, We will see how we can install the nginx in the node using Chef and update the HTML on the default page using Chef:-
Step1:- Create a working folder:-
mkdir cookbooks
Step2:- Create a cookbook in the cookbooks folder:-
chef generate cookbook <test-cookbook> Step3:- Now create a recipe in the cookbook which we have created in the above step:-
cd test-cookbook chef gengerate recipe <test-recipe>
Step4:- Add the below code in the recipe to install nginx and update the string for default page:-
html_path = "/var/www/html/index.nginx-debian.html"

package "nginx" do
    action :install
end

file html_path do
  content "Welcome to blog session...."
    action :create
end


service "nginx" do
    action [:restart]
end
Step5:- Validate the recipe syntax:-
chef exec ruby -c test-cookbook/recipe/test-recipe
Upload to the chef-server:-
As we have discussed in the chef’s last blog the chef-server act as the middlemen for the workstation and node. So we need to push our recipe to the chef-server from the workstation and then the chef-client will fetch the recipe from the chef-server.
Run the below command to upload the cookbook:-
knife cookbook upload first-cookbook
You can check this on the chef-server where we have created an account:-
Or you can also run the below command to check the cookbook upload or not:-
knife cookbook list
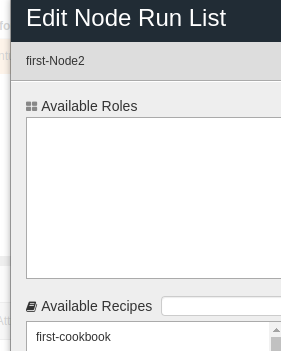
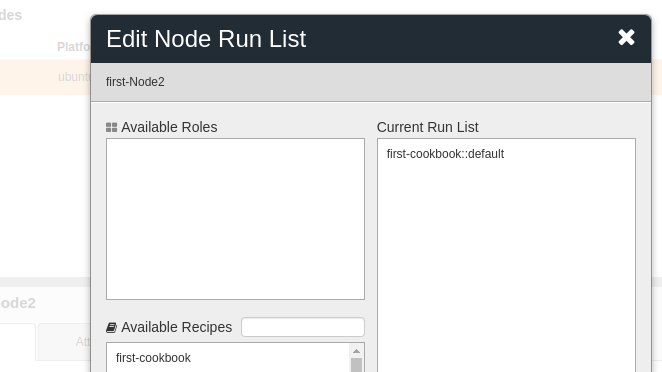
Now we need to add the recipe in the run list because, in a single cookbook, We can have more than one recipe so we need to add the recipe in the run list which we want to run on the node. You can run the below command:-
knife node run_list set < node name >"recipe[<cookbook-name>::<recipe-name>]"

ex-

knife node run_list set first-Node2 "recipe[first-cookbook::default]"
The same thing, you can check this via UI or command line:-
knife node show first-Node2

Or using UI:-
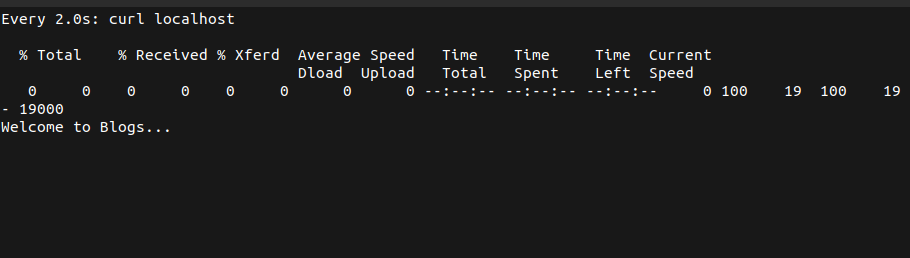
We have done all steps. Now, we need to run the below command to execute the recipe:-
chef-client
But it is not possible to run the command every time on every node. So we will write a crontab or cronjob. So that that command should run every sec every min:-
echo "* * * * * root chef-client" | sudo tee -a /etc/crontab
After that this command will run regularly and if you update the code and upload it to the chef-server then you will see the update in the node:-
Conclusion:-
In this blog, We have learned about the chef that how we can run the cookbook’s recipe on the remote node and update the default page of nginx. If you like my blog then you can like this or want to read more blogs then follow this link and also check out the chef’s official doc.