


Overview
Firstly, let us understand what a library generally in programming means.
A library is a collection of precompiled routines that a program can use. Let us break this definition down to understand better.
Putting it all together, a library is majorly a set of functionality that is relevant enough to be used in multiple projects, and a compiled version of it is bundled and presented to whichever project needs it. The features of this therefore are,
1. shareable code
2. reusable functionality
3. separate dedicated code for one feature
What should a library be to qualify to be an Angular library?
- platform independent, first of all
- bundled and distributed
- AOT compilation ready
- built-in typescript
Now for a library to be standard and be easily consumed by everyone, there must be a standard or a recommended way to how you should distribute your package.
The angular package format is that recommended way to distribute our Angular packages. This focuses on the following:
- Module definitions
- Typing files
- Entry point
- AOT-ready metadata file
Read the APF here. If you want to learn new features of angular please refer here.
Creating a library
Let us create a workspace for it!
ng new <application-name> --create-application=false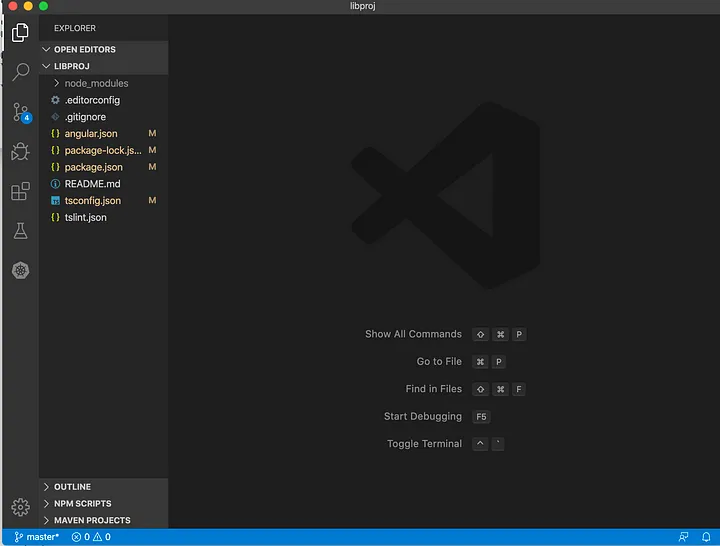
This would create a workspace for you with no src folder as you haven’t created the application and just a workspace under which we can make our libraries using the command:
ng generate library <library-name>This creates a projects folder with your lib folder inside it. Here you can start writing the feature you want for your libraries!
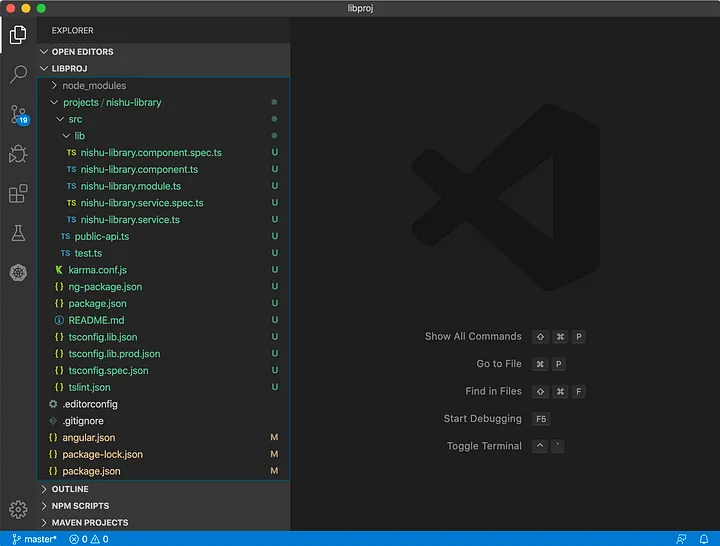
done creating your library?
Time to build our library!
Add a build libraries script in your root package.json as:
"build-library": "ng build nishu-library”
Running this would create a dist folder for your libraries.
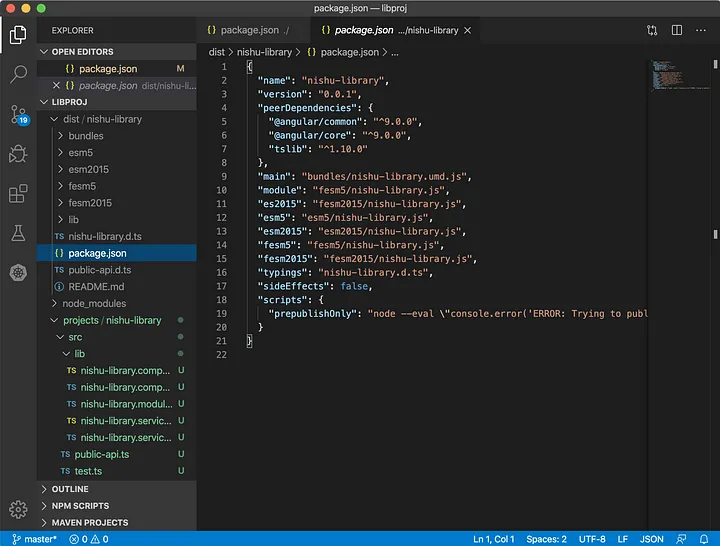
Here is when your project becomes a bit difficult to understand. why? because if you notice now your whole project contains 3 package.json files in all. The root package.json is where you wrote your build script, and the library package.json provides the information for your libraries such as name, and version. This is used when publishing your library to npm. I will talk about it when packaging the library.
the third package.json is in the distribution folder of the libraries that you just created which is the final code to be exported.
Packaging the library
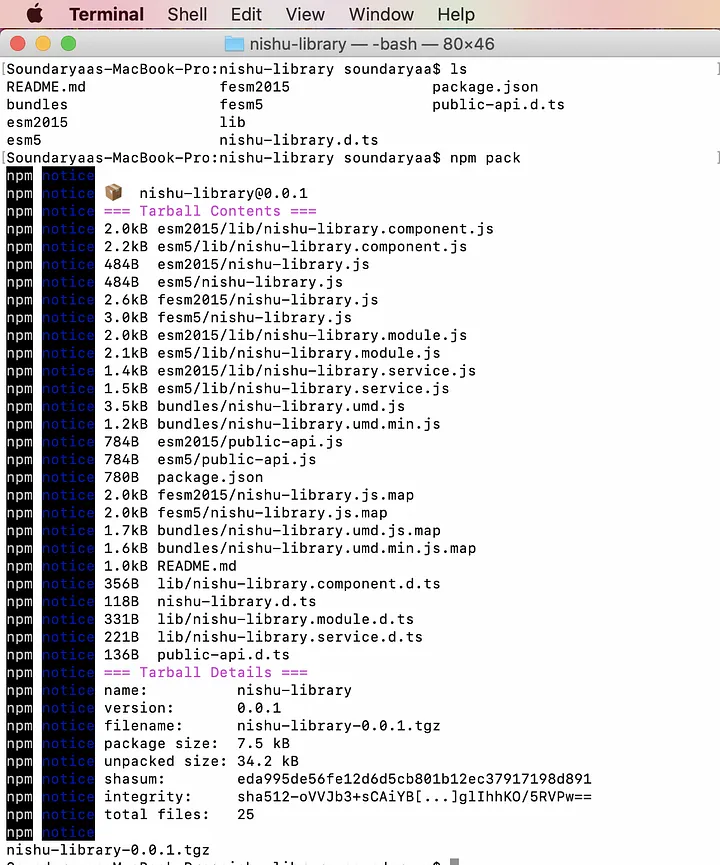
To pack our libraries, we go to the library distribution directory and run the npm pack command.
Avoid the confusion here of packing the library’s directory. We need to pack the built distribution folder of the library. We can add a script also in place of doing this manually.
"pack-lib": "cd dist/nishu-library && npm pack"This would create a .tgz package for the library which is to be exported into other applications we will be using.
With our package ready, we can use it inside another application to consume it and test it.
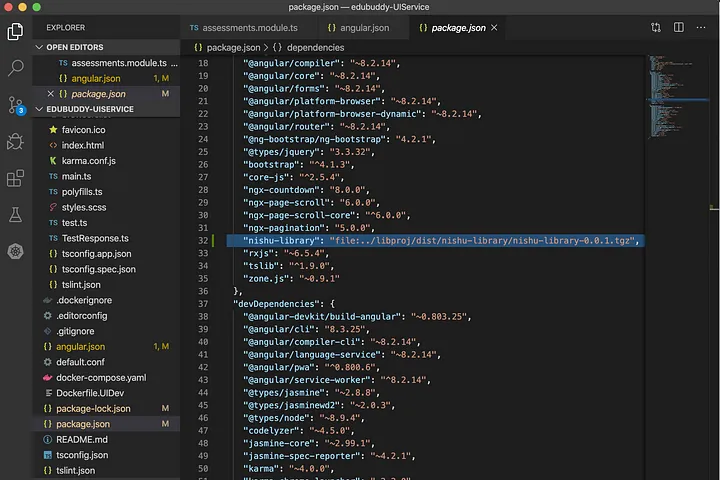
Create a new angular application and install your libraries inside this using:
npm install <path-to-tgz-file>Check your package.json to see if it has been installed and is reflected inside the dependencies.
You will notice it being added as a file just like this:
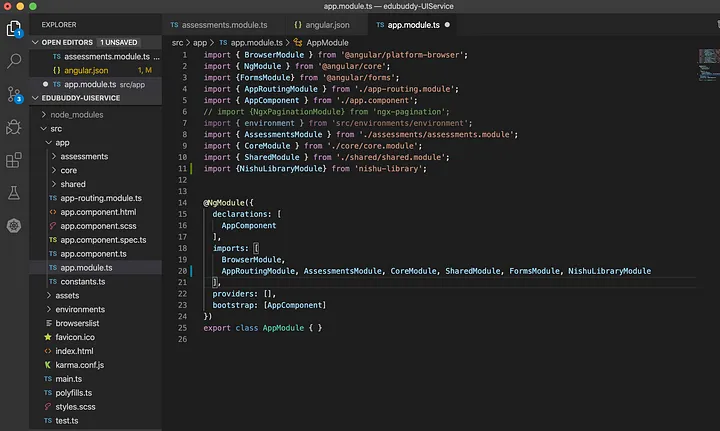
Next step, import the module of your libraries and use the component.
import { NishuLibraryModule} from 'nishu-library';This should give our project access to the components declared inside this module. We can now use the component directly on the template and see how it works!
On the template,
<section class="body-section">
    <lib-nishu-library></lib-nishu-library>
</section>
And there you go!

Finally, let us publish our library
To publish your libraries, follow the naming conventions for an npm package and to keep it unique since there are so many libraries on npm, an easy way is to name your library as @<your-username>/<library-name .
Next step, specify the name and version of the libraries inside the package.json
{
"name": "nishu-library",
"version": "1.0.0",
"peerDependencies": {
"@angular/common": "~9.0.0",
"@angular/core": "~9.0.0",
}
}
peer dependencies basically are a way to tell the consuming project that the libraries is well compatible with this version of the package. Use semantic versioning to version your library following the major, minor, and patch version specifics. Read about SemVer here.
All set? Let us log in to npm. We can do this both from the command line or the GUI.
npmjs.com
Log in to npm using npm login and verify using npm whoami
Publish your libraries using the npm publish command with the path to your tgz bundle.
npm publish dist/nishu-library/nishu-library-0.0.1.tgz --access publicHead over to npmjs.com and you can have a look at your published library.
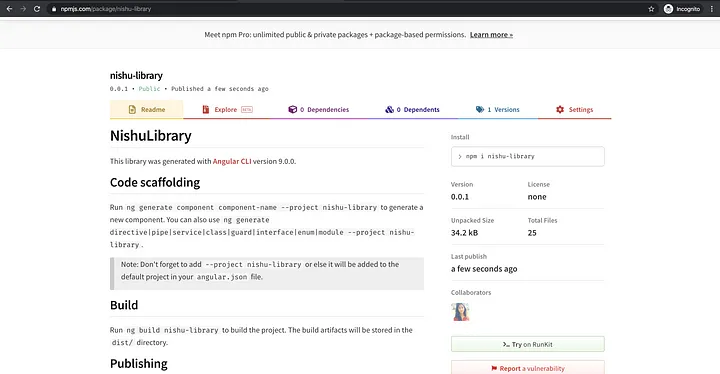
Well, now anybody can use this publicly available library in their Angular projects using:
npm i nishu-libraryConclusion:
In this blog, we have learned how we can create our library and then how we can publish it. I hope you understand the concept of angular libraries. If you have any doubt please reach out to me . Thanks for reading!
Finally, for more such posts, please follow our LinkedIn page- FrontEnd Competency.