


Hello Learners, I am back with another blog. In today’s blog, we will learn about the Nexus, How to set up the Nexus on Kubernetes with a different version. We will see the deployment of this Nexus. If you like my blogs, you can read more blogs here.
Nexus:-
Nexus is a popular repository manager. Basically, It is used for storing and managing software artifacts. It is a centralized hub for hosting and binary components such as libraries, plugins, and many more.
Nexus provides a secure and scalable solution for organizations to store, and share artifacts to the development teams. It supports various repository formats including Docker, npm, and Maven. Also, It offers features like caching, security controls, versioning, and access management, ensuring reliable and controlled access to artifacts.
Use Case:
Nexus is a popular repository manager. Basically, It is used for storing and managing software artifacts and there is no doubt that Nexus is widely used in software development environments for various purposes. They are the following:-
- Dependency Management: As I already mentioned above, Nexus acts as a central repository for storing and managing dependencies that are required by development projects.
- Artifact Hosting: Mainly organizations can host their private repository in Nexus, This provides the control for accessing and sharing libraries, plugins, and many more.
- Release Management: Nexus also supports staging repositories for testing and then validating artifacts before the push to the production release repository.
- Continuous Integration/Deployment: Nexus seamlessly integrates with build automation tools like Jenkins, Azure DevOps, and many others.
- Docker Registry: Nexus provides support for hosting private Docker repositories. It also allows you to store the image and manage the Docker images with versions.
These are the highlight use cases of the Nexus.
Setup of Nexus On K8s:-
Now we will see how to deploy the Nexus on the Kubernetes. We will discuss the files below, but if you want to deploy directly, you can clone the repo and deploy the Nexus. So I will deploy two versions on the Kubernetes.
git clone https://github.com/muzakkirsaifi123/nexus-yamlThere are two folders one for Nexus 2 and the second for Nexus 3. You can use any one of the deployments as per your need. In the blog, I use minikube as the Kubernetes cluster. You can also use any other local cluster or GCP or AWS OR AKS cluster. For minikube, You need to install minikube and run the below command to start the minikube cluster:-
minikube start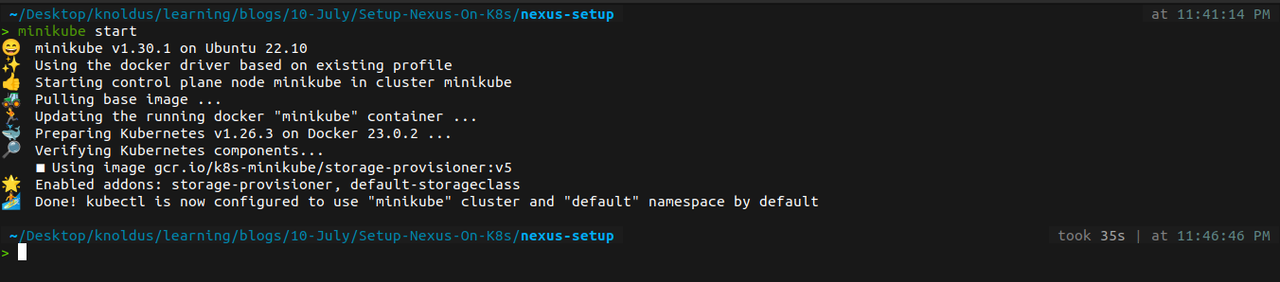
Let’s break down the deployment process and deploy the nexus:
First of all, We will deploy the nexus-2, So here is the deployment of nexus-2. Create a file with the name deployment.yaml and add the below yaml in it or paste it:-
apiVersion: apps/v1
kind: Deployment
metadata:
  name: nexus
  namespace: nexus-2
spec:
  replicas: 1
  selector:
    matchLabels:
      app: setup
  template:
    metadata:
      labels:
        app: setup
    spec:
      containers:
        - name: nexus
          image: sonatype/nexus:latest
          env:
          - name: MAX_HEAP
            value: "800m"
          - name: MIN_HEAP
            value: "300m"
          resources:
            limits:
              memory: "6Gi"
              cpu: "1200m"
            requests:
              memory: "4Gi"
              cpu: "800m"
          ports:
            - containerPort: 8081
          volumeMounts:
            - name: nexus-vol
              mountPath: /setup
      volumes:
        - name: nexus-vol
          emptyDir: {}
As you can see in the above deployment, we are using the latest image of Nexus and have defined the Namespace nexus-2.
Before deploying this deployment, We need to create a namespace which we have defined in the deployment file. You can use the below command to create the namespace:-
kubectl create namespace nexus-2

Now it’s time to deploy the above deployment file and you can create this deployment using the below command:-
kubectl create -f deployment.yamlNow it’s time to deploy the service for this deployment. We will use NodePort in the deployment. First, create the service.yaml file and add the below yaml file:-
apiVersion: v1
kind: Service
metadata:
  name: nexus-service
  namespace: nexus-2
  annotations:
      prometheus.io/scrape: 'true'
      prometheus.io/path:   /
      prometheus.io/port:   '8081'
spec:
  selector:
    app: setup
  type: NodePort
  ports:
    - port: 8081
      targetPort: 8081
      nodePort: 32000
Now run the below command to create this service:-
kubectl create -f service.yaml

Run this command to check whether the pods are running or not:
kubectl get pods -n nexus-2
As we are using minikube, you need to have its ip of it. you can run the below command to fetch the ip of Minikube:-
minikube ipAnd hit this URL in the browser to get the result:
<paste-your-ip>:32000/nexus
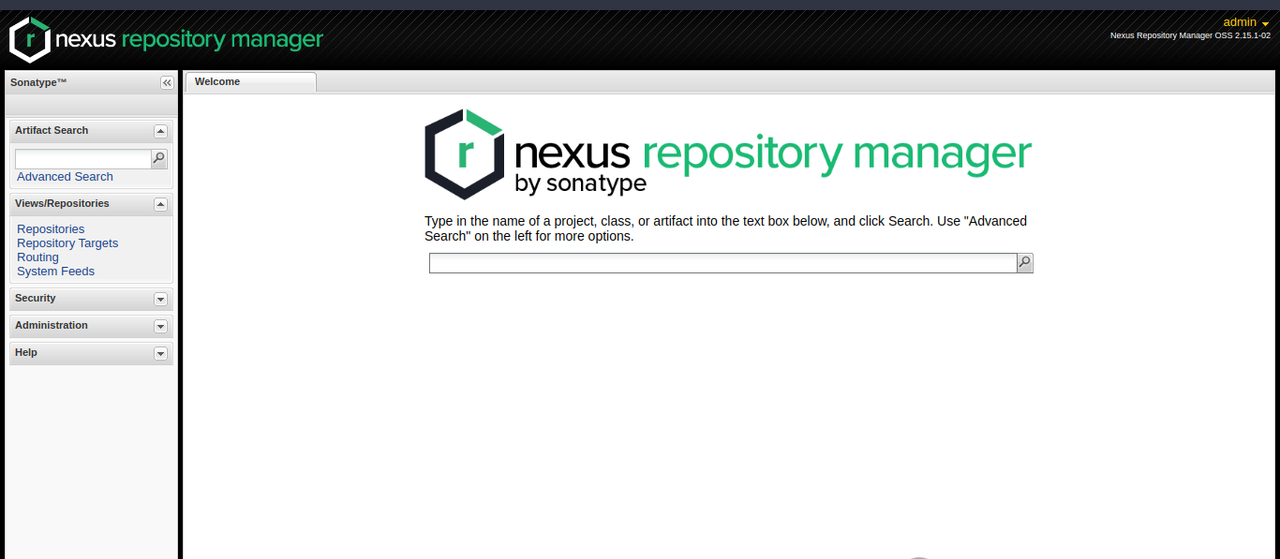
For Nexus 2, The default username and password will be admin and admin123
Now you have seen how to deploy Nexus 2 on Kubernetes. Now you can also deploy the nexus-3 using the file which you can get from the git repo and fetch the password of it. You can run the below command after the successful deployment of nexus-3:-
kubectl exec <pods_name> -n nexus-3 cat /nexus-data/admin.password
Conclusion:-
In conclusion, Nexus serves as a powerful repository manager for storing and managing software artifacts. It provides organizations with a secure and scalable solution for efficient artifact storage, proxying external repositories, and hosting private repositories. Nexus simplifies dependency management, enhances release processes, and seamlessly integrates with CI/CD workflows. With its versatile features and support for various repository formats, Nexus is crucial in facilitating collaboration, improving productivity, and ensuring reliable artifact distribution in software development projects.
If you like my blog then you can like this or want to read more blogs then follow this link. You can also check out these blogs.